The Ultimate Edible Cookie Dough Base Classic Chocolate Chip Zesty Lemon Poppy Seed and Brown Butter Toffee
- Unveiling the Edible Dough Blueprint: Why Heat-Treating Flour Matters
- The Philosophy Behind Superior Cookie Dough Variations
- Assembling the Master Dough Components: What You Need
- Curating Mix-Ins for Maximum Flavor Impact
- Phase One: Crafting the Homogenous Cookie Dough Base
- Transforming the Base: Three Flavor Expeditions
- Final Touches and Serving Suggestions
- Troubleshooting Common Cookie Dough Variations Issues
- Storage Secrets for Extended Dough Freshness
- Beyond the Trio: Inspiring Future Cookie Dough Variations
- Recipe FAQs
- 📝 Recipe Card
Unveiling the Edible Dough Blueprint: Why Heat Treating Flour Matters
Welcome to the intersection of nostalgia and modern kitchen safety! We all share that sacred memory: sneaking a spoonful of raw cookie dough, hoping no one notices. But for those of us who prefer our treats entirely safe to consume raw, the standard recipe won't cut it due to the risk associated with raw flour and eggs.
This definitive guide moves past that worry, offering an Edible Cookie Dough Recipe that is rich, satisfying, and absolutely safe. The most critical element differentiating a mere sweet treat from a truly superior Cookie Dough Recipe Edible preparation is the treatment of the flour.
Raw flour can carry potential pathogens, which is why we must render it inert. This initial step ensures that all our resulting Cookie Dough Variations are fit for immediate enjoyment right from the bowl.
We are aiming for maximum flavour payoff without any compromise on safety, setting the stage for some truly tasty baking .
The Philosophy Behind Superior Cookie Dough Variations
The beauty of baking often lies in flexibility. Why stick to one flavour when you can generate a whole portfolio from a single, robust foundation? Our philosophy here is efficiency married to indulgence.
We develop a master Easy Cookie Dough Recipe that forms the structural and flavour bedrock, and then, at the final stage, we divide and conquer, transforming that base into three unique experiences.
This approach minimizes active mixing time while maximizing variety, making it perfect for small gatherings or intimate indulgences, perhaps even scaling down to a Cookie Dough Recipe for 2 if you halve the quantities.
Your Shortcut to Safe, Spoon Worthy Satisfaction
Achieving that perfect, scoopable texture without the traditional wet binder (raw eggs) requires a precise balance of fat, sugar, and liquid. Our base recipe leans into high-quality butter and the right ratio of sugars to create that familiar, dense chewiness found in the best classic cookies.
By ensuring the flour is properly prepared, we eliminate the primary safety concern, allowing you to focus entirely on achieving textural bliss.
Designing Three Distinct Flavor Profiles from One Foundation
We are not stopping at the expected. Our three chosen directions showcase the versatility of this dough. We move from the universally loved Classic Chocolate Chip, offering comfort and familiarity, into the bright, awakening notes of Lemon Poppy Seed, and finally, elevate the experience with the deep, complex nuttiness of Brown Butter Toffee.
These Cookie Dough Variations demonstrate how slight modifications can yield dramatically different sensory results, elevating this from a simple sweet snack to a sophisticated sweet snack recipe .
Why This Base Recipe Outshines Standard Sugar Cookie Methods
Many recipes that exclude eggs rely heavily on powdered sugar or different leavening agents to compensate, often resulting in a texture that is either too gritty or too cakey. Our master base carefully balances granulated and brown sugar.
Crucially, we use a small amount of milk or cream not just for moisture but to slightly hydrate the mixture, giving it that wonderful, pliable mouthfeel characteristic of dough you simply cannot resist sampling.
This targeted approach ensures a rich, substantial base, unlike the often thin texture of many standard no-egg alternatives.
Assembling the Master Dough Components: What You Need
To embark on this journey of fun baking recipes , you need to gather your elements with precision. We are aiming for a yield of about three cups of dough, split into three flavour destinies.
Remember, because this is a no-bake treat, the quality of your ingredients shines through more brightly than ever.
Curating Mix-Ins for Maximum Flavor Impact
The true differentiation comes from what we add after the base is established. For the classic version, we embrace the reliable semi sweet chip. For the lemon iteration, the fresh zest provides aromatic punch, balanced by the delicate crunch of poppy seeds.
The brown butter toffee variation requires a specific technique to develop deep flavour complexity before the final addition of crunchy toffee bits.
Heat Treating Flour: The Non-Negotiable First Step
This is where preparation meets safety. Take your 1 ½ cups of all-purpose flour and spread it thinly on a baking sheet. The goal is to bring the flour up to an internal temperature of 165° F ( 74° C) to kill any potential bacteria.
You can achieve this by baking it in an oven preheated to 350° F ( 175° C) for about 5- 8 minutes, or use short bursts in the microwave, stirring often.
Monitor the temperature with a digital thermometer; once it hits the target, remove it immediately and let it cool completely before using it in the dough.
Creaming Fats and Sugars for the Perfect Texture
In your mixer bowl, start by combining ½ cup of softened, unsalted butter with ¾ cup of packed light brown sugar and ¼ cup of granulated white sugar. Cream these together thoroughly we’re looking for about three full minutes until the mixture is genuinely lightened in color and fluffy.
This aeration is key to preventing a dense final product, even without leavening agents.
The Essential Trio: Chocolate Chip, Zest, and Brown Butter Specs
Once the base is mixed, the final additions define the experience. For the classic, use ¾ cup of mini semi sweet chocolate chips. For the bright flavour profile, grab the zest of one large lemon, a tablespoon of fresh juice, and a teaspoon of poppy seeds.
Finally, for the sophisticated take, we must first brown the butter a process that transforms the simple fat into a hazelnut scented liquid gold, which then gets combined with crunchy toffee pieces.
Phase One: Crafting the Homogenous Cookie Dough Base
Following the creaming process detailed above, we introduce the liquid components: 2 tablespoons of whole milk (or heavier cream for a richer feel) and 1 teaspoon of high-quality vanilla extract. Beat these in gently.
Next, on the lowest speed, gradually add the cooled, heat treated flour and ½ teaspoon of fine sea salt. Mix only until no streaks of dry flour remain. Resist the urge to over mix once the flour is incorporated; this prevents gluten development, which you don't want in a spoonable dough.
After mixing, gather the dough into a single mass, wrap it tightly, and chill it in the refrigerator for a minimum of 30 minutes. This chilling phase solidifies the fats slightly, making the dough easier to divide and handle.
Related Recipes Worth Trying
- The Best Salted Caramel Chocolate Cookies Recipe Soft Fudgy — Stop looking for the perfect Salted Caramel Chocolate Cookies recipe youve found it These are rich chewy and loaded with molten caramel centres
- The Best Fudgy Chewy Brookies Recipe Brownie Cookie Heaven — Forget boring bakes This Fudgy Chewy Brookies Recipe layers rich brownie with gooey cookies for the best chocolate experience Learn the secrets to perfectly...
- Soft Gooey Cinnamon Roll Cookies No Yeast Needed — Get all the irresistible flavour of a classic cinnamon roll in a soft cookie This easy cinnamon roll cookies recipe with cream cheese frosting is a perfect...
Transforming the Base: Three Flavor Expeditions
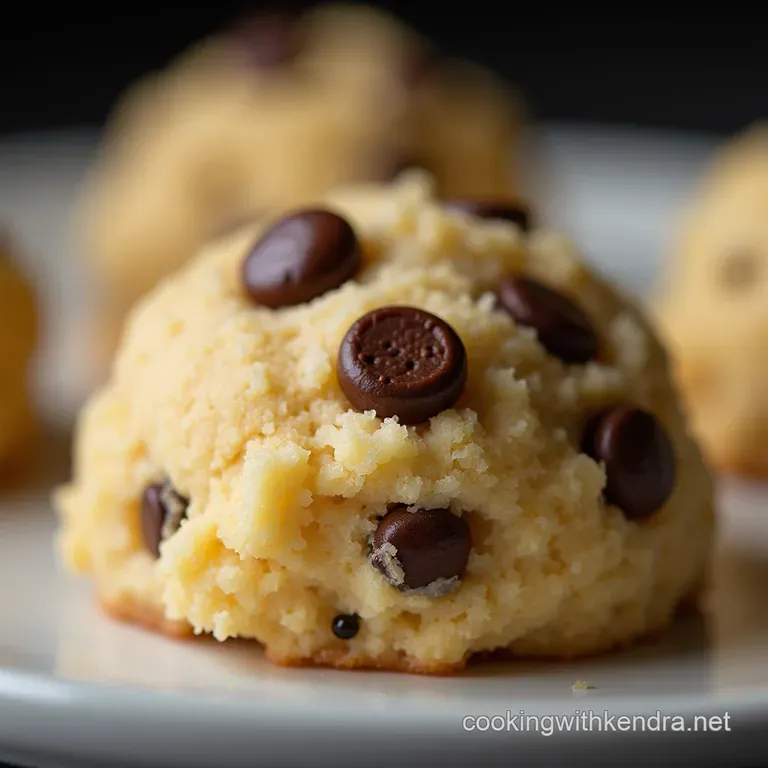
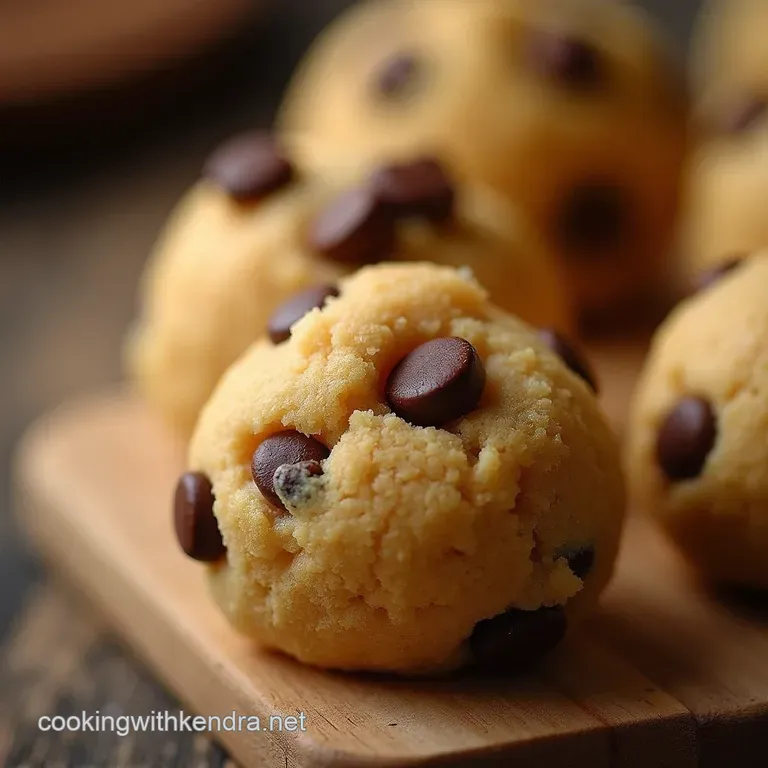
Once chilled, remove the master dough and divide it into three equal portions. Now, the fun begins. Take the first portion and gently fold in the chocolate chips until they are evenly dispersed this is your Classic Chocolate Chip version.
For the second, lightly knead in the lemon zest, poppy seeds, and lemon juice until fragrant and marbled. The third portion requires careful handling; if you browned your butter beforehand, ensure the solidified brown butter solids are incorporated into this portion along with the ½ cup of toffee bits, perhaps requiring an extra splash of milk if the mixture feels too stiff.
Final Touches and Serving Suggestions
The moment of truth has arrived! You now have three distinct, safe, and delicious Cookie Dough Variations ready for enjoyment. These sweet snacks are best served slightly cool, allowing the texture to remain firm yet yielding.
step-by-step: Achieving Fluffy Consistency
The key to the ideal "fluffy" consistency in an edible cookie dough recipe is the initial creaming of the butter and sugars, combined with the precise hydration level provided by the milk/cream.
If your dough feels too stiff after chilling, let it sit on the counter for five minutes before scooping. If it’s too soft, chill for another 15 minutes.
Infusing Zest: Mastering the Lemon Poppy Seed Swirl
When working with citrus zest, always use a microplane grater to ensure you only capture the bright yellow outer layer, avoiding the bitter white pith underneath. Fold the zest in gently at the end. If you incorporate it too early, the oils can start to break down the fat structure, leading to a slightly wetter dough.
Developing Depth: Achieving Perfect Brown Butter Solids
When browning butter for the toffee variation, watch the solids at the bottom of the pan they must turn rich amber brown before you rush the pan off the heat. These solidified, browned milk particles are where the profound depth of flavour originates, setting this variation apart in the world of Cookie Dough Variations .
Safety Check: Confirming No Raw Eggs Remain
Since this recipe is entirely egg-free, the primary safety check focuses on the flour treatment. Always ensure that flour reached the mandated 165° F ( 74° C). With that verified, these sweet snack recipes are ready to eat straight away.
Troubleshooting Common Cookie Dough Variations Issues
Even the best plans sometimes need minor tweaks. Understanding how to adjust the dough mid-process ensures every batch turns out perfectly for future tasty baking endeavors.
Fixing Dough That's Too Crumbly or Too Soft
If your dough crumbles easily when pressed, it usually means it’s too dry. Add liquid one teaspoon at a time milk, heavy cream, or even a tablespoon of applesauce can work wonders. Conversely, if the dough feels tacky, greasy, or won't hold a shape, it’s too warm or too wet.
Wrap it up and return it to the refrigerator for an extra 20 minutes.
Storage Secrets for Extended Dough Freshness
While this dough is designed for immediate gratification, proper storage ensures longevity for those moments when you need a quick sweet snack recipe .
How Long Does Edible Dough Last in the Refrigerator?
When stored in a truly airtight container, our edible cookie dough recipe base and its variations will remain perfectly fresh and safe for up to one week in the refrigerator. The texture might firm up slightly, but it softens quickly at room temperature.
Alternative dairy-free Substitutions for Purists
For those avoiding dairy, swap the butter for high-quality vegan baking sticks, ensuring they are firm and high in fat content. Substitute the milk with unsweetened oat milk or, for the richest texture, cashew cream.
These swaps maintain the integrity of the base for all Cookie Dough Variations .
Beyond the Trio: Inspiring Future Cookie Dough Variations
Once you master this base, the world of fun baking recipes opens up entirely. Think beyond the obvious and start experimenting with textures and spices!
Incorporating Unexpected Mix-Ins for Next Time
Don't be afraid to innovate! Consider adding chopped dried cherries soaked briefly in bourbon for an adult twist, or perhaps finely chopped salted pretzels for a salty sweet crunch.
Even a dash of espresso powder added to the brown butter version can create a Mocha Toffee sensation, further expanding your repertoire of Cookie Dough Variations .

Recipe FAQs
Is it actually safe to eat this cookie dough without baking?
Absolutely! The key to safe, edible dough is two-fold: we omit the raw egg entirely, and we rigorously heat treat the flour until it reaches 165°F (74°C). This process zaps any potential bacteria, meaning you can tuck in without any worry whatsoever.
What’s the trickiest part when making these Cookie Dough Variations?
For beginners, the trickiest bit is often ensuring the flour is properly heat treated without scorching it keep that temperature monitored! If you attempt the Brown Butter Toffee variation, watching the butter carefully is crucial; you want that lovely nutty aroma, not burnt bits at the bottom of the pan.
Can I store these cookie dough variations, and if so, how long do they last?
Yes, they store beautifully, much like good shortbread! Keep any leftover dough tightly sealed in an airtight container in the fridge for up to one week; they firm up nicely overnight. For longer storage, roll them into balls and freeze them for up to three months.
I’m not a fan of lemon; what’s another good flavour swap for one of the Cookie Dough Variations?
That's no bother at all; swap it out! A fantastic alternative is a rich 'Spiced Chai' version just add cinnamon, ginger, and cardamom to that portion before chilling. Alternatively, you could fold in some good quality chopped pecans for a nice crunch.
My dough feels a bit soft after mixing; should I add more flour?
Resist the urge to add more flour straight away, as that can make the final product tough. The recipe calls for chilling the base dough for 30 minutes for a reason this solidifies the butter, firming up the texture perfectly.
If it's still too loose after chilling, add flour one teaspoon at a time until it feels right.
3 Edible Cookie Dough Variations
Instructions:
Nutrition Facts:
| Calories | 330 |
|---|---|
| Fat | 18g |
| Fiber | 1g |
