Gluten-Free Vanilla Cake
- about introduction
- the complete guide to authentic gluten - free vanilla cake
- the magic behind this recipe
- health & nutrition highlights
- recipe at a glance
- master ingredient list
- kitchen equipment essentials
- perfect cooking technique
- professional secrets
- perfect presentation
- storage & make - ahead
- creative variations
- expert faq solutions
- complete nutrition guide
- 📝 Recipe Card
about introduction
welcome to the delightful world of gluten - free vanilla cake. this scrumptious dessert has roots that reach back through history, representing a shift in baking practices as more people seek inclusive options for dietary restrictions, once upon a time, cakes were primarily made with wheat flour, which left those with gluten intolerances feeling left out, however, thanks to the rise of gluten - free cake flour blends and innovative baking techniques, everyone can enjoy this fluffy treat without worry .
what makes gluten - free vanilla cake truly special is its ability to deliver on taste and texture while accommodating various dietary needs, it boasts all the rich flavors you’d expect from a traditional cake sweetness balanced by buttery notes, lightness that melts in your mouth all while being completely free
of gluten, not only does this recipe cater to those with celiac disease or sensitivities, but it also appeals to health - conscious eaters searching for lower - carb or alternative options .
the complete guide to authentic gluten - free vanilla cake
the culinary heritage of cakes spans across cultures and centuries; they have long been symbols of celebration and joy, in fact, many cultures have their own versions of celebratory cakes think italian tortes or french génoise making every bite a journey through time and tradition, the fascinating origin story
behind our beloved vanilla cake showcases how simple ingredients can transform into something extraordinary when combined thoughtfully .
in modern - day kitchens around the world, gluten - free vanilla cake has gained immense popularity not just for its inclusivity but also because it’s incredibly versatile. you can dress it up for birthdays with colorful frosting or keep it simple for an afternoon tea gathering, its cultural significance continues today as families gather around tables celebrating milestones and sharing memories over slices of this delicious dessert .
the magic behind this recipe
what sets this recipe apart are its unique flavor combinations that keep dessert lovers coming back for more. with just a hint of vanilla extract paired with high - quality gluten - free cake flour blend containing xanthan gum, each slice delivers a perfect balance between sweetness and depth a true testament to gourmet baking.
don’t fret if you’re new to baking; i promise this method is foolproof. follow expert - tested steps designed specifically for success every time you whip up this delightful treat, plus, i’ve included some handy time - saving tips throughout so you can spend less time stressing in the kitchen and more enjoying moments shared with loved ones.
health & nutrition highlights
let’s talk nutrition because there’s so much goodness packed into each slice. this gluten - free vanilla cake provides essential energy without weighing you down perfectly balanced yet indulgent at once.
it's low in saturated fat compared to traditional cakes due largely thanks its unsalted butter component which offers healthy fats necessary for overall wellness .
dietary considerations are crucial too; whether you're vegan (thanks flaxseed meal.) or simply looking after your gut health by avoiding gluten i’ve got your needs covered here.
each serving contains about 220 calories filled mostly from carbs sourced naturally through wholesome ingredients like sugar instead processed alternatives often found in store - bought treats.
wellness advantages abound within these layers : enjoy guilt - free indulgence amidst celebrations knowing you've chosen wisely when crafting such decadent delights tailored uniquely towards supporting body wellness goals while still satisfying sweet cravings.
recipe at a glance
ready - to - make ? let’s break things down quickly :
- total preparation time : approximately 20 minutes
- skill level required : medium (but totally doable.)
- serving size details : serves 8 generous slices
- cost efficiency : affordable ingredients mean making multiple batches won't hurt your wallet.
so grab those mixing bowls because creating an unforgettable moment centered around homemade goodness awaits you with my favorite go - to recipe the ever - so - amazing gluten - free vanilla cake will surely steal hearts one bite at a time.
master ingredient list
premium core ingredients
1 ½ cups gluten - free cake flour blend
when picking your gluten - free cake flour, look for a brand that includes xanthan gum, this crucial ingredient gives the cake that fluffy texture we all love, also, check for a fine grain you want it to feel soft and smooth in your hands,store any leftover flour in an airtight container in a cool, dry place to keep it fresh .
1 cup granulated sugar
go for pure cane sugar if possible; it’s usually less processed than other types, granulated sugar should be white and free from clumps clumpy sugar can mean moisture absorption.you can store this in any airtight container as well since it's pretty shelf - stable .
½ cup unsalted butter (or dairy - free alternative)
always remember to use softened butter at room temperature this makes creaming easier and lighter.if you're opting for dairy - free, coconut oil or vegan butter work great too, keep your butter wrapped tightly in the fridge if you’re not using it right away; otherwise, it’ll pick up smells from other foods.
2 large eggs (or flaxseed meal mixed with water)
fresh eggs are key here; they should be clean with no cracks for best results, if going vegan, mix 2 tablespoons of flaxseed meal with 6 tablespoons of water and let sit until thickened it’s like magic.store both eggs and flaxseed meal in their respective containers : eggs in the fridge and flaxseed meal sealed tightly away from light .
1 tsp vanilla extract
grab pure vanilla extract over imitation whenever possible the flavor difference is huge. a good quality bottle might cost more but trust me it’s worth every penny. keep your vanilla stored away from heat sources to preserve its lovely flavor .½ cup milk (or non - dairy milk of choice)
whole milk gives richness but almond or oat milk works perfectly too just make sure they’re unsweetened if you're keeping things balanced, once opened, most non - dairy milks need refrigeration and have a shorter lifespan than cow's milk .1 tsp baking powder
make sure it's fresh because expired baking powder will ruin your cake rise, check the expiration date before use; once opened, store it tightly closed at room temperature so humidity doesn’t make it clump together .½ tsp baking soda
just like baking powder, freshness matters here too. it can lose potency over time so do check those dates on the packaging before throwing into the mix.¼ tsp salt
simple table salt works just fine here; however, sea salt can add a subtle depth of flavor if you're feeling fancy.
signature seasoning blend
while this recipe doesn't call for specific herbs or spices beyond what’s listed above since it's all about that sweet vanilla goodness a little creativity goes such a long way.
spice combinations
if you want to kick things up a notch next time around consider adding ground cinnamon or nutmeg into your batter (just about half a teaspoon), these warm spices give an amazing aroma while baking.
herb selections
for added zestiness try incorporating lemon zest instead of vanilla sometimes it's refreshing and brightens everything up beautifully or go adventurous with some almond extract instead for nuttier notes.
flavor enhancers
a splash of coffee adds depth to chocolate variants if you ever decide on making one trust me on this one… divine..
aromatic additions
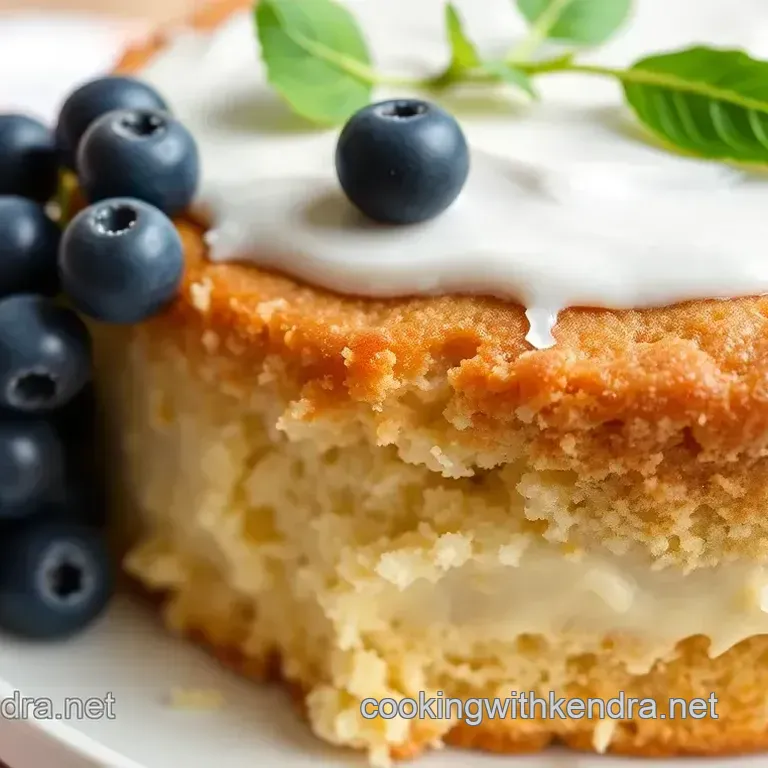
don't forget about sprinkling powdered sugar on top after frosting - not only does it look beautiful but tastes delightful too especially when paired alongside berries.
smart substitutions
alternative options
you can swap out granulated sugar by using honey or maple syrup but reduce liquid slightly since these are wet sugars; just don’t forget that different sweeteners affect taste profiles differently .
dietary swaps
for vegan options : replace eggs with either applesauce (¼ cup per egg) or mashed banana they provide moisture without compromising texture much at all.
emergency replacements
ran out of gluten - free flour ? use almond flour mixed with tapioca starch as backup it won’t yield quite the same result but still gets you there especially when desperate times call for desperate measures…
seasonal variations
incorporate seasonal fruits like pumpkin puree during fall months it brings warmth along with deliciousness perfect around holidays.
kitchen equipment essentials
must - have tools
an electric mixer is essential unless you've got superhero arm strength ready to cream butter manually that's another level i’m just not prepared for every day. mixing bowls are also important get yourself various sizes because you'll need them often enough throughout cooking adventures ahead .
recommended appliances
an oven thermometer helps ensure accurate temperatures since many home ovens aren’t always spot - on and trust me when i say having baked goods come out correctly matters immensely here.
helpful gadgets
grab yourself some offset spatulas they're invaluable when frosting cakes evenly without messing up designs plus they double as serving tools after cutting slices later on down line .
home alternatives
no parchment paper ? no problem you can lightly grease pans instead though make sure they won't stick which could lead disastrous outcomes while attempting removal post - bake time . . .
pro ingredient tips
to finalize our list :
1, always select organic ingredients where feasible they tend to carry better flavors overall . 1, for storage solutions : label containers clearly if transferring anything into new ones.
1, look out sales & bulk discounts at local markets you'll save cash while stocking pantry full goodies that'll last through multiple batches ahead. 4 , don’t hesitate experimenting within reason forging unique adaptations tailored specifically towards personal preferences takes recipes far beyond initial expectations…
so there ya go a comprehensive breakdown designed specifically around creating unforgettable experiences involving gluten - free cake flour delights... happy baking friends..
perfect cooking technique
cooking is not just about following a recipe; it’s an art that requires attention to detail and some finesse, here’s how you can elevate your home cooking game with essential preparation steps, professional methods, expert techniques, and success strategies .
essential preparation steps
mise en place
before you start cooking, gather all your ingredients, this “mise en place” method saves time and keeps you organized, chop veggies, measure out spices, and have everything within reach, for instance, if you're making a stir - fry, chop all your vegetables into similar sizes for even cooking .
prep techniques
use sharp knives for chopping to ensure clean cuts this makes a difference in presentation. also, consider prepping ingredients in batches when possible, if you're cooking multiple meals in one session or throughout the week; this can save time later on.
time management
plan your cooking process by estimating how long each step will take, for example, if boiling pasta takes 10 minutes while sautéing garlic should be done in 2 minutes before adding other ingredients start with the pasta first.
organization tips
keep your workspace tidy as you cook, it might seem minor but cleaning as you go prevents clutter from slowing down your progress. plus, it makes for easier transitions between tasks .
professional cooking method
now let’s get into the nitty - gritty of the actual cooking process.
step - by - step process
follow these basic steps :
1, heat your pan : always preheat pans properly hot enough to sizzle but not burn . 1, add ingredients : introduce items into the pan based on their cook times (harder veggies first) .
1, stir/fold : use appropriate techniques like stirring or folding gently depending on what you're making .
temperature control
know which temperatures are best for different meals :
- searing meat ? aim for medium - high heat .
- baking cakes ? most require around 350°f (175°c) . an instant - read thermometer is handy here it ensures meats reach safe internal temperatures without overcooking.
timing precision
timing is crucial especially in multi - step dishes where one element affects another's outcome. keep track of timing using timers or alarms so nothing gets left unattended too long .
success indicators
learn to recognize when food is ready :
- pasta should be al dente (a slight bite) .
- chicken juices should run clear . these indicators help achieve that perfect dish every time .
expert techniques
ready to step up even further ? let’s talk expert techniques that chefs use daily.
professional methods
for sauces or reductions, whisk continuously over low heat until thickened that silky texture is key. use a spatula to scrape up any bits stuck at the bottom of pans they're packed with flavor.
critical steps
always taste as you go. adjust seasoning early rather than waiting until serving time you'll appreciate those small tweaks later on .
precision points
when baking bread or pastries :
- measure flour accurately using either weight scales or spoon - and - level methods .
- ensure yeast activation by checking water temperature not too hot nor cold for optimal rise .
quality checks
you want those perfect results every single time right ? here are some final touches :
success strategies
troubleshooting tips come handy during less - than - perfect moments :
1, too salty ? add potatoes while simmering they absorb excess salt. 1, overcooked veggies ? toss them quickly in ice water post - cooking; halts carryover heat.
quality assurance starts with fresh ingredients; always check dates before purchasing produce. a vibrant carrot beats a wilted one any day the flavors will show through .
finally and i can't stress this enough let dishes rest before serving when applicable (like roasted meats), allowing flavors to meld makes everything taste better.
with these detailed instructions and tips under your belt even complicated recipes become manageable adventures in kitchen creativity. happy cooking everyone.
professional secrets
when it comes to baking a gluten - free vanilla cake, the pros have some great insights that can elevate your game, first off, always use high - quality gluten - free cake flour , a blend with xanthan gum gives that fluffy texture we all crave, you know, i used to grab whatever was on sale until i
realized the difference it makes.
another expert technique is ensuring your ingredients are at room temperature before starting, this simple step allows for better mixing and a smoother batter no lumps, please. and here’s a little kitchen wisdom : don’t be shy about tasting your batter (after checking for raw eggs if you’re worried), it helps you adjust sweetness or flavor as needed .
for success guarantees, remember that baking is both science and art, keep an eye on your cakes near the end of the cooking time; ovens can vary like crazy. trust me; it's better to check early than deal with a burnt disaster .
perfect presentation
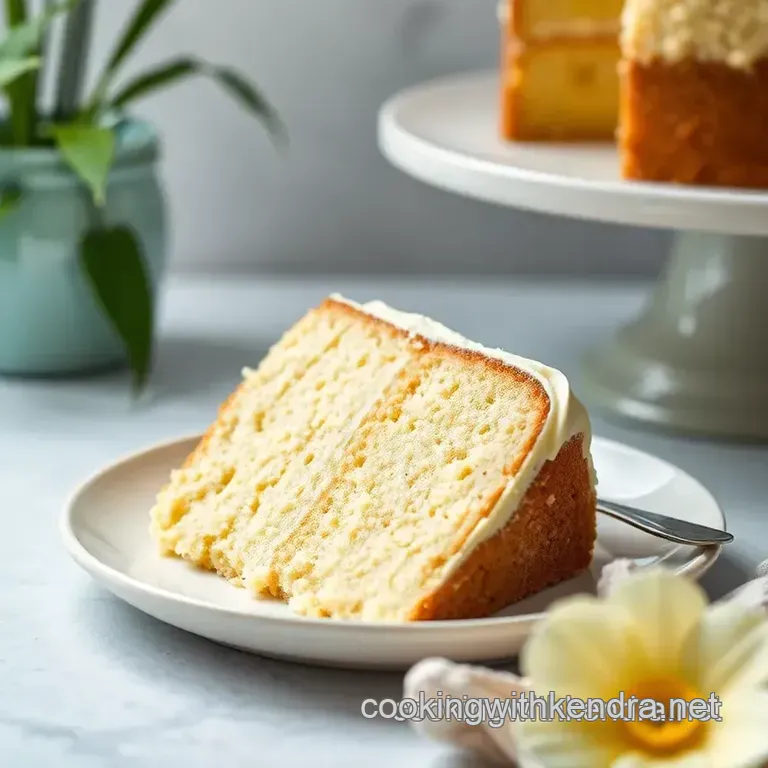
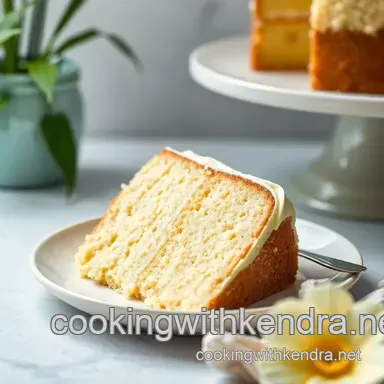
once you've baked this delightful cake, how do you make it look just as good as it tastes ? plating techniques matter. use a cake stand for height and drama when serving it instantly elevates everything.
garnish ideas ? fresh berries or edible flowers add color and freshness without overwhelming flavors a total win - win in my book. drizzling chocolate ganache or even a simple glaze can create visual appeal too .
serving suggestions include pairing slices with whipped cream or ice cream for that extra indulgence, and don't forget about presentation tips : serve on colorful plates to contrast against the white frosting; trust me, it’ll pop.
storage & make - ahead
now let’s talk storage because who doesn’t want leftover cake ? to keep your gluten - free vanilla cake fresh, store it in an airtight container at room temperature for up to three days or refrigerate if you're planning to keep it longer .
if you want to make-ahead of time, bake and cool the cakes completely first, wrap them tightly in plastic wrap before placing them in the fridge or freezer this prevents drying out.
reheating instructions are easy - peasy : simply pop slices in the microwave for about 10 - 15 seconds to bring back that fresh - baked warmth without losing moisture, for those super - organized folks (not me.), making frosting ahead works well too just give it a good stir before using.
creative variations
now onto creative variations you could take this basic recipe and run wild. flavor adaptations ? swap out part of the gluten - free flour with cocoa powder if you're feeling chocolatey one day it’s deliciously decadent.
for dietary modifications like vegan options, use flaxseed instead of eggs (2 tbsp flaxseed meal mixed with 6 tbsp water) without sacrificing taste, seasonal twists could involve adding spices like nutmeg or cinnamon during autumn months hello pumpkin spice vibes.
regional variations also come into play : think lemon zest for a refreshing italian touch or almond extract reminiscent of classic french desserts; there are no limits here.
expert faq solutions
got questions ? let’s tackle some common concerns around gluten - free baking together. one frequent issue is dense cakes; remember not to overmix after adding flour that'll help maintain lightness .
another query often pops up : “why did my cake sink ?” well, this might happen due to opening the oven door too soon while baking or not properly measuring ingredients lesson learned from personal experience right there.
a troubleshooting guide would include checking ingredient temperatures and ensuring proper measurements because accuracy matters more than we realize sometimes .
finally, success tips are all about patience and practice the more comfortable you get with these recipes over time improves results dramatically .
complete nutrition guide
and last but not least the complete nutrition guide. each slice packs approximately 220 calories along with healthy fats from butter (or oil), aiding energy levels throughout those busy days .
health benefits abound when using quality ingredients too; gluten - free options often mean lower allergens which many people appreciate today not just those avoiding gluten strictly but others looking for variety as well .
dietary information is important especially if you're sharing this treat at gatherings consider labeling any substitutions made so everyone feels included while enjoying dessert together.
as far as portion guidance goes i’d say one slice feels satisfying enough alongside fresh fruit servings which provide vitamins along with natural sweetness balancing flavors beautifully.
so go ahead embrace these secrets, presentation tips ,and variations while whipping up your next glorious dessert masterpiece.
Bake gluten-free Vanilla Cake Delightfully
Ingredients:
Instructions:
Nutrition Facts:
| Calories | 220 |
|---|---|
| Protein | <3g |
| Fat | 10g |
| Carbs | 32g |
| Sugar | 15g |
| Sodium | 150mg |
