Eggnog: the Ultimate Thick Homemade Recipe
- The Chef's Classic Cooked Eggnog: Why Homemade Beats the Carton
- Achieving the Perfect Custard Consistency: The Science of Tempering
- Essential Pantry Items for the Ultimate Holiday Drink
- From Bowl to Batch: Mastering the Culinary Steps
- Expert Tips for a Flawless Batch and Troubleshooting
- Shelf Life and Preservation: Storing the Holiday Custard
- Garnishes, Pairings, and Festive Presentation
- Recipe FAQs: The Chef's Classic Cooked Eggnog
- 📝 Recipe Card
The Chef's Classic Cooked Eggnog: Why Homemade Beats the Carton
That first sip of truly great Eggnog is like wearing a velvet sweater while sitting next to a roaring fire. It’s thick, impossibly creamy, and smells deeply of fresh nutmeg and something warmly alcoholic.
Forget that watery, thin stuff lurking in the supermarket carton; we are making the real, old-fashioned deal.
Honestly, people assume mastering Eggnog is a weekend long project, but it’s mostly just chill time. The active steps take less than 30 minutes, and the flavor you get is unmatched.
Plus, using the cooked method (which we are doing) means no worry about raw eggs, making this Easy Homemade Eggnog Drink totally safe for all your holiday guests.
Are you ready to stop messing around and make the best holiday drink of your life? Trust me, the joy of serving a glass of perfectly thick, chilled Eggnog you made from scratch is a Christmas gift in itself.
Grab your apron and your whisk; we are diving into the magic of perfect, spiced Christmas custard.
Achieving the Perfect Custard Consistency: The Science of Tempering
The History of the Festive Posset: From Medieval Origins to Modern Classic
The concept of combining hot milk, spices, and alcohol goes back centuries, long before we called it Eggnog . It evolved from the medieval posset, a soothing, thick, medicinal ish drink often used to toast health.
When the recipe traveled to the Americas, it became richer and featured plentiful eggs, transforming it into the creamy, beloved beverage we know today.
Defining 'Cooked' vs. 'Raw' Methods (And Why Cooking Ensures Safety)
You can find two main approaches to making Eggnog : raw and cooked. The raw method relies solely on alcohol and time to kill potential bacteria, but it leaves many people feeling uneasy. We are strictly using the cooked method here, making a Thick Homemade Eggnog custard first.
Cooking the eggs to a specific temperature eliminates safety concerns and guarantees that gorgeously velvety texture.
What Makes This Recipe Uniquely Rich and Velvety?
The secret to truly rich, Homemade Eggnog Recipe isn't just the eggs, but the fat ratio. We use a high percentage of heavy cream mixed with full fat milk, which emulsifies beautifully with the egg yolks. This creates an incredibly stable base.
When chilled, this fat content turns the liquid into a silky, luscious drink, almost like liquid dessert.
Preventing Curdling: Understanding the 160°F Safety Threshold
The single greatest fear when learning How To Make Old Fashioned Eggnog is scrambling the eggs. That grainy texture is pure heartbreak! To achieve safety and thickening without scrambling, you must monitor the temperature.
The mixture needs to reach 160°F (71°C) to safely pasteurize the eggs and activate their thickening power. Do not let it go past 165°F (74° C).
The Essential Role of Fat Content in Texture
The fat molecules from the whole milk and heavy cream wrap around the proteins in the egg yolk. This stabilization is what prevents the custard from seizing up when heated. If you try to cut corners and use skim milk, your Eggnog will likely separate or be thin and watery.
Fat equals flavor, and fat equals texture here.
Avoiding Separation: Why Slow and Low Heat is Key
Once you introduce the tempered egg mixture back into the saucepan, the heat must be gentle. If you rush it and crank the stove, the eggs on the bottom will cook instantly, resulting in lumps.
Stir constantly, scraping the bottom of the pan, and think slow and steady until that thermometer hits its sweet spot.
Essential Pantry Items for the Ultimate Holiday Drink
Selecting the Best Dairy: Cream, Milk, and Specific Fat Ratios
| Ingredient | Role in Eggnog | Viable Substitute |
|---|---|---|
| Whole Milk | Base liquid; 3.25% fat | Full fat canned coconut milk (for dairy-free) |
| Heavy Cream | Essential thickness; 35%+ fat | Full fat coconut cream (scooped from the top of the can) |
| Egg Yolks | Emulsifier & thickener | Whole eggs (use 8 instead of 6 yolks), but the result will be slightly less rich. |
Spices and Flavor Enhancers: Nutmeg’s Crucial Role
If you take only one piece of advice today, let it be this: Only use freshly grated nutmeg. Pre-ground nutmeg loses its aromatic volatile oils almost immediately. Using a microplane on whole nutmeg releases this intensely warm, pungent spice that defines Best Homemade Eggnog .
If you don't have nutmeg, a pinch of allspice and cinnamon can work, but it changes the overall profile significantly.
Choosing Your Spirit: Rum, Brandy, or Bourbon?
The best Eggnog Recipe Homemade Alcoholic version needs robust flavor to cut through the richness. I use a combination of dark rum (like Myers’s, which has molasses depth) and brandy (for those higher, complex fruit notes).
- Substitution Tip: If you prefer a smokier vanilla profile, swap both the rum and brandy for a high proof Bourbon, which pairs beautifully with the vanilla extract.
dairy-free Alternatives: Adapting the Recipe for Substitutions
Making great Eggnog without dairy is totally possible, but it requires a change in mindset. Swap whole milk for the thickest full fat coconut milk you can find. Use the solid coconut cream from the top of a chilled can instead of heavy cream. Note that the final flavor will carry a distinct, though delicious, coconut sweetness. For a lighter approach, try my Spiked Eggnog Dream Cream Holiday Dessert Perfection — it uses a different thickening agent entirely!
From Bowl to Batch: Mastering the Culinary Steps
Preparing the Base: Infusing the Dairy with Aromatics
- Warm the Cream: Combine the milk, 1 cup of heavy cream, a pinch of salt, and the freshly grated nutmeg in your saucepan.
- Infuse: Heat this mixture over medium low heat until it is steaming and small bubbles just start to form around the edges. Do not boil it. This allows the nutmeg to steep and infuse the milk deeply. Remove it from the heat once it’s steaming sweetly.
Tempering the Egg Yolks: A Gentle Introduction to Heat
- Whisk the Yolks: In a separate, large bowl, vigorously whisk the 6 egg yolks and granulated sugar until the mixture is pale yellow, thick, and falls off the whisk in a slow ribbon (about 3 minutes). This is called the ribbon stage.
- The Critical Temper: While whisking continuously, slowly ladle about one cup of the hot dairy mixture into the yolk bowl. This raises the temperature of the eggs gently, preparing them for the intense heat to come. If you add it too quickly, you get instant scrambled eggs and nobody wants lumpy Eggnog .
Slow Cooking to Nappe Consistency: The Visual Test
- Combine and Cook: Pour the now-warmed egg mixture back into the saucepan with the remaining milk base.
- Stir and Scrape: Return the pan to low heat. You must stir constantly, using a silicone spatula to scrape the entire bottom surface of the pan. Cook until the liquid thickens enough to coat the back of the spoon this is the nappe stage.
- Temperature Check: Use your instant read thermometer. When it hits exactly 160°F (71° C) , remove it immediately from the heat. This step ensures perfect texture and safety for your Homemade Holiday Eggnog .
Chilling and Finishing Touches: Developing the Signature Flavor
- Strain Immediately: Pour the hot custard through a fine mesh sieve into a clean bowl. This catches any tiny clumps that might have formed and guarantees maximum smoothness. Stir in the vanilla extract.
- Ice Bath Stop: Place the strained bowl into a larger bowl filled with ice and water (an ice bath). Stir occasionally until the mixture is fully chilled, below 40°F (4°C). This rapid cooling prevents overcooking and keeps your Eggnog perfectly silky.
- Booze and Wait: Stir in the dark rum and brandy/cognac now. Cover the Eggnog tightly and refrigerate for a minimum of 4 hours, but ideally overnight. The chilling time allows the flavors to deepen and the alcohol to mellow the custard.
Chef’s Note: The longer the Eggnog sits in the fridge (up to a week), the richer and more complex the flavor becomes. The alcohol works magic during this rest period.
Expert Tips for a Flawless Batch and Troubleshooting
How to Fix Scrambled Eggs (If You Overheated the Mixture)
If you peek in the pot and realize you have grainy, lumpy bits, don't throw it out! Stop cooking immediately. Pour the mixture into a blender or use an immersion blender. Blend on high for 30 60 seconds. This often pulverizes the small, cooked egg pieces and restores a smooth texture.
Then, strain it aggressively through a cheesecloth lined sieve.
Testing for Proper Thickness: The Back-of-the-Spoon Test
The visual test for 160°F custard is the "nappe" test. Dip the back of a wooden spoon into the mixture, then run your finger across the coated spoon back. If the line holds clean and doesn't immediately drip closed, your Eggnog base is thick enough.
It should resemble a thin pastry cream or heavy cream just before whipping.
Achieving Maximum Fresh Flavor Infusion
Beyond fresh nutmeg, consider infusing your milk with whole vanilla bean or a few star anise pods during Step 1. Remember to remove these strong aromatics before chilling. This layering of flavor is what separates store-bought from the Best Homemade Eggnog .
Common Mistakes Beginner Cooks Make
- Skipping the Ice Bath: Not cooling rapidly enough allows residual heat to keep cooking the delicate eggs, resulting in a grainy texture later.
- Not Straining: Even if you think your custard is perfect, strain it. It removes chalaza (the stringy bit attached to the yolk) and ensures that flawless, smooth sip of Eggnog .
- Using Pre-ground Spices: It just makes your beautiful Old Fashioned Eggnog taste flat and dusty. Go fresh!
Shelf Life and Preservation: Storing the Holiday Custard
Refrigeration Guidelines for Cooked Drinks
Because this Eggnog has been cooked and the eggs pasteurized, it is quite stable. If made with alcohol, it can last beautifully in the refrigerator for up to three weeks when stored in an airtight glass container. For non-alcoholic batches, aim to consume it within 3 to 5 days.
Always keep it on the coldest shelf of your fridge.
Can You Freeze This Festive Beverage? (And Should You?)
But does it freeze well? Yes, actually, it does! Freeze the Eggnog before adding the whipped cream or whipped egg whites, and preferably before adding the alcohol, as freezing can slightly alter the texture of high proof liquor. Thaw slowly overnight in the refrigerator.
You might notice slight separation; just give it a vigorous whisk or run it through the blender again to restore the creamy texture.
Garnishes, Pairings, and Festive Presentation
Serving your finished Eggnog requires a final flourish. For the lightest possible texture, whip the reserved egg whites and extra cream separately and gently fold them into the chilled base just before serving. This incorporates air and thins the custard slightly for easier drinking.
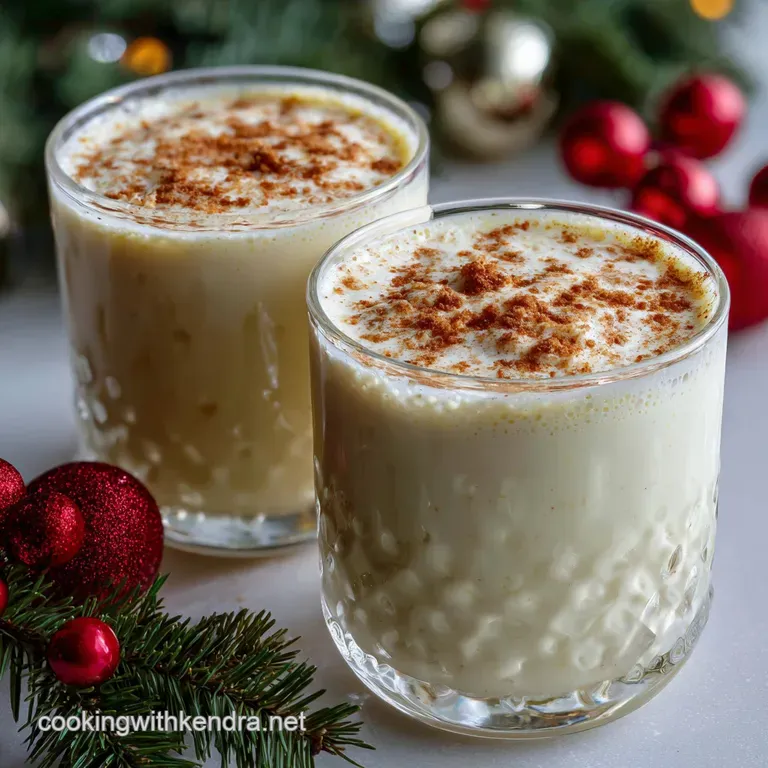
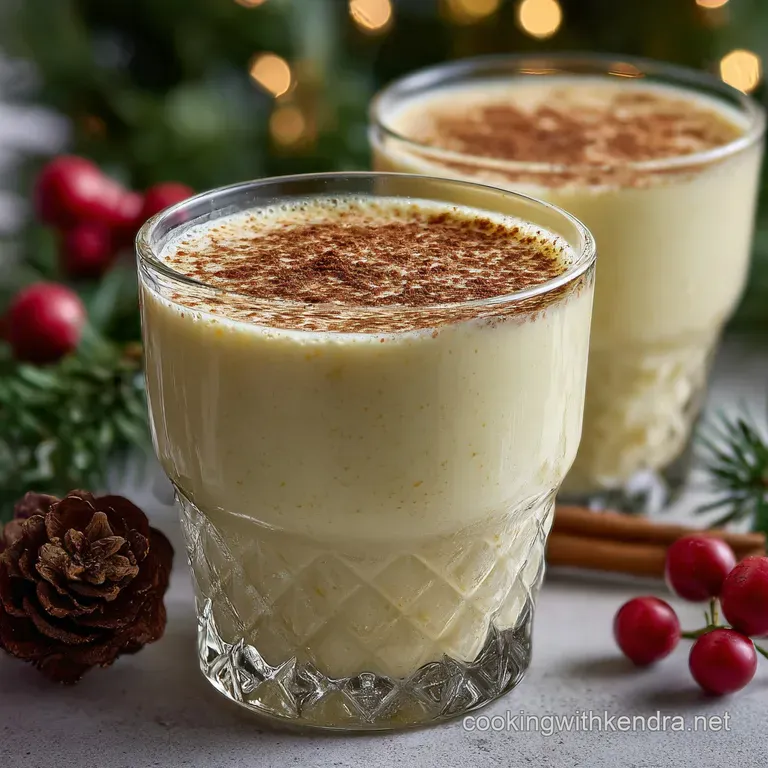
Serve in small, chilled glasses, and use a microplane to grate one last dusting of fresh nutmeg over the surface of each serving. The fragrance alone is enough to transport everyone straight to Christmas.
This rich, comforting Eggnog is perfect alongside light, crisp desserts like shortbread or classic British sponge puddings. Enjoy the fruits of your labor! You've just made the Best Homemade Eggnog your friends have ever tasted.

Recipe FAQs: The Chef's Classic Cooked Eggnog
Why do I need to cook the eggnog mixture? Isn't traditional eggnog served raw?
Cooking the mixture ensures the eggs reach a safe temperature (at least 160°F or 71°C), effectively pasteurizing them and eliminating the risk of salmonella. While raw eggnog exists, the cooked custard method guarantees a thicker, richer texture and provides food safety, making it suitable for all guests, including children and pregnant individuals (if omitting alcohol).
My eggnog curdled or scrambled when I was cooking it. What went wrong?
Curdling usually occurs because the custard was heated too quickly or reached too high a temperature without constant stirring. When tempering, always whisk the egg yolks continuously while slowly pouring in the hot milk mixture to gently raise their temperature before returning the full batch to the heat.
Ensure you remove the mixture from the heat immediately upon reaching the desired thickness or temperature of 160°F.
What is the best type of alcohol to use in eggnog?
Traditionalists often favor dark spirits that complement the rich, spiced profile, such as dark rum (especially aged varieties) or bourbon/whiskey. Brandy is also a classic addition, providing a deep, fruity warmth; you can even use a combination of two spirits for a complex flavor profile.
How far in advance can I make this eggnog, and how should I store it?
If made with the cooked custard method and stored properly, eggnog keeps well in an airtight container in the refrigerator for up to 3 to 4 days. If the alcohol is added, it can significantly extend the shelf life, potentially lasting a week or more due to the alcohol acting as a preservative.
Can I make a non-dairy (vegan) version of this decadent recipe?
Absolutely, though it requires significant substitution. Replace the heavy cream and milk with full fat coconut milk or a blend of cashew and oat milk for richness. The eggs must be replaced, often with soaked cashews, cornstarch slurry, or store-bought vegan egg replacements to achieve the necessary thickness.
My eggnog is too thin after cooling. How can I fix the consistency?
Thinness often means the custard wasn't cooked long enough to fully thicken the eggs. The easiest fix is to remove about one cup of the thin eggnog, whisk it with a tablespoon of cornstarch, and slowly return the slurry to the main batch while reheating gently over medium low heat until it reaches a noticeably thicker consistency.
Can I freeze eggnog for later use?
Yes, cooked eggnog freezes surprisingly well, especially if the alcohol is omitted until thawing. Pour the cooled mixture into a freezer safe container, leaving about an inch of headspace, and freeze for up to six months.
Thaw slowly overnight in the refrigerator and whisk vigorously before serving, adding alcohol and extra spices if needed.
Classic Cooked Eggnog Recipe

Ingredients:
Instructions:
Nutrition Facts:
| Calories | 968 kcal |
|---|---|
| Protein | 28.6 g |
| Fat | 57.6 g |
| Carbs | 59.5 g |
