Classic Enchiladas Rojas
Let’s look into Into Enchiladas Rojas!
Oh my goodness, have you ever craved something cozy and comforting to eat but just can't pinpoint what it is? let me take you on a little journey.
A few years ago, i had a whirlwind week filled with work deadlines. i was exhausted and needed a hug in a meal.
So, i turned to enchiladas rojas a beloved dish that brings me back to my grandmother’s kitchen, where flavor and family come together in a beautiful dance.
These weren't just any enchiladas; they were drenched in a homemade red enchiladas sauce , bursting with flavors from guajillo chiles and ancho chiles .
Honestly, with every bite, i could feel my stress melting away. so, if you’re looking for a dish that’s equal parts nostalgic and utterly satisfying, look no further!
What Are Enchiladas Rojas?
Now, let’s get down to business. enchiladas rojas have deep roots in traditional mexican cuisine , popping up in central mexico long ago.
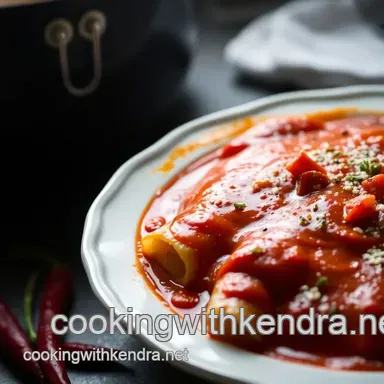
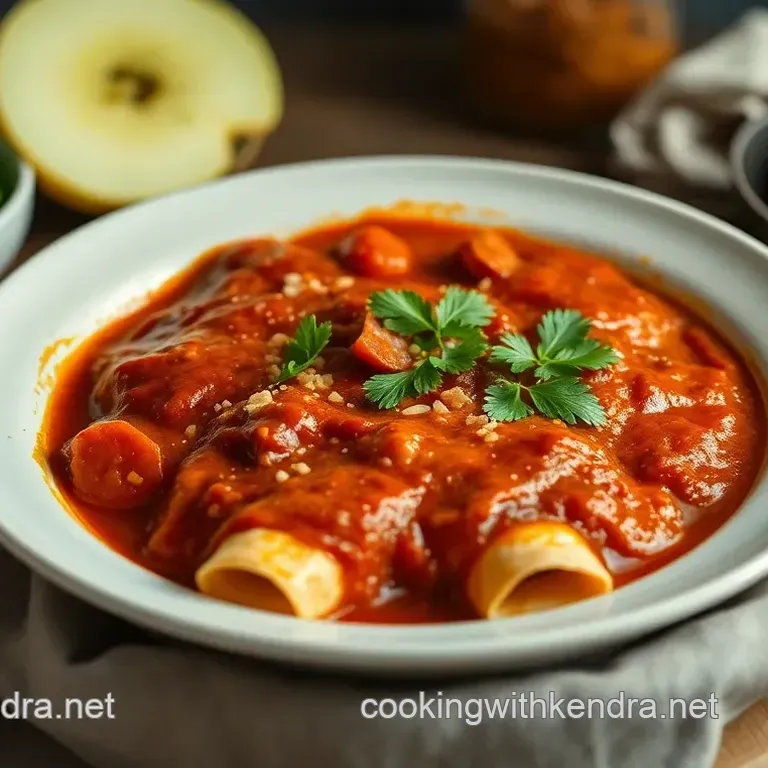
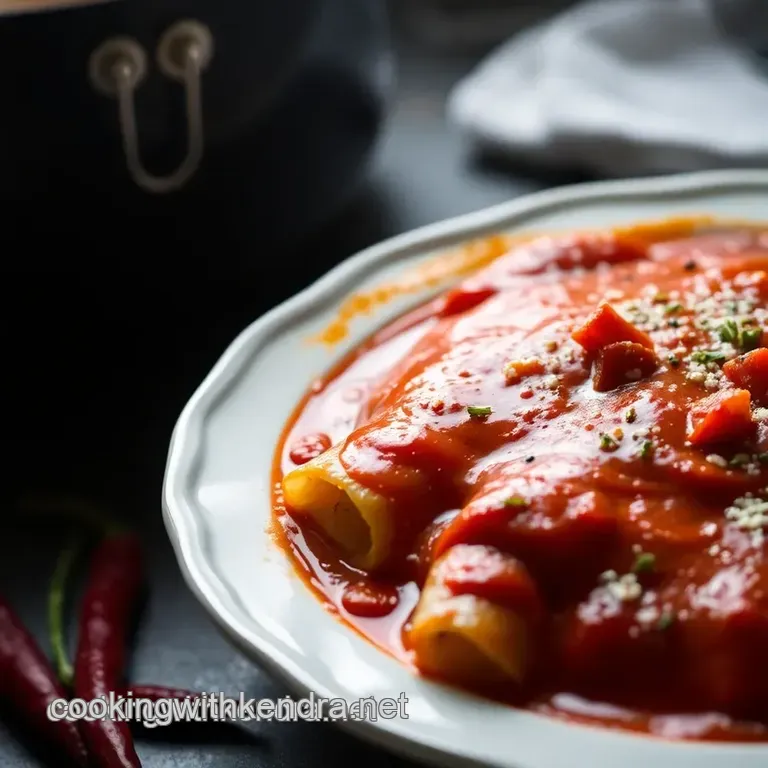
They’re a dish of corn tortillas lovingly folded around a savory filling and bathed in a luscious red sauce made from dried chiles.
Sounds appealing, right? today, they’re a staple at family gatherings, fiestas, and cozy dinners alike.
You may wonder, "how difficult are these to make?" well, the preparation falls into the medium category. making the sauce requires some cooking techniques think sautéing and tortilla rolling.
Don't worry, though! if i can master it, so can you. the whole process takes about 1 hour and 5 minutes , yielding about six hearty servings.
Oh, and you'll appreciate the cost, too; with some careful shopping, you can whip these up without breaking the bank.
Why You’ll Love Them
Let’s talk benefits because, seriously, enchiladas are more than just tasty! they pack a nutritional punch, especially when you opt for healthier fillings like shredded chicken or even black beans if you're leaning vegetarian.
The beauty of enchiladas is their adaptability. you can make enchiladas with cheese , or spice them up for your heat lovers ever tried spicy enchiladas ? yum!
These are great for all sorts of occasions. dinner parties, casual family nights, or even meal prep for the week.
Just imagine opening up your fridge and having a plate of warm cheesy goodness staring back at you. and trust me, everyone loves a comfort food recipe that provides warmth and a sense of hominess.
One key advantage of enchiladas is the possibility of variety. you can switch up proteins, fillings, and even the sauce.
Are you feeling feisty? you could throw in jalapeños into the mix or substitute chicken for veggies! plus, homemade enchilada sauce is totally customizable to your taste.
Before we get into the nitty gritty of ingredients, just a few tips: tortillas should be heated before filling to avoid tears trust me, i learned this the hard way during one of my first attempts.
And if you happen to have leftovers, don’t fret! you can freeze them for a laid back meal later.
Now, let’s get into what you’ll need to bring this delicious dish to life. Grab your apron, and get ready to do some delicious cooking!
Essential Ingredients Guide
Making enchiladas rojas at home? that's seriously a game changer! whether you're whipping up an easy enchilada recipe or going all-out with authentic mexican enchiladas , knowing your ingredients is key to nailing that flavor.
Let’s dive into the essential ingredients that’ll make your dish pop!
Premium Core Components
First off, let's talk about those premium core components that are the backbone of your enchiladas.
Measurements : for the reds and greens to dance on your taste buds, you’ll need some reliable measurements. think about 4 dried guajillo chiles (30g), 2 ancho chiles (20g), and 2 cups (480ml) of broth for the sauce.
Quality indicators : look for vibrant red chiles that’s a sign they’re fresh. soft corn tortillas should be pliable, not cracking.
You can totally tell the cheese is good by the aroma; it should take you straight to mexican markets!
Storage Guidelines : Keep your dried chiles in a cool, dry place to maintain their kick. Properly stored, they can last a year! Tortillas? Use them fresh, but if you go in bulk, freeze ‘em for up to 3 months!
Freshness Tips : Smell and feel! Fresh chiles should smell almost sweet and have a slight give when you squeeze them.
Signature Seasoning Blend
Now, onto the signature seasoning blend .
Essential Spice Combinations : Besides the chiles, don’t skimp on cumin! A teaspoon of ground cumin brings depth. Try mixing it with oregano for added goodness.
Herb Selections : Fresh cilantro has to be your go-to here. It brightens up the dish beyond belief!
Flavor Enhancers : Don’t forget garlic and onion ! They’ll be the unsung heroes in your red enchiladas sauce, building layers of flavor.
Regional Variations : Depending on where you’re from, you might want to throw in a pinch of cinnamon or clove. It’s all about those local flavors!
Smart Substitutions
Sometimes you run out of stuff, and that’s okay! Here’s where your smart substitutions come into play.
Common Alternatives : If you can’t find guajillo chiles, pasilla chiles are a decent stand-in. They are mildly sweet and add a nice depth.
Dietary Modifications : Doing vegetarian? Substitute shredded chicken with black beans or a mix of veggies for a filling option!
Emergency Replacements : No corn tortillas? Flour ones will do in a pinch. Not authentic, but sometimes you gotta work with what you've got!
Seasonal Options : Use seasonal veggies like zucchini and bell peppers in your filling. It gives the dish a fresh twist!
Kitchen Equipment Essentials
Alright, we can’t forget about the kitchen equipment essentials you’ll need to make those beauties.
Must Have Tools : You’ll definitely need a blender for that homestyle enchilada sauce. A large skillet for sautéing and a 9x13 inch baking dish are essentials too!
Alternative Equipment : If you don’t have a blender, a food processor works great, just make sure you chop the chiles really fine beforehand!
Preparation Tips : Roll your tortillas right after warming them. The heat keeps them flexible, reducing the chances of tearing.
Storage Solutions : Once your enchiladas are assembled, they can chill in the fridge for up to 3 days. Freezing them? Do it before baking, wrap well in foil for up to 3 months!
Getting your ingredients and tools prepped before you dive into making enchiladas rojas can make a world of difference. in our next step, i'll guide you through the process of crafting this traditional mexican dish from scratch.
Ready to get cooking? let's roll those tortillas and get saucy!
Professional Cooking Method for Enchiladas Rojas
Picture this: it’s a saturday afternoon, and you’ve decided to whip up some classic enchiladas rojas . trust me, it’s the kind of comfort food that just wraps you in a cozy hug.
Whether you’re cooking for your family or just treating yourself, understanding some professional cooking methods can seriously elevate your game.
Let’s dive into the details.
Essential Preparation Steps
Mise en place fancy french words, right? but seriously, it means getting your ingredients ready before you start cooking. for enchiladas, you’ll want your dried guajillo and ancho chiles prepped.
Remove the stems and seeds and have them soaking in hot water. while you’re at it, chop your onion and garlic.
It saves time and energy during the cooking process.
Time management is key, too. while your chiles are soaking for about 10 minutes , you can start chopping veggies or prepping your filling.
That way, when it comes time to blend your homemade enchilada sauce, everything is ready to roll.
Now, let’s talk organization strategies . keep all your ingredients grouped together tortillas in one bowl, filling in another, and the sauce ingredients ready for the blender.
It’s like building blocks, but way tastier.
And hey, safety considerations matter. If you’re heating oil or working with knives, keep your workspace tidy to avoid accidents. Burnt fingers or cut hands can really cut into your cooking vibes!
Step-by-step Process
Here’s the step-by-step to dashed deliciousness:
Toast your chiles in a dry skillet for 1- 2 minutes . You want the aroma to fill your kitchen. That’s when you know they’re ready!
After soaking, blend your chiles with the broth, onion, garlic, cumin, and salt until it’s smooth this is where magic happens. Aim to have everything mixed properly; it’s gotta be cohesive.
Pour your sauce into a skillet and simmer it for 10- 15 minutes . Keep an eye on it it’ll thicken and develop flavor.
When it’s time to roll those corn tortillas , heat them gently until they’re pliable. about 30 seconds on each side should do the trick.
Trust me, a warm tortilla makes rolling a breeze!
Assembly! Fill those tortillas and roll them tight but not too tight! Place them seam side down in your baking dish.
Cover them with the remaining sauce and sprinkle with cheese, making all kinds of decisions about whether to use queso fresco or shredded cheese.
🔔 pro tip: bake at 350° f ( 175° c) covered with foil for 20 minutes , then uncover and bake for another 10 minutes until cheese bubbles!
Expert Techniques
Grab your apron because it’s time for some expert techniques !
One essential method is your tortilla rolling technique . If your tortillas are too stiff, they’ll crack up, which means more time cursing and less time enjoying. Heat them slightly first!
For quality checkpoints , taste your sauce as it simmers. if it’s lacking, a pinch more salt or cumin can kick things up a notch.
You might want to take notes here for future batches!
Success Strategies
Now, let’s talk success strategies . One major common mistake ? Overfilling your tortillas. A teaspoon of filling should be just right; otherwise, they’ll basically explode during the baking process!
For quality assurance , always use good quality chiles. they’re the heart of that red enchiladas sauce . and hey, you can totally make a big batch and freeze some! just make sure to let them cool before tossing them in the freezer.
And if you have leftovers? These enchiladas heat up like a dream perfect for meal prep.
Conclusion
So there you have it, folks! making enchiladas rojas is all about understanding the process and enjoying the flavor packed journey.
From getting your ingredients in order to rolling those delicious tortillas, following these professional cooking methods will have you serving up authentic mexican enchiladas in no time.
Stay tuned for some additional information coming up next! You’re gonna love what’s in store.
Additional Recipe Information for Classic Enchiladas Rojas
Oh my gosh, if you’ve never tried enchiladas rojas , you’re in for a treat! this classic mexican dish is not just comfort food; it's like a warm hug on a plate.
Let’s dive into some pro tips and secrets to take your enchilada game to the next level.
Pro Tips & Secrets
First off, let me share a little secret: when it comes to the sauce , the magic lies in those chiles! using guajillo chiles and ancho chiles gives your sauce that smoky depth.
Toasting them in a dry skillet for just a minute or two enhances their flavors beautifully. after that, soak 'em and blend until smooth you won't believe the taste explosion!
Now, if you’re pressed for time, here’s a time saving technique : keep a stash of homemade enchilada sauce in your freezer.
Making a big batch is easy, and it cuts down on prep time for those weeknight dinners when you just want to avoid the fuss.
Plus, it’s way tastier than store-bought!
And for maximum flavor enhancement , try simmering your sauce a bit longer. This deepens the flavors and brings out that fantastic color as well.
Presentation matters, too! layer the enchiladas in a nice baking dish, drizzle some sauce on top, and sprinkle with cheese before putting them in the oven.
It’s like a fiesta for your eyes!
Perfect Presentation
Speaking of presentation, let’s make those enchiladas look as good as they taste. when you’re ready to plate, consider your colors.
A deep red sauce on corn tortillas with a sprinkle of white cheese, green cilantro, and slices of bright radishes? total showstopper!
For garnishing, think fresh. a dollop of sour cream, some chopped cilantro, and maybe even a squeeze of lime can elevate those enchiladas way beyond ordinary.
Honestly, it’s all in the little details that make a big difference in the final dish.
Storage & make-ahead
Now, let’s talk about storage. you can totally make these enchiladas ahead of time! prepare everything, cover them tightly, and stash them in the fridge.
They’ll be good for about 3 to 4 days . just reheat in the oven, covered, at 350° f ( 175° c) for about 15- 20 minutes.
Or if you're feeling lazy, microwave them easy peasy!
If you want to go the freezing route, just make sure they’re fully cooled first. wrap them well in plastic wrap and foil.
They’ll last for about 3 months in the freezer. just remember, though: the freshness is best if you use your cooking techniques for enchiladas soon!
Creative Variations
Ready for some creative variations ? heck yeah! if you want vegetarian enchiladas , swap that chicken for black beans and throw in some roasted veggies.
For a cheesy twist, think enchiladas with cheese galore! you can also play with heat by adding jalapeños to the filling for some spicy enchiladas.
And don’t stop there! Make it seasonal by tossing in whatever veggies are fresh and popping this time of year. This dish can totally evolve with the seasons!
Complete Nutrition Guide
Let’s not forget about that nutrition information for enchiladas . the beauty of this dish is that it can be quite balanced with proteins, carbs, and healthy fats if you use fresh ingredients and just the right amount of cheese.
Keep in mind that balancing flavors while maintaining healthy choices can make this not just a tasty treat but a good meal option, too.
Expert FAQ Solutions
A question i often get is about troubleshooting : what if my sauce seems too thin? no worries! just let it simmer a little longer until it thickens up.
Remember, it’s all about that creamy, rich texture that coats the tortillas perfectly.
Another common query is around the chiles. If they aren’t available, you can use good quality store-bought sauce in a pinch. But still, homemade is always best!
Final Thoughts
Creating classic enchiladas rojas doesn’t have to be intimidating, and trust me, the payoff is totally worth it. embrace those flavors, get your hands a little messy, and enjoy every bite.
Cooking should be fun, and your kitchen is your playground. so, go ahead and experiment; you might just find your new favorite dish! happy cooking, my friends!
Classic Enchiladas Rojas