Decadent Chocolate Wafer Torte
- A Sweet Journey: The Decadent Chocolate Wafer Torte
- What’s the Scoop on This Dessert?
- Ingredients You’ll Need
- Time to Get Cooking!
- Your Go-To Guide for Essential Ingredients
- Mastering the Art of Professional Cooking
- Decadent Chocolate Wafer Torte: The Sweet Life Revealed
- Frequently Asked Questions
- 📝 Recipe Card
A Sweet Journey: The Decadent Chocolate Wafer Torte
Oh my gosh, let me take you back to one of my favorite childhood memories! picture this: my mom’s kitchen on a saturday afternoon, the whole place smelling like chocolate heaven .
We were making what we lovingly called the “chocolate and wafer torte,” a fancy name for a layered delight that would make even willy wonka smile.
I remember the excitement of waiting for it to chill. it felt like forever, but trust me, every minute was worth it.
If you have a thing for chocolate recipes homemade , then this is the one for you.
What’s the Scoop on This Dessert?
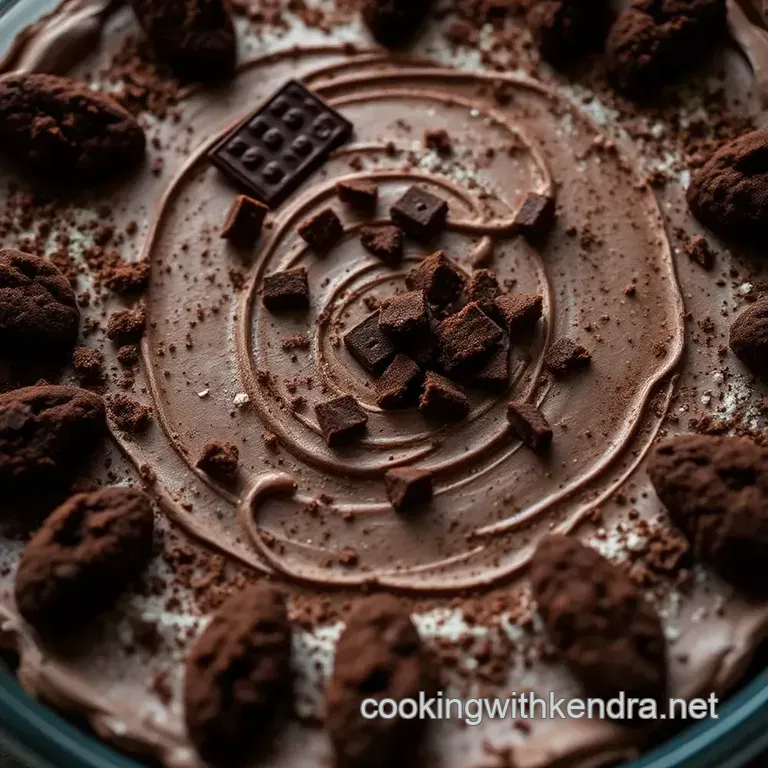
The decadent chocolate wafer torte is not just a modern creation but has roots in classic dessert traditions. it brings together layers of creamy chocolate and crisp wafers, a combination that’s sure to impress anyone at the dessert table.
It’s a star player at birthday parties, holiday gatherings, or even just a casual tuesday night when you want to treat yourself.
Now, let’s break it down a bit: prep time for this gem is about 20 minutes, and you’ll need to chill it for at least 2 hours (patience is a virtue, my friends).
The difficulty level is medium, but if you can melt chocolate and whip cream, you’re already halfway there. plus, it yields about 8 servings, so it’s perfect for sharing.
..or not. 😉
Why Bother? Here’s the Lowdown on the Benefits
Alright, let’s talk health (kind of). while a decadent chocolate wafer torte isn’t exactly a salad, it has some redeeming qualities like chocolate! dark chocolate has antioxidants, and if you’re using quality ingredients, your taste buds and waistline might actually find common ground.
Plus, it’s an ideal centerpiece for celebrations. want to impress your guests? this bad boy draws the attention of even the toughest critics.
What really makes this torte stand out, though, is how easy it is to whip together compared to other chocolate dishes .
Unlike the more challenging chocolate mousse cake , you won’t have to worry about baking temperatures or timing. it’s a stress free dessert joyride!
Ingredients You’ll Need
Before diving in, let’s get your shopping list straight. Here’s what you need for our Decadent Chocolate Wafer Torte :
For the Chocolate Filling:
- 8 oz semi sweet chocolate, chopped
- 1 cup heavy cream, divided
- 1 tablespoon granulated sugar
- 1 teaspoon vanilla extract
For the Wafer Layers:
- 12-15 chocolate wafer cookies (about 6 oz)
- Optional cocoa powder for dusting
Grab a few kitchen tools like a mixing bowl, whisk, and a fancy springform pan, and you're all set. It's easier than a Sunday morning pancake recipe, I promise!
Time to Get Cooking!
So, are you ready to transform your kitchen into a chocolate paradise? we'll get into the nitty gritty of making this torte shortly.
But i want to remind you don’t skimp on chilling time; this delightful dessert really shines when it’s had a good rest in the fridge.
Besides, it gives you time to swing by the couch and binge watch a couple episodes of your favorite show while waiting!
Trust me, when you take that first bite of this decadent chocolate wafer torte , you’ll know all the waiting was worth it.
Now, without further ado, let’s talk about how to bring this sweet creation to life!
Your Go-To Guide for Essential Ingredients
Hey there, all you home cooks and dessert ensoiasts! today, let’s dive into an essential ingredients guide that'll not only help you whip up those drool worthy treats but also make your kitchen a little more awesome.
Whether you’re creating an easy chocolate mousse or trying out that decadent chocolate wafer torte (oh my gosh, it’s divine!), this guide is your ticket to the big leagues of cooking.
Premium Core Components
First up, it's all about the premium core components . When you're diving into recipe development, knowing how to measure is key.
- Detailed Measurements: Let’s keep it real. In the U.S., a cup is 8 oz, but in metric, that’s about 240 mL. Remember, precision is everything!
- Quality Indicators: Always look for glossy, rich colors in your chocolates. If it looks sad and dull? Skip it. Life's too short for bad chocolate, right?
- Storage Guidelines: Ever wonder how long that fancy chocolate will last? Generally, it'll keep well in a cool, dark place for about 1 year . But once you open it, watch out it can get crumbly!
- Freshness Tips: When selecting ingredients, check the expiry date. Fresh herbs? Sniff ‘em! If they smell vibrant, they’re good to go.
Signature Seasoning Blend
Now, let’s spice things up with some signature seasonings .
- Essential Spice Combinations: Think classic! A pinch of salt can make sweet things sing. Don’t skimp on it when crafting that Chocolate Mousse Recipe !
- Herb Selections: Basil with chocolate? You bet! Mint is another magical pick that gives your goodies a refreshing spin, like a twist on your typical chocolate dishes.
- Flavor Enhancers: Got vanilla extract in your pantry? Use it! It elevates chocolate flavors, and you don’t want to miss this.
- Regional Variations: Ever tried going south with cinnamon in your Chocolate Chip Mousse ? It's a game changer!
Smart Substitutions
Let’s chat about those moments when you realize you’re missing an ingredient.
- Common Alternatives: No heavy cream? Don’t sweat it. You can use evaporated milk or coconut cream for that luscious texture in your mousse or tortes.
- Dietary Modifications: You’re vegan? No worries! Many chocolate brands have dairy-free alternatives that work perfectly for your desserts.
- Emergency Replacements: Running out of chocolate wafers? Grab those graham crackers! They’ll lend a sweet, crunchy twist to your torte.
- Seasonal Options: Use in-season fruits for garnishing. Raspberries in summer? Yes, please!
Kitchen Equipment Essentials
Finally, let’s make sure you’re set with the right tools.
- Must Have Tools: Don't even think about skipping a whisk or a mixing bowl. Trust me, trying to mix by hand? Not fun.
- Alternative Equipment: Don’t have a double boiler? You can use a heatproof bowl over a saucepan. Get creative!
- Preparation Tips: Always read through your recipe before you dive in. It helps you avoid those “oh no” moments!
- Storage Solutions: Keep an eye out for cute organizers for your spices. Nothing feels more pro than having everything at your fingertips.
With these tips in your pocket, you’re all set to tackle that decadent chocolate wafer torte or even a charming mini dessert easy recipe.
Can’t wait to share the step-by-step instructions? stay tuned! you’re going to want to grab your apron and get mixing because these chocolate recipes homemade are going to take you to dessert heaven! 🍫
Mastering the Art of Professional Cooking
Alright, friends, let’s dive into the delightful yet challenging world of professional cooking! whether you’re a food ensoiast or simply trying to impress at your next dinner party, understanding the basics of cooking like a pro can elevate your kitchen game.
Today, we’re not just dipping our toes; we’re diving deep into essential preparation, step-by-step processes, expert techniques, and success strategies.
So, grab a seat, maybe a snack (chocolate, anyone?), and let’s get started!
Essential Preparation Steps
First up, mise en place that fancy french term you’ve probably heard a lot but might wonder what it really means.
Simply put, it’s all about having your ingredients ready and organized before you start cooking. picture this: you're whipping up a chocolate mousse cake and suddenly realize you forgot to chop the chocolate! panic mode sets in.
Avoid that by prepping ahead!
Now let's get real about time management . cook like a ninja and keep an eye on your prep. if a recipe says, “chill for 2 hours,” set a timer.
Speaking of which, organization is also key. keep your workspace tidy. a clean kitchen is a happy kitchen, my friends!
Oh, and don’t forget about safety! Always be cautious when handling sharp knives and hot equipment. Remember, nobody wants an accidental trip to the ER while trying to impress their date!
Step-by-step Process
Now that you’re prepped and ready, let’s break this down into clear, numbered instructions. first, whenever you're cooking at home, always control your temperatures carefully .
For example, when you melt chocolate for a 1 ingredient chocolate mousse , keep it around 120° f to avoid burning it.
Your taste buds will thank you later!
Timing is everything! keeping track of how long things take is crucial. for instance, if your chocolate needs to cool for 30 minutes , don’t rush it! rush equals disaster.
Lastly, look for visual cues for doneness . is that cake rising? is the chocolate glossy and smooth? trust your eyes!
Expert Techniques
Let’s talk about some professional methods . ever experienced a grainy chocolate mousse? you probably didn’t temper the chocolate properly. critical steps matter, so take your time when mixing!
When you're preparing that decadent chocolate wafer torte, ensure your chocolate is smooth before adding in that fluffy whipped cream.
In case things go south (and they sometimes do!), don’t panic! keep a few troubleshooting tips handy. if your mousse isn’t stable, maybe you whipped the cream too hard.
Fold gently and let the gooey goodness come together. practice makes perfect!
Success Strategies
So, you’re almost a pro now! but let’s discuss some common mistakes to avoid . one classic blunder is not tasting your food.
Always do a little taste test to ensure the balance of flavors. remember, a pinch more of salt can elevate those chocolate dishes like nobody’s business!
When it comes to quality assurance, look for an indication of success like a luscious, creamy texture in your easy chocolate mousse .
Want to take it to the next level? consider making your dessert ahead of time. the flavors meld beautifully, leaving you stress free when it’s time to serve!
And hey, if you run out of something, improvise! Can’t find chocolate wafers? Use vanilla ones! The beauty of cooking is making it your own.
Final Thoughts
Cooking should be enjoyable, so don't sweat the small stuff! each attempt brings you closer to mastering the game. keep experimenting, keep tasting, and before you know it, you'll be whipping up beautiful desserts like the decadent chocolate wafer torte without breaking a sweat.
And speaking of delightful creations, we’ll wrap things up with additional information to further fuel your cooking adventures. Trust me; the world of chocolate and wafer desserts has so much more to offer so stay tuned!
Decadent Chocolate Wafer Torte: The Sweet Life Revealed
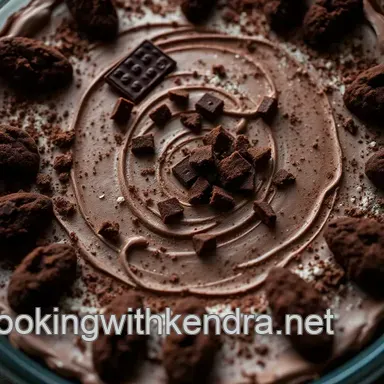
Alright, friends! let me tell you about something that’ll make your dessert dreams come true. this decadent chocolate wafer torte is like a hug for your sweet tooth.
Seriously, once you try it, you’ll be dreaming of layers of creamy chocolate filling snugged up between crispy chocolate wafers.
It's basically a love letter to chocolate and wafer lovers alike!
Pro Tips & Secrets: Unveil the Magic
Now, let’s get personal here. when i make this torte, i always remember one key thing: quality matters . use good chocolate, preferably with at least 60% cocoa.
Why? because you want those rich flavors to sing, not whisper!
For all my busy bees out there, here’s a little trick: prep your chocolate filling and whipped cream the night before .
Just let that creamy goodness chill overnight. it saves time and, trust me, your patience will be rewarded when you cut into that torte.
And if you ever feel like jazzing it up, throw in a pinch of sea salt on the chocolate before pouring the filling between the wafers.
The contrast of sweet and salty is just chef’s kiss !
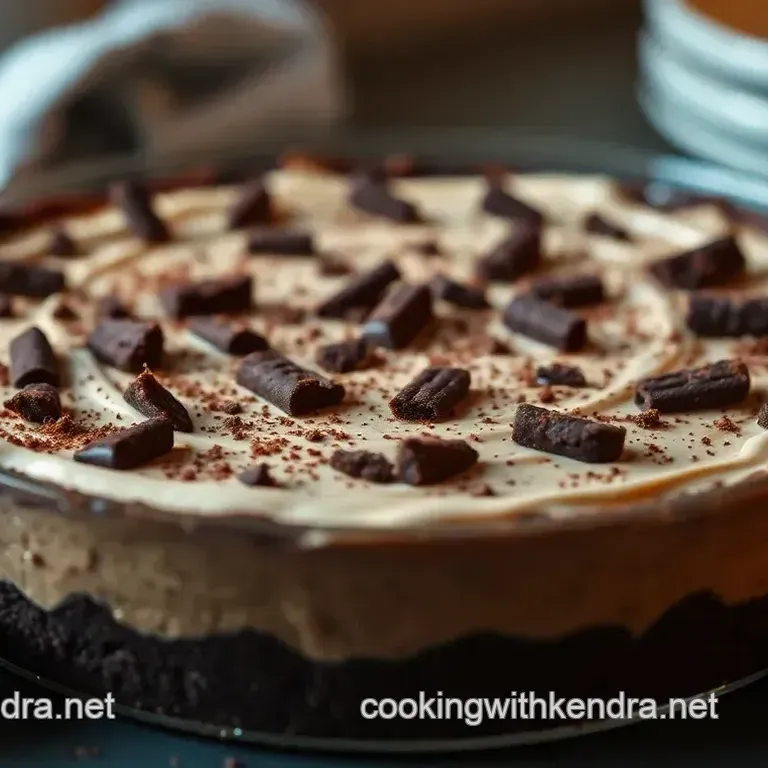
Perfect Presentation: Make It Pop!
Now that you've crafted this beauty, let’s talk about how to make it Instagram worthy. Plating matters , folks! Here's what I do:
- Use a gentle hand to remove the torte from the springform pan. Place it on a cute cake stand to add that wow factor.
- Dust the top with cocoa powder for a fancy finish; it’s like putting on your dessert’s best outfit!
- Throw on a few fresh berries around the base. The red pops against the dark chocolate and looks gorgeous!
Honestly, presentation can elevate even the simplest dessert into something special.
Storage & make-ahead: Keep It Fresh
Planning a get-together? This torte is a winner for make-ahead desserts!
Just store it in the fridge for up to 3 days. remember to cover it well so it doesn't absorb any funky fridge smells.
And if you want to reheat those leftover slices? just let them sit at room temperature for about 10- 15 minutes, and voilà! you’ve got a soft, gooey bite ready to hit the spot.
Creative Variations: Switch It Up
I love how versatile this recipe is! for those wanting to switch flavors, why not sub in dark chocolate for that richer taste? or if you’re feeling particularly festive, swap in peppermint extract for a holiday twist.
Everybody loves a bit of seasonal flair !
If you're navigating dietary restrictions, coconut cream can be a fantastic substitute for whipped cream, giving you that same luscious texture but with a unique taste.
And, hey, if chocolate wafers aren’t your jam, vanilla wafers bring a lovely vanilla essence that'll rock your world too.
Complete Nutrition Guide: Digging Deeper
Now, let’s break down the deliciousness. each slice of this torte is about 300 calories , which isn’t bad for a decadent treat, right? it has a healthy dose of sugar and fat but is loaded with joy.
Just remember to enjoy it in moderation maybe pair it with a nice cup of coffee to balance things out.
Let’s Wrap It Up!
So there you have it, folks! the secrets to making this decadent chocolate wafer torte not just tasty, but stunning and surprisingly versatile.
Whether you’re whipping it up for a birthday bash or just because it’s tuesday (and why not?), you can confidently create something beautiful.
Trust me, people will be raving about your dessert all night!
Remember, the best part of cooking is sharing with the ones you love. So grab those chocolate wafers, and let’s get to creating some magic! Happy baking! 🍫✨
Frequently Asked Questions
How do I store my chocolate and wafer torte?
Your chocolate and wafer torte can be stored in the refrigerator, covered tightly with plastic wrap or in an airtight container, for up to 5 days. Just make sure it's cool before storing to keep that lovely texture!
Can I make the chocolate filling ahead of time?
Absolutely! You can prepare the chocolate filling a day in advance. Just store it in the fridge after it has cooled; it will firm up nicely and be ready to use for your torte assembly!
What's the best way to cut the torte for clean slices?
The secret to beautiful slices is a warm knife! Dip your knife in hot water, dry it off, and then slice through the torte. This technique prevents the chocolate filling from sticking and keeps those crisp wafer layers intact!
Can I alter the recipe for dietary restrictions?
Yes, you can easily make this dessert accommodating dietary needs! For a dairy-free option, try coconut cream instead of heavy cream and swap the chocolate for dairy-free varieties. You can also use gluten-free wafers if necessary.
What are some tasty variations I can try with this torte?
There are plenty of ways to jazz up your torte! You could use dark chocolate for a deeper flavour, or add a layer of fresh berries between the layers for a fruity twist. Don’t hesitate to experiment with different flavor profiles!
How do I make my chocolate filling richer?
If you want an extra rich chocolate filling, consider using chocolate with a higher cocoa content or adding an extra tablespoon of sugar to the whipped cream before folding it into the melted chocolate. It’ll elevate the chocolatey goodness!
Decadent Chocolate Wafer Torte