The Rainbow Riot Brilliant Jello Poke Cupcakes
- Decoding the Damp Squib: Why These Jello Poke Cupcakes Are Necessary
- The Science of Super-Moist Baking: What Jell-O Does
- Gathering the Supplies: Essential Components for the Colour Riot
- Mise en Place for Maximum Moisture
- The Execution Phase: Step-by-Step Assembly Guide
- Moving from Batter to Brilliant Finish
- Mastering the Dessert: Troubleshooting and Pro Tips
- Extending the Fun: Storage and Customization Options
- Recipe FAQs
- 📝 Recipe Card
Decoding the Damp Squib: Why These Jello Poke Cupcakes Are Necessary
There is a delightful category of baking that manages to be both retro chic and deceptively sophisticated, and these vibrant Jello Poke Cupcakes sit squarely at the top.
While they might evoke memories of 1970s potlucks, the concept is brilliant: utilizing brightly coloured gelatin to inject both flavour and shocking amounts of moisture directly into the sponge base.
Unlike a standard cupcake that relies solely on sugar and fat for tenderness, the jello poke cake cupcakes technique transforms a simple, store-bought Cake Mix Recipe foundation into something almost custardy.
This recipe yields 24 wonderfully saturated servings, ensuring maximum return for minimal effort. If you’ve ever found yourself with a perfectly baked cake that was just a bit too dry, this method solves that problem permanently.
The Science of Super Moist Baking: What Jell-O Does
The secret behind the incredible tenderness of this recipe lies in the gelatin itself. When properly dissolved and cooled, the liquid Jell-O solution infiltrates the porous structure of the baked sponge, replacing the air pockets with a flavourful, setting liquid.
This completely changes the crumb structure, making the resulting cake astoundingly dense, damp, and fresh tasting for days longer than traditional baking.
The Magic of the Poke: Injecting Flavour and Colour
The critical step in the classic jello poke cupcake recipe is, naturally, the poking. By creating channels that run deep into the base, we allow the liquid gelatin solution to permeate the sponge fully.
We are using two 85-gram packages of Jell-o gelatin mix perhaps vibrant Cherry or Lime dissolved in 240 mL of boiling water, then cooled slightly with 120 mL of cold water. This vibrant liquid travels down the channels, setting into visible, colourful stripes that enhance flavour.
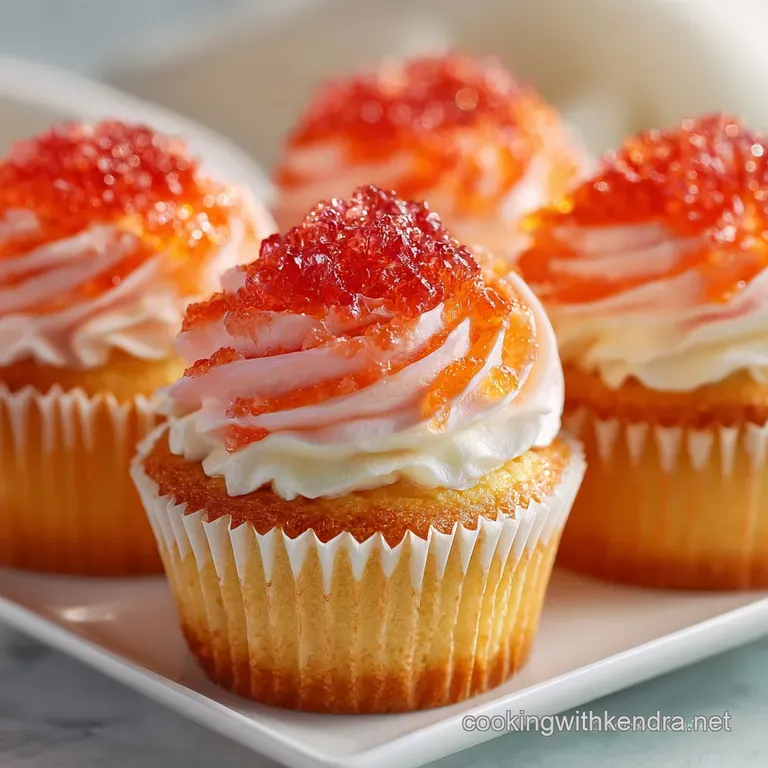
Imagine the bright, acidic punch of lemon jello poke cupcakes contrasted with a vanilla cake base, or the sweet familiarity of strawberry jello poke cupcakes that look almost tie-dyed when sliced.
Why This Recipe Outpaces Standard Cake Mixes
The foundation of this recipe is intentionally convenient: one standard box of white or yellow cake mix (ideally the type containing pudding). This choice streamlines the process, removing the variability of measuring flour and leavening agents from scratch.
To this base, we add 3 large eggs, 120 mL of neutral vegetable oil, and 240 mL of water or milk, creating a sturdy yet tender sponge that can handle the subsequent moisture infusion.
By introducing the liquid Jell-O soak after baking, we upgrade the inherent moisture of even the best Cake Mix Recipes , creating a depth of flavour and colour that traditional baking cannot match.
A Culinary Time Warp: Embracing the Retro Aesthetic
While the technique is scientifically sound, let's be honest part of the charm of the individual Jello Poke Cupcakes is their fun, unapologetically bold aesthetic.
This is a culinary throwback, a guaranteed conversation starter that taps into the nostalgia of the original Poke Cake phenomenon. The contrast between the brightly stained cake interior and the pristine white topping is visually arresting and brings a cheerful disposition to any gathering.
Gathering the Supplies: Essential Components for the Colour Riot
To execute these individual treats, which we could also call jello poke muffins due to their shape, you will need a few key components across three stages: the foundation, the soak, and the topping. For the base, procure your cake mix (432g box), the required liquids and eggs.
For the vibrant colour soak, secure your two preferred packages of Jell-O powder. Finally, for the light, fluffy finish, you will need 720 mL of heavy cream, 100 g of sifted icing sugar, and pure vanilla extract.
Mise en Place for Maximum Moisture
Proper preparation is non-negotiable for success when dealing with gelatin. Ensure all tools are ready and ingredients are measured before you begin, especially considering the crucial cooling and chilling times involved.
Pantry Checklist: What You Need for the Batter Base
Start by preparing the base batter. Combine the 432-gram cake mix with 3 eggs, 120 mL of vegetable oil, and 240 mL of water or milk. Ensure your oven is preheated to 175°C (350°F) and that your two 12-cup muffin tins are lined with paper cases, ready for the 24 servings.
The Jell-O Selection Matrix: Choosing Your Colour Palette
For the transformative soak, you need two 85-gram packages of gelatin powder. Once you have chosen your flavour, remember the specific liquid proportions: 240 mL of boiling water is needed for full dissolution, followed by a stabilizing 120 mL of cold water.
A pro tip: slightly reducing the cold water component results in a more concentrated colour and flavour stripe within the finished cupcake.
Beyond the Bowl: Required Tools for Successful Poking
While you will need standard mixing bowls and an electric mixer for the batter and frosting, the most crucial piece of equipment is often overlooked: the poker. Do not use a fork; its tines are too shallow.
A sturdy wooden skewer or a thin chopstick is essential for creating the 4-6 deep, defined channels in each of the 24 cupcakes, allowing the liquid to reach nearly to the liner.
Temperature Triage: Ensuring Optimal Ingredient States
Temperature is paramount in both the baking and finishing stages. The cake must be completely cool on a wire rack before the jelly solution is applied. On top of that,, for the topping, the 720 mL of heavy cream must be ice cold to achieve the proper stiff peaks when combined with the sifted icing sugar and vanilla extract.
Related Recipes Worth Trying
- The MillionDollar Butterfinger Cake Easy Poke Cake with Condensed Milk — This easy Butterfinger Cake recipe features a chocolate sponge infused with sweetened condensed milk topped with rich whipped cream and crunch A nostalgic...
- Foolproof Pudding Poke Carrot Cake Ridiculously Moist with Glaze — The ultimate Pudding Poke Carrot Cake recipe We infuse warm spice cake with vanilla pudding for unbeatable moisture topped with a Custard Cream Cheese Glaze...
- Decadent Salted Caramel Cheesecake Cupcakes with Homemade Sauce — These Salted Caramel Cheesecake Cupcakes are pure indulgence Get the secret to perfectly smooth creamy individual treats topped with liquid gold homemade...
The Execution Phase: step-by-step Assembly Guide
The process is divided into three distinct phases: baking, soaking, and chilling. The active preparation time is approximately 15 minutes, but patience is required during the 3– 4 hours of necessary chilling time.
Moving from Batter to Brilliant Finish
Building the Foundation: Mixing and Baking the Cupcakes
In a large bowl, combine your cake mix components. Beat the mixture on medium speed for a full two minutes to ensure maximum aeration and smoothness. Divide the batter evenly among the 24 lined muffin cups, filling each only about two-thirds full.
Bake for 18 to 22 minutes, or until a toothpick test proves clean. Immediately transfer the baked cakes to a wire rack to achieve full, mandatory cooling before moving to the next stage.
Prepping the Punch: Dissolving and Cooling the Gelatin
In a separate bowl, whisk your two packages of Jell-O powder with 240 mL of boiling water until every granule is dissolved this takes about two minutes of vigorous stirring. Once smooth, incorporate the 120 mL of cold water.
Allow this vibrant solution to cool to room temperature (about 10 minutes) before application; applying hot liquid to cool cake will result in a sticky, compromised sponge.
The Critical Poke Technique: How Deep to Go
Once the cupcakes are thoroughly cooled, take your sturdy skewer and pierce 4 to 6 holes in the top of each cake. These holes must reach almost to the paper liner to allow the colour to penetrate deeply.
Slowly spoon the prepared liquid gelatin solution over the punctured surfaces, ensuring the liquid has time to be fully absorbed into the channels rather than just running over the sides. Divide the entire solution evenly across all 24 individual cakes.
Setting the Colour: Chilling and Waiting for Magic
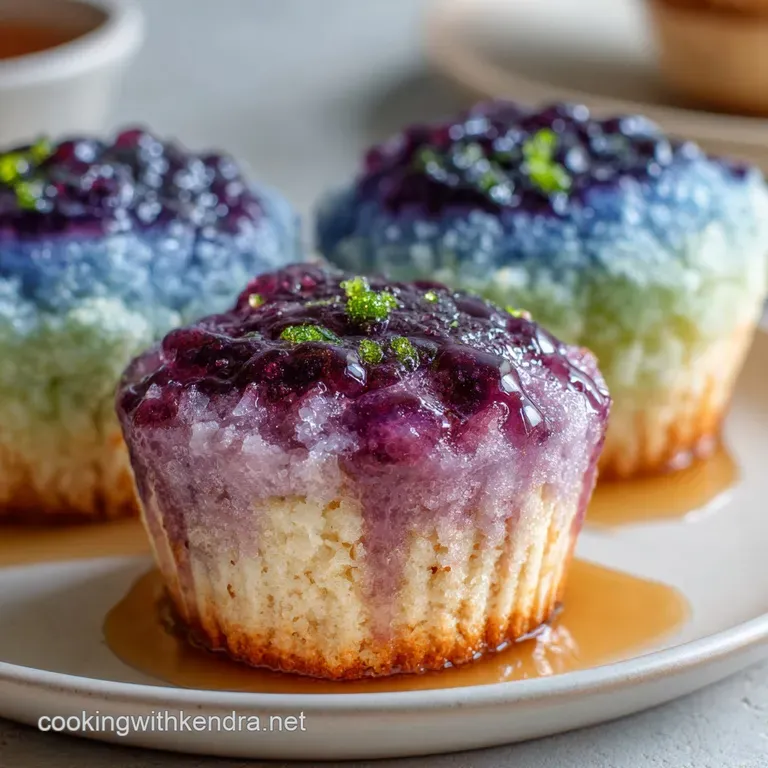
This is the non-negotiable step. Carefully transfer the saturated jello poke muffins to the refrigerator. They must chill for a minimum of three to four hours.
This lengthy chill time is essential for the gelatin to set firmly within the cake structure, yielding that wonderful damp texture and visible colour stripe that defines perfect Jello Poke Cupcakes .
Mastering the Dessert: Troubleshooting and Pro Tips
For the most vibrant results, remember the temperature mandate: the cake must be stone cold, and the jelly solution should be cooled slightly before application. If your jelly runs out the side, it means the holes were poked too close to the edge, or the cake was still too warm, melting the structure.
To achieve a deeply saturated look, use the specific measurement ratio detailed here less cold water than package directions to concentrate the flavour and colour. Never rush the chill time; attempting to frost before the jelly is set will result in a messy, liquid filling.
Extending the Fun: Storage and Customization Options
The sheer adaptability of the Jello Poke Cupcakes makes them ideal for both impromptu gatherings and catered events.
Swapping the Frosting: Alternative Toppings for Jello Poke Cupcakes
Our standard frosting utilizes 720 mL of cold heavy cream whipped with 100 g of sifted icing sugar and vanilla extract until stiff peaks form. However, if convenience is paramount, many bakers prefer jello poke cupcakes with cool whip or a store-bought stabilised whipped topping, which holds its shape perfectly and requires no effort.
Alternatively, for the tartness of the aforementioned lemon jello poke cupcakes , a cream cheese frosting would provide a rich, tangy counterpoint.
Safe Keeping: Optimal Storage for Maximum Freshness
Because of the gelatin infusion and the whipped cream topping, these desserts must be stored in the refrigerator. Place them in an airtight container to prevent them from drying out. They retain optimal freshness and texture for up to three days, meaning they are perfect for making ahead.
Troubleshooting Tips for Perfectly Set Jello Poke Cupcakes
If the jelly in your jello poke cupcake recipe seems runny after the chill, ensure your refrigerator temperature is low enough and that you used boiling water to dissolve the gelatin completely before adding the cold water. Incomplete dissolution leads to a weaker set.
If the liquid isn't soaking in evenly, you likely did not poke deep enough, or the cake surface was slightly greasy. Ensure the holes are ample and reach almost to the bottom.
Scaling Up: Adapting the Recipe for Large Parties
Since this recipe naturally yields 24 servings, it’s already built for a sizeable crowd. To double the batch for a truly large celebration, simply multiply all ingredients by two, utilizing four 12-cup muffin tins.
Maintain the same active prep time of 15 minutes and the 20-minute bake time, but remember that the inactive chilling time of 3– 4 hours remains essential, regardless of the quantity.

Recipe FAQs
I'm making these for a garden party. How long will these retro beauties last, and do they need to be kept in the fridge?
Yes, refrigeration is absolutely crucial, much like keeping a good trifle cold! Because these cakes rely on set gelatin and are topped with fresh whipped cream, they must be stored in the fridge right up until serving time.
They will stay perfectly delicious for 3 to 4 days when kept in an airtight container, though the fresh cream is usually at its peak within 48 hours.
My Jello Poke Cupcakes look a bit of a damp squib! Why aren't they absorbing the jelly, or why are they too soggy?
The secret lies in the execution of the ‘poke’ you need deep, narrow channels, so ditch the fork and grab a sturdy wooden skewer. Ensure the cupcakes are stone cold before you saturate them, and that the jelly solution has cooled slightly.
Pouring hot jelly onto a warm cake will compromise the sponge structure, leading to a messy, soggy result rather than clean, defined stripes.
I fancy myself a proper baker can I use a sponge cake recipe made completely from scratch instead of a box mix?
Absolutely, but choose your scratch recipe wisely! You’ll need a robust, slightly denser sponge like a classic layer cake recipe that has the structural integrity to hold the liquid without falling apart.
Avoid very delicate or light chiffon style cakes, as they tend to collapse under the pressure of the jelly soak. The boxed mix is simply a reliable cheat to guarantee that necessary sturdiness.
Can I mix and match colours and flavours for my Jello Poke Cupcakes, or do I need to stick to the recipe suggestions?
The beauty of this dessert is its versatility, so feel free to go wild! You can easily swap out the cake and jelly flavours perhaps pairing lemon cake with lime jelly for a zesty zing. If you want truly vibrant colours, use a white cake base, as chocolate tends to mask the internal brightness of the jelly.
Just be sure to maintain the proper ratio of boiling to cold water to ensure a solid set.
Sometimes the jelly colours don't look very vibrant once set. How do I make the colours really pop?
For that striking, saturated, 70s throwback look, the main trick is to slightly reduce the amount of cold water you add to the dissolved Jell-o mix. This concentrates the colour and intensifies the flavour.
Also, ensure you are using white or light yellow cake bases, as darker cakes simply won't show off those gorgeous, saturated internal stripes as well.
Easy Jello Poke Cupcakes Recipe
Ingredients:
Instructions:
Nutrition Facts:
| Calories | 185 kcal |
|---|---|
| Protein | 0.9 g |
| Fat | 9.4 g |
| Carbs | 9.0 g |
| Fiber | 0.1 g |
| Sodium | 54 mg |
