Instant Pot Rice: Fluffy and Distinct
- Time: Active 5 minutes, Passive 20 minutes, Total 25 minutes
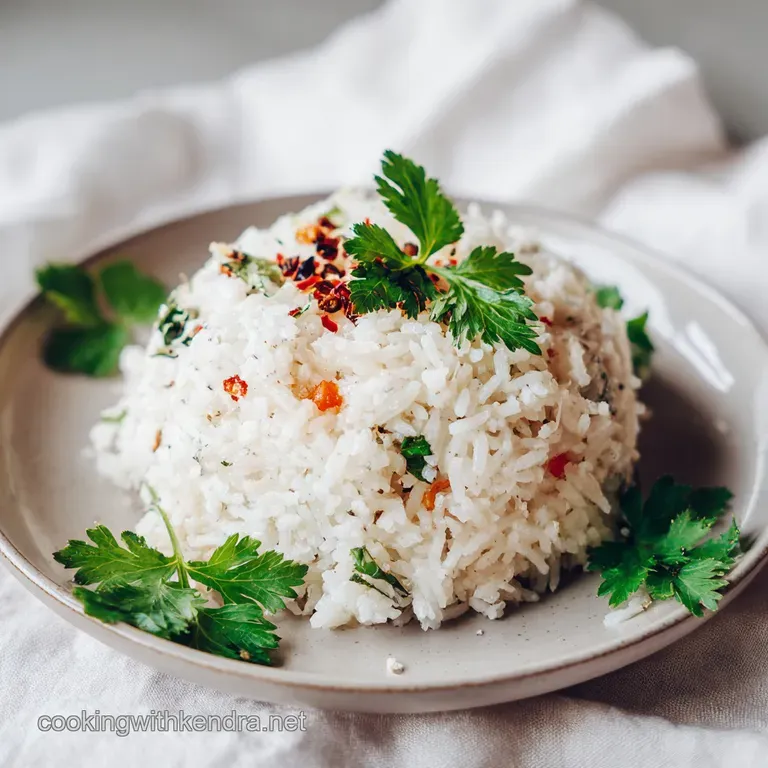
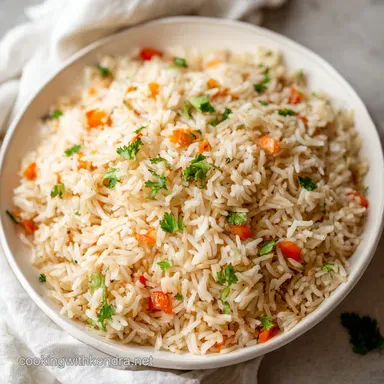
- Flavor/Texture Hook: Fluffy, distinct grains with a clean, nutty finish
- Perfect for: High pressure weeknight meal prep and vibrant Asian fusion bases
- Master Flawless Grains with Instant Pot Rice
- Essential Specs for Your Pressure Cooking
- Shopping List for the Ultimate Grain
- Professional Tools for Every Modern Kitchen
- Key Steps for Achieving Vibrant Fluffiness
- Fixing Common Texture and Burn Errors
- Creative Twists for Dynamic Flavor Profiles
- Smart Storage for Make Ahead Success
- Dynamic Pairings for Your Fusion Feast
- Dispelling Common Kitchen Grain Myths
- Recipe FAQs
- 📝 Recipe Card
Master Flawless Grains with Instant Pot Rice
We've all been there, standing over a steaming pot with a fork in hand, only to realize the "fluffy" rice we envisioned has turned into a sad, sticky mountain of starch. It’s the ultimate kitchen betrayal.
I remember hosting a dinner party where I tried to serve a vibrant Thai curry, but my rice was so gluey you could have used it to hang wallpaper. It was embarrassing, it was textural chaos, and it was entirely avoidable. The problem isn't your skills; it's the unpredictability of stovetop evaporation.
When you cook rice on the stove, you're constantly battling steam loss. Depending on your lid’s seal, the humidity in your kitchen, or even how high your burner is set, you lose an unknown amount of water. This leads to that classic "is it done yet?" guesswork that ends in mush.
This Instant Pot Rice method removes the variables. Because the environment is completely sealed, we can finally use a true, scientific ratio that yields consistent, distinct grains every single time.
In my kitchen, we don't settle for "okay" side dishes. We want grains that shatter slightly at the first bite before revealing a tender, velvety center. Whether you are prepping for a week of healthy bowls or setting the stage for a massive feast, this technique is your absolute insurance policy against the dreaded "glue gate." Let's get into why this mechanical approach beats the old-fashioned pot every day of the week.
Essential Specs for Your Pressure Cooking
Pressure Saturation: The high pressure environment forces moisture into the very core of the rice grain instantly, ensuring even hydration without the need for constant boiling agitation.
Starch Management: Rinsing the rice removes the excess surface amylose that causes sticking, while the small addition of oil creates a microscopic barrier between grains to keep them separate.
Evaporation Control: Since no steam escapes the sealed unit during the cook cycle, a 1:1 water to rice ratio is actually achievable and physically ideal.
Carryover Hydration: The 10 minute natural release isn't just a suggestion; it allows the internal steam to redistribute, finishing the grain gently without making it soggy.
| Method | Cook Time | Texture | Reliability |
|---|---|---|---|
| Instant Pot | 25 minutes | Pearly and distinct | 99% - Zero variables |
| Stovetop | 20 minutes | Can be soft or sticky | 60% - Lid dependent |
| Rice Cooker | 40 minutes | Very tender | 90% - Standard results |
Selecting the right method depends on your desired finish. While a traditional rice cooker is fantastic, the speed and texture precision of the Instant Pot makes it a modern kitchen essential for those who value both time and visual appeal.
Shopping List for the Ultimate Grain
The beauty of this recipe lies in its simplicity. We aren't hiding behind heavy sauces; we are highlighting the grain itself. Start with a high-quality long grain white rice. Look for brands that specify "extra long grain" for the most dramatic visual results.
You want grains that stay long and slender rather than swelling into plump, round shapes.
| Component | Role in Recipe | Pro Secret |
|---|---|---|
| Long Grain Rice | The structural base | Rinse until water is clear to prevent gummy clumps |
| Neutral Oil | Grain separation | Avocado oil adds a subtle silkiness without altering flavor |
| Sea Salt | Flavor development | Fine grain dissolves faster under pressure than coarse flakes |
For the liquid, while plain water is our standard, you can easily swap in a light vegetable or chicken broth for a savory boost. If you're looking for a perfect pairing for your next meal, this rice serves as a phenomenal base for my Teriyaki Chicken bowls where the sticky glaze can really soak into the fluffy grains.
- 2 cups long grain white rice Why this? Maintains better structure than short grain varieties during pressure cooking.
- 2 cups water Why this? The precise 1:1 ratio prevents the rice from becoming waterlogged.
- 1 tsp fine sea salt Why this? Seasoning the water ensures the flavor is cooked into the grain.
- 1 tsp neutral oil Why this? Prevents foaming and keeps individual grains from sticking together.
Professional Tools for Every Modern Kitchen
To get these results, you need a fine mesh strainer. A standard colander has holes that are far too large, and you’ll lose half your rice down the sink. Agitating the rice in a fine mesh sieve allows you to scrub away the surface starch that acts as "glue" once heated.
You want the water running through the rice to go from cloudy milk to crystal clear.
You will also want a silicone rice paddle or a wide spatula. Avoid using metal forks or spoons inside your Instant Pot’s inner pot, especially if it has a non stick coating. Beyond protecting the equipment, a wide paddle allows you to "fold" the air into the rice during the fluffing stage.
This prevents crushing the delicate grains you just spent 25 minutes perfecting.
Chef Tip: If your rice usually tastes "flat," try using filtered water instead of tap. It allows the natural, floral notes of high-quality rice to shine through without the interference of chlorine.
Key Steps for Achieving Vibrant Fluffiness

Place the 2 cups of long grain white rice in a fine mesh strainer and rinse under cold water. Agitate the grains vigorously with your hands for about 2 minutes until the water runs completely clear. Note: This is the most vital step for texture.
Add the rinsed rice and 2 cups of water to the Instant Pot inner pot. Ensure all the rice is settled at the bottom.
Add 1 tsp of fine sea salt and 1 tsp of neutral oil to the pot.
Stir the mixture once with your paddle to ensure all grains are submerged and no rice is stuck to the sides above the water line.
Secure the lid and set the steam release valve to the 'Sealing' position.
Select 'Pressure Cook' or 'Manual' on High Pressure and set the timer for 3 minutes.
Once the 3 minutes are up, leave the pot alone for 10 minutes. Allow the pressure to release naturally to finish the hydration process.
After 10 minutes, move the valve to 'Venting' to release any remaining steam, then open the lid carefully.
Use a silicone spatula to fluff the rice gently, lifting from the bottom to the top until the steam escapes and grains separate.
| Original Ingredient | Substitute | Why It Works |
|---|---|---|
| Neutral Oil | Unsalted Butter | Adds a rich, French style finish. Note: May foam slightly more. |
| Water | Bone Broth | Increases protein and adds a deep, savory umami profile. |
| Long Grain Rice | Jasmine Rice | Similar cooking time with a much more floral aroma. |
When substituting, keep in mind that brown rice requires significantly more liquid and time. This specific 3 minute method is tuned strictly for white long grain varieties to ensure they don't turn into mush.
Fixing Common Texture and Burn Errors
Why Your Rice Is Still Crunchy
If you open the lid and find grains that are hard in the middle, you likely skipped the natural release or your lid wasn't sealed properly. The 10 minute rest is when the residual heat finishes cooking the center of the grain.
If you do a quick release immediately, the temperature drops too fast, leaving the rice undercooked.
The Infamous "Burn" Notice
The Instant Pot is sensitive to scorched bits at the bottom. If you get a burn notice, it’s usually because a few grains were stuck to the bottom before the pressure built up, or you didn't add the oil. The oil helps lubricate the grains and prevents the starchy water from foaming up and triggering the sensors.
| Problem | Root Cause | Solution |
|---|---|---|
| Gummy Rice | Excessive surface starch | Rinse rice for a full 2 minutes until water is clear. |
| Scorched Bottom | Lack of fat or poor seal | Ensure the sealing ring is clean and add 1 tsp oil. |
| Hard Centers | Quick release too fast | Always wait the full 10 minutes for natural release. |
- ✓ Always use a dry measuring cup for rice and a liquid measuring cup for water to ensure a perfect 1:1 ratio.
- ✓ Double check that your silicone sealing ring is seated correctly before starting the cook cycle.
- ✓ Don't skip the oil; it acts as a natural anti foaming agent for starchy grains.
- ✓ Use a silicone paddle to fluff, as metal can break the delicate, cooked grains.
- ✓ If you're doubling the recipe, the cook time remains 3 minutes, but the time to reach pressure will increase.
Creative Twists for Dynamic Flavor Profiles
If you want to take this from a simple side to a main event component, start playing with aromatics. Throwing in a bruised stalk of lemongrass or a few slices of fresh ginger before sealing the lid will infuse the entire batch with a bright, Asian fusion vibe.
You can also replace half the water with full fat coconut milk for a velvety, tropical finish that pairs beautifully with spicy dishes.
For a Mediterranean twist, toast the dry rice in a teaspoon of oil using the 'Sauté' function for 2 minutes before adding the water. This adds a nutty, toasted flavor profile that is absolutely stunning. Just make sure to hit 'Cancel' before adding the water so the pot doesn't overheat and trigger the burn sensor. If you have leftovers, they are the secret weapon for my Broccoli Casserole recipe which uses pre cooked rice for a quick, cheesy weeknight bake.
Smart Storage for make-ahead Success
To keep your rice as fresh as the day it was made, you need to cool it down quickly. Spreading it out on a large baking sheet for 10 minutes before putting it in a container prevents the residual steam from continuing to cook the rice in the fridge.
This keeps the grains distinct and prevents them from turning into a solid block.
- Storage
- Store in an airtight container in the fridge for up to 4 days.
- Freezing
- This rice freezes beautifully. Place 2 cup portions in freezer bags, flatten them out, and freeze for up to 3 months.
- Zero Waste
- Never toss the "crusty" bits if you happen to get them. Those slightly crispy bottom grains are the best part of a stir fry. Also, the water you use to rinse the rice? It’s full of minerals use it to water your indoor plants!
When reheating, add a tablespoon of water per cup of rice and cover it loosely. This creates a mini steam chamber in the microwave or on the stovetop, reviving that velvety texture without drying the grains out.
Dynamic Pairings for Your Fusion Feast
Rice is the ultimate canvas for bold flavors. Because this method yields such clean, distinct grains, it is the ideal partner for "saucy" dishes. Think of it as a sponge that only absorbs what you want it to.
It’s the perfect foundation for a classic smothered chicken or a hearty beef stew where you want the rice to hold its shape rather than dissolving into the gravy.
- Asian Fusion: Pair with soy ginger glazed salmon or a spicy Gochujang tofu scramble.
- Classic Comfort: Serve alongside a rich, creamy mushroom gravy or roasted chicken.
- Meal Prep: Use it as the base for grain bowls topped with roasted sweet potatoes, black beans, and a lime crema drizzle.
Dispelling Common Kitchen Grain Myths
Many people believe you need a 2:1 water to rice ratio because that’s what it says on the back of the bag. That ratio is designed for stovetop cooking where you lose significant moisture to evaporation. In a pressure cooker, that extra water will leave you with a soggy mess.
Trust the 1:1 ratio it’s the physics of a sealed system.
Another myth is that you shouldn't salt rice until it's finished. In reality, salting the water allows the seasoning to penetrate the starch molecules as they expand and hydrate. This creates a much more deeply seasoned grain than simply sprinkling salt on top at the end.
Finally, don't worry about "over rinsing." You cannot wash away the "nutrients" of white rice; you are simply washing away the debris that ruins the texture. Stay bold in your technique, and you'll never have a "glue gate" incident again!

Recipe FAQs
How do you cook rice in my Instant Pot?
Rinse 2 cups of long grain white rice in a fine mesh strainer until the water runs clear. Add the rice, 2 cups of water, 1 teaspoon of sea salt, and 1 teaspoon of neutral oil into the pot, seal the lid, and pressure cook on High for 3 minutes, followed by a 10-minute natural pressure release.
What is the ratio of rice to water in Instant Pot?
Use a 1:1 ratio. For every 2 cups of long grain white rice, use exactly 2 cups of water to ensure the grains remain distinct and perfectly hydrated.
How to cook rice for diabetic patients?
Prepare the rice using the standard 1:1 ratio and allow it to cool completely before serving. Cooling cooked rice creates resistant starch, which can help lower the glycemic response compared to eating it piping hot.
How to cook rice for IBS?
Rinse the rice thoroughly under cold water to remove excess surface starch. Removing this starch before cooking makes the final product easier to digest, which is often helpful for those with sensitive digestive systems.
Is it true I must stir the rice frequently during cooking to keep it fluffy?
No, this is a common misconception. You should stir the mixture only once before sealing the lid to ensure no grains are stuck to the sides, then leave it completely undisturbed to allow the pressure to cook the rice evenly.
Can I perform a quick release to save time?
No, never use a quick release for rice. Allowing the pressure to release naturally for 10 minutes is essential for the steam to finish hydrating the grains; opening the lid early will result in uneven, hard centers.
How can I make the rice more flavorful for dishes like teriyaki?
Substitute the water with an equal amount of light chicken or vegetable broth. If you enjoyed mastering the steam sealed technique here, see how that same sticky perfection is achieved in our glazed chicken recipe.
Instant Pot Rice
Ingredients:
Instructions:
Nutrition Facts:
| Calories | 232 kcal |
|---|---|
| Protein | 4.3 g |
| Fat | 1.1 g |
| Carbs | 49.3 g |
| Fiber | 0.8 g |
| Sugar | 0.1 g |
| Sodium | 388 mg |
