The Cookie Monsters Dream Nobake Blue Velvet Layered Dessert
- Tapping into Childhood Joy: Why This Blue Dessert Rules
- Understanding the Layers of the Cookie Monster Layered Dessert
- Gathering Your Supplies for the Ultimate Cookie Monster Layered Dessert
- Key Components: What Makes the Blue Velvet Cream So Rich?
- Step-by-Step Guide to Assembling Your Icebox Masterpiece
- Chill Time Critical: Setting the Cookie Monster Dessert
- Troubleshooting and Expert Preparation Secrets
- Storage, Freezing, and Flavor Twists
- Recipe FAQs
- 📝 Recipe Card
Tapping into Childhood Joy: Why This Blue Dessert Rules
This vibrant, gloriously blue creation taps directly into the pure, unadulterated joy of childhood fun and imagination. It is the ultimate expression of Nostalgic Layered Sweets , offering a playful, memorable twist on classic comfort food flavor profiles.
This stunning Cookie Monster Layered Dessert delivers rich, buttery texture without requiring any complicated oven steps. Whether you are hosting a casual gathering or searching for unique Fun Birthday Desserts , this recipe is a guaranteed crowd pleaser that sparks immediate smiles.
Understanding the Layers of the Cookie Monster Layered Dessert
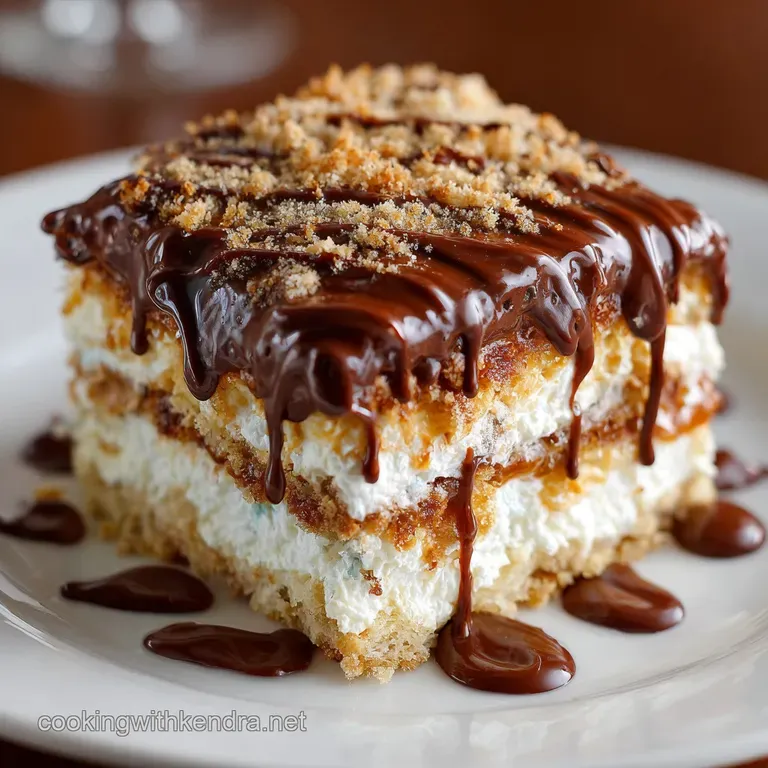
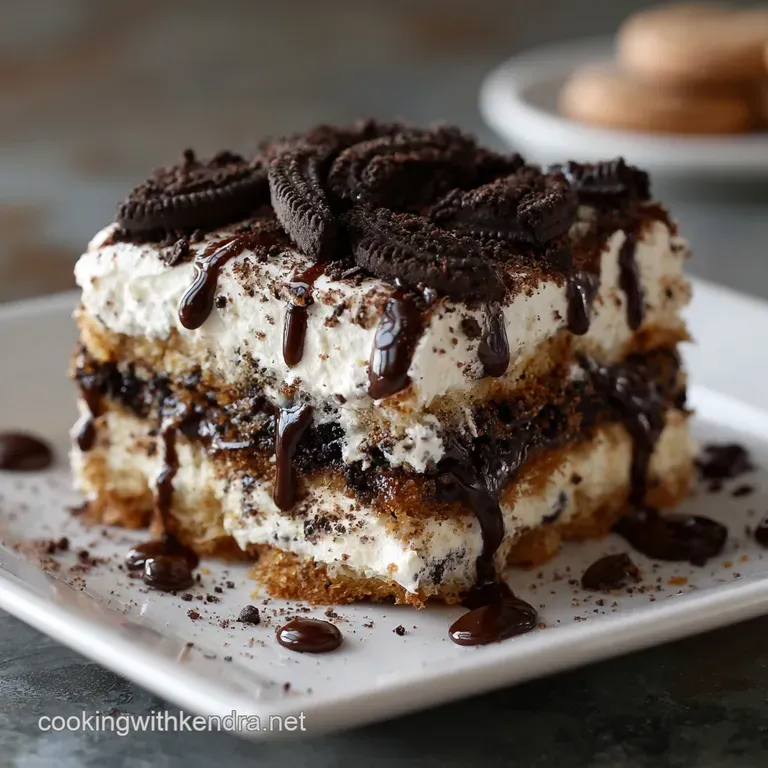
This icebox masterpiece is designed around three distinct textures that complement one another beautifully in every single bite. We start with a firm, dark chocolate crust that provides necessary structural integrity and a crucial element of bitterness.
This is followed by the core element: a thick, vibrantly blue cream cheese mousse, which defines this specific type of No-Bake Layered Dessert . Finally, the finishing layer of fresh, fluffy whipped cream and cookie crumbles adds essential lightness and visual appeal to this delightful Cookie Dessert .
The Magic of No-Bake: Dessert Without the Oven Sweat
The primary appeal of this Creamy Cookie Dessert Recipe is its inherent simplicity and ease of preparation in the kitchen. We rely entirely on the refrigeration process to set and firm up the rich, decadent filling, which means your kitchen stays cool and stress free.
This chilling method also results in an incredibly smooth, melt-in-your mouth texture that traditional baking simply cannot replicate.
A Showstopper That Doesn't Require Faffing
Despite its striking, vivid appearance, the active preparation time for this celebratory dish is remarkably short, typically requiring only about 30 minutes.
The complexity lies entirely in the organized layering and the patient chilling, making it perfect for busy hosts who want a high impact presentation. This recipe proves that you absolutely don’t need hours of intense kitchen labor to create truly spectacular Layered Desserts .
Crunchy Crust: Building the Foundation of Flavor
The stable foundation relies on commercially prepared chocolate sandwich cookies bound together with rich melted butter for a dark, stable base. This intense chocolate flavor provides a crucial counterpoint to the sweet, tangy filling above it in every vertical slice.
A properly pressed crust ensures your dessert holds together perfectly when it is chilled and cut.
The Iconic Blue Mousse: Achieving Perfect Velvet Texture
The filling is a glorious fusion of tangy cream cheese, lightened whipped cream, and intense blue gel coloring for that unmistakable look. Achieving a "velvet" texture requires carefully folding the lightened cream into the heavier base to maintain maximum aeration and body.
This thick, airy blue layer elevates this dish from a basic icebox cake into a true celebration of Chocolate Chip Cookie Dough Dessert inspiration.
Gathering Your Supplies for the Ultimate Cookie Monster Layered Dessert
While this is a strictly No-Bake Layered Dessert , efficient and rapid preparation still requires having the right specific tools ready to handle the necessary mixing and chilling processes.
Having everything laid out and ready streamlines the assembly, minimizing the chances of the cream cheese or whipped cream warming up unnecessarily. A standard 9x13 inch pan is essential for the ideal structure, yielding 12 satisfying and generous portions.
| Essential Tools | Purpose in Preparation |
|---|---|
| Electric Mixer | Crucial for whipping the heavy cream to stiff peaks and smoothing the cream cheese base. |
| 9x13 Inch Pan | Provides the necessary surface area for even layering and rapid, thorough chilling. |
| Rubber Spatula | Required for gently folding ingredients and spreading the delicate mousse evenly without deflation. |
Key Components: What Makes the Blue Velvet Cream So Rich?
The extraordinary richness of this Creamy Cookie Dessert Recipe comes from the careful balance of full fat dairy components and key stabilizers. We utilize the tangy, firm structure of softened cream cheese, which provides the necessary body and foundation for the mousse layer.
The very cold heavy whipping cream is the crucial element that incorporates air, transforming the initially dense cheese base into an irresistibly light, fluffy, and stable mousse.
Essential Baking Tools (Even for a No-Bake Recipe!)
A powerful electric mixer, whether a sturdy stand mixer or a high-quality hand mixer, is non-negotiable for guaranteeing success. You need sufficient speed and power to beat the cold heavy cream into stiff, reliable peaks quickly and thoroughly.
Plus,, a food processor is highly recommended for efficiently creating those uniformly fine cookie crumbs needed for the base layer.
Crumb Base Decisions: Selecting the Best Chocolate Cookie
Using dark chocolate sandwich cookies ensures a deeply satisfying, rich chocolate crust that holds its shape incredibly well when chilled. The cream filling inside these specific cookies contributes extra fat and flavor, which helps to properly seal the crust base and prevent excessive moisture absorption.
This stark contrast in texture between the buttery crumb and the soft mousse is absolutely vital for the overall enjoyment of the Cookie Monster Layered Dessert .
Mastering the Hue: Food Coloring Tips for Vibrant Blue
To achieve that striking, stunning, and saturated blue colour, you must always use professional, high-quality gel food coloring, specifically Royal Blue or Navy shades. Liquid food coloring will invariably dilute the mixture, resulting in a less vibrant pastel shade and potentially destabilizing the mousse’s ability to set firmly.
Always start with a small amount of gel and gradually add more, beating well after each tiny addition to ensure a uniform, truly vivid color saturation.
Expert Tip: Never use thin, watery liquid food coloring for intense shades like this. Gel coloring provides superior, concentrated saturation without adding excess moisture, guaranteeing your No-Bake Layered Dessert sets perfectly every time.
Dairy Choices: Cream Cheese vs. Mascarpone Considerations
The classic recipe calls for full fat cream cheese, which provides a pleasant, slightly acidic tanginess that effectively cuts through the overall inherent sweetness of the dessert.
However, substituting elegant mascarpone cheese offers a distinctly richer, butterier profile and results in a silkier finished texture with significantly less inherent tang. Both dairy choices yield an excellent, stable filling, but the final decision depends solely on your preference for refreshing complexity versus pure indulgence.
Sweeteners and Stabilizers: Getting the Mousse to Set Firmly
Powdered sugar (icing sugar) is essential here because its ultra fine texture dissolves instantly into the cream cheese, ensuring a smooth, beautifully grit free finished filling. The primary stabilizer in this Creamy Cookie Dessert Recipe is the high fat content from the whipped heavy cream and the naturally dense structure of the cream cheese itself.
Proper whipping to stiff peaks traps necessary air, which is then held firmly by the surrounding fats when the entire mixture is adequately chilled.
Related Recipes Worth Trying
- Foolproof Cream Puff Dessert Recipe Classic Profiteroles and Ganache — Master the classic Cream Puff Dessert Profiteroles with crisp Choux and rich Crème Pâtissière This elegant recipe is your foolproof guide to making perfect...
- Brown Butter Chocolate Chunk Cookie Recipes The Best Chewy Treat — These are the best cookie recipes for a glorious chew and crisp edges Brown butter gives this robust chocolate chunk recipe a deep nutty flavour Truly...
- NoSpread CutOut Sugar Cookies Recipe Flawless for Royal Icing — Achieve absolutely cracking CutOut Sugar Cookies that dont spread These buttery biscuits hold sharp edges perfect for royal icing and a strong cup of tea
step-by-step Guide to Assembling Your Icebox Masterpiece
Begin the layering by ensuring your chocolate crust is completely chilled and feels firm to the touch; this critical step prevents the moist, heavy filling from seeping down and creating an unpleasant soggy layer later.
The real key to successful assembly is working swiftly once the blue mousse is fully folded together, transferring it quickly and smoothly onto the chilled crust. Spread the mousse gently and evenly across the entire surface using a large offset spatula to maintain that essential smooth, flat top layer.
Chill Time Critical: Setting the Cookie Monster Dessert
Chilling is certainly not just an idle wait; it is the most crucial, final "cooking" phase for this specific No-Bake Layered Dessert . As the high fat contents cool down, the mousse tightens, solidifies, and achieves that ideal sliceable, structured consistency required for elegant serving.
Rushing the minimum chill time will inevitably result in a soft, messy, semi liquid filling, so genuine patience is absolutely necessary for ultimate success.
Pressing the Crust: Achieving a Seamless, Firm Base
After thoroughly mixing the cookie crumbs with the melted butter, it is absolutely critical to use the flat bottom of a measuring cup or a glass to press the mixture firmly and evenly into the pan.
Pay especially close attention to firmly pressing the corners and the edges to prevent crumbling when you eventually slice the dessert. A completely solid, well packed base is the structural foundation for a successful, beautiful, and stable Layered Dessert .
Mixing the Mousse: Whipping Cream to Stiff Peaks
The heavy cream you use must be extremely cold before you attempt whipping; for best results, place your mixing bowl and whisk attachment in the freezer briefly beforehand. Whip the cream quickly until the peaks stand completely straight up when the whisk is lifted, a point known as stiff peaks.
Under whipped cream will make the entire mousse mixture runny, while conversely, over whipping will result in an undesirable grainy texture.
The Art of Layering: Ensuring Even Blue Distribution
Once the vibrant blue filling is fully prepared and folded, spoon large, evenly spaced dollops over the chilled crust rather than carelessly dumping it all into one spot. Use a rubber spatula to carefully push the filling outwards, minimizing friction to avoid disturbing the buttery crust layer directly beneath.
Smooth the top surface gently and evenly before covering and sending the dish to the refrigerator to set.
Minimum Wait Times for Perfect Slices
While four hours represents the absolute minimum setting time for the structure, chilling this icebox dessert overnight yields the very best results for a truly firm, integrated texture.
The prolonged refrigeration allows the cream cheese and stabilized cream to fully set, hold their shape, and intensify their flavor profile. A fully set dessert ensures beautiful, clean, professional edges when you finally cut into the gorgeous blue filling.
Decorating Strategies: The Final Cookie Crumble Topping
The essential final flourish involves carefully covering the top layer of fresh, lightly sweetened whipped cream with generously crumbled Chocolate Chip Cookie Dough Dessert pieces.
This topping immediately adds wonderful visual interest and immediately reiterates the delightful theme, providing a final, necessary layer of textural crunch. Make sure to apply the cookie topping just immediately before serving so the crumbles remain optimally crisp.
Troubleshooting and Expert Preparation Secrets
A very common challenge when preparing this dish is accidentally deflating the mousse during the crucial folding step, which results in a disappointingly runny filling that simply won't hold its shape.
Always fold the whipped cream into the heavy base in small, manageable increments, using a large spatula in gentle sweeping motions from the bottom of the bowl upwards. Another key secret is ensuring your cream cheese is softened, but critically, not warm, before blending it thoroughly to eliminate any small lumps before introducing the lightened cream.
Storage, Freezing, and Flavor Twists
This impressive Cookie Monster Layered Dessert stores beautifully, making it an excellent candidate for thoughtful advance preparation days ahead of an event. Proper wrapping is essential to prevent the delicate top layer from drying out or absorbing foreign, unpleasant odors from the rest of the contents in the refrigerator.
Planning for creative variations also allows you to easily adapt this delicious classic concept for different events or specialized tastes.
Preventing a Soggy Bottom: Crust Sealing Techniques
The best defense against developing a soggy crust is allowing for adequate, uninterrupted chilling time immediately after pressing it into the prepared pan. Freezing the crust for 15 minutes before adding the wet filling helps solidify the melted butter, effectively creating a temporary, robust moisture barrier.
For added culinary insurance, some expert chefs suggest brushing a very thin layer of melted white chocolate over the crust before layering on the mousse.
Cutting and Serving Tips for Clean Slices
For truly picture perfect, professional looking squares of your beautiful Layered Desserts , use a long, sharp slicing knife dipped into very hot running water. Wipe the knife completely dry with a towel after executing each individual cut to remove any residual filling or crumbs that may be sticking to the blade.
This crucial step prevents the vibrant blue filling from smearing onto the white cream or mixing between slices, maintaining exceptional visual perfection.
Shelf Life: How Long Does This Layered Dessert Last?
When stored correctly in an absolutely airtight container in the refrigerator, this cream cheese based Cookie Dessert will maintain its peak quality for up to four full days.
While the flavors meld and truly deepen over time, be aware the chocolate crust will likely begin to soften slightly after the second day due to moisture migration. Freezing the finished product is possible, but the delicate texture of the mousse may unfortunately change upon thawing, potentially becoming somewhat grainy.
Quick Variations: Turning Blue into Pink (Elmo Variation)
If a vibrant blue colour isn't your desired theme, this versatile Creamy Cookie Dessert Recipe template adapts beautifully to other colors and flavors, making it excellent for other Fun Birthday Desserts .
Simply substitute the blue coloring for a vibrant orange or hot pink gel coloring, and swap out the chocolate chip cookies for plain vanilla wafers or colorful, thematic sprinkles. This easy adjustment creates a fun and bright "Elmo Variation" perfect for younger guests or different party themes.
Addressing Dietary Needs: Making This Recipe gluten-free
Adapting this decadent recipe for common gluten sensitivities is surprisingly straightforward and maintains the core, essential flavor profile flawlessly. You only need to ensure all your crumb components, specifically the chocolate sandwich cookies and the chocolate chip cookies used for the mix-ins, are certified gluten-free alternatives.
The essential structure and the stunning flavor of this celebratory Nostalgic Layered Sweet remain completely intact and delicious.

Recipe FAQs
Why is my blue mousse layer refusing to set properly?
The usual culprit here is insufficiently whipped cream or over mixing when folding the base if your cream doesn't hold stiff peaks, the mousse will be too sloppy. Ensure your heavy cream is icy cold, and when folding, be delicate; we’re aiming for aeration, not knocking the stuffing out of it!
How far in advance can I make this Cookie Monster Layered Dessert?
This is a brilliant make-ahead showstopper! You can prepare the entire dessert (crust and filling) up to two days in advance; just keep it tightly covered in the fridge, and hold off on adding the final whipped cream topping until about an hour before serving to keep it looking pristine.
Do I really need gel food colouring, or will the liquid stuff do?
For that vibrant, unmistakable Cookie Monster hue, gel colouring is essential, chap! Liquid drops add too much moisture to the cream cheese mix, which risks turning your firm mousse into a wobbly mess and gives a much duller, watered down blue.
Can I skip the chocolate sandwich cookies for the crust?
You absolutely can, though it won't be quite as rich! A classic digestive biscuit or Graham cracker crust works perfectly well, but monitor the butter ratio you might need slightly less to get that perfect "wet sand" consistency we're looking for.
I’ve ended up with a soggy bottom how can I stop my crust from getting wet?
A soggy bottom is a baker’s nightmare, even in a no-bake dessert! To avoid this, make sure you press the crust down very firmly before chilling, and ensure the filling is well mixed and sets quickly (i.e., don't put a warm filling on a cold crust).
Nobake Cookie Monster Layered Dessert
Ingredients:
Instructions:
Nutrition Facts:
| Calories | 1506 kcal |
|---|---|
| Protein | 3.0 g |
| Fat | 29.4 g |
| Carbs | 40.0 g |
| Fiber | 0.0 g |
| Sugar | 19.6 g |
| Sodium | 116 mg |
