Oreo Cookie Balls: Creamy and Fudgy
- Time: Active 45 minutes, Passive 1 hours 30 mins, Total 2 hours 15 mins
- Flavor/Texture Hook: Shatter crisp white chocolate shell with a fudgy, melt in-your mouth center
- Perfect for: Easter celebrations, spring potlucks, and beginner friendly dessert gifting
- Creating the Perfect No Bake Oreo Cookie Balls
- Why This Simple Ratio Works
- Essential Components for Velvety Centers
- Gathering Your Essentials
- Tools for a High Gloss Finish
- Steps for the Perfect Treat
- Solving Common Dessert Disasters
- Creative Twists for Every Season
- Guidelines for Keeping Treats Fresh
- Perfect Pairings for Your Sweets
- Recipe FAQs
- 📝 Recipe Card
Creating the Perfect No Bake Oreo Cookie Balls
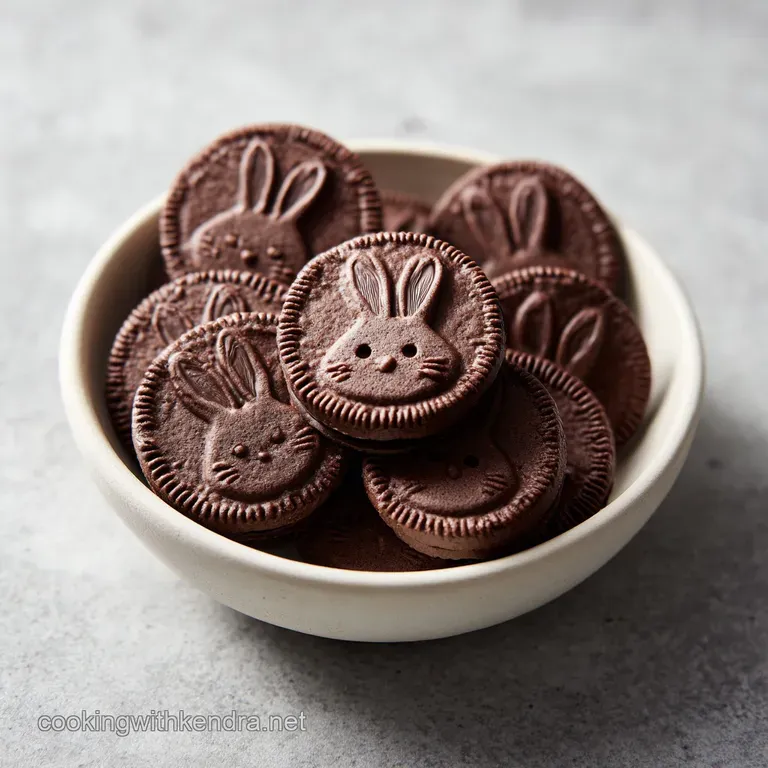
There is nothing quite like the sound of a food processor whirring 36 chocolate sandwich cookies into a fine, dark sand. It’s that deep, earthy cocoa aroma that hits you first, promising something far more sophisticated than the sum of its parts. I remember the first time I tried making these for a spring brunch.
I rushed the process, using cream cheese straight from the fridge and cheap chocolate chips that seized into a gritty, clumpy mess. It was heartbreaking to see all those beautiful cookies turn into a lumpy, oil slicked disaster.
But that failure taught me everything. These Oreo Cookie Balls are a staple in my Southern kitchen because they bring that classic comfort food vibe with a touch of whimsy. When you get that high gloss shell just right, and you hear that distinct "snap" as your teeth break through to the velvety core, you’ll understand why people lose their minds over these.
We aren't just making a snack; we're crafting a little bite of bliss that looks like a professional pastry chef spent hours on it.
This recipe is my targeted fix for the "soggy truffle" syndrome. We’ve all been there biting into a treat that feels heavy or greasy. By adding a pinch of sea salt and ensuring our temperatures are exactly right, we create a clean, sharp flavor profile.
This Easter version, with its adorable marshmallow bunny ears and pink sanding sugar, is the ultimate crowd pleaser that proves no bake doesn't mean no effort.
Why This Simple Ratio Works
The magic here isn't in a long list of ingredients, but in the structural integrity of how those ingredients interact. It’s a dance between fat and fiber.
- Thermal Bonding: The softened cream cheese acts as a biological glue, binding the dry cookie crumbs without making them soggy, provided the cheese is truly room temperature.
- Lipid Fluidity: Adding refined coconut oil to white chocolate lowers the melting point, ensuring the coating flows smoothly over the chilled balls for a professional finish.
- Crystal Stability: Freezing the portioned rounds for exactly 15 minutes prevents the warm chocolate from melting the cream cheese base, which would otherwise cause "bleeding" or streaks.
- Sodium Contrast: A tiny fraction of sea salt cuts through the heavy sugar content of the white chocolate, brightening the cocoa notes of the Oreo centers.
| Method | Total Time | Shell Texture | Best For |
|---|---|---|---|
| Stovetop (Double Boiler) | 2 hours 30 mins | Ultra Glossy | Large batches for gifting |
| Microwave (Small Bursts) | 2 hours 15 mins | Satin Finish | Quick weeknight treats |
Choosing the right melting method depends on your comfort level with heat. While the microwave is faster, the stovetop offers more control over the delicate white chocolate, which can scorch in a heartbeat if you aren't careful.
For these bunny themed desserts, the microwave method described below is perfect for getting that smooth, white finish that makes the pink royal icing pop.
Essential Components for Velvety Centers
To get that masterclass level texture, we have to look at what each component brings to the party. We aren't just mixing things together; we're building a structural masterpiece.
| Ingredient | Science Role | Pro Secret |
|---|---|---|
| 8 oz Cream Cheese | Emulsifying Binder | Always use the brick style; tub varieties contain too much air and water. |
| 16 oz White Chocolate | Structural Shell | Wafers contain more cocoa butter than chips, leading to a better "snap" when bitten. |
| 1 tbsp Coconut Oil | Viscosity Reducer | Refined oil ensures the chocolate stays thin enough to coat without leaving a heavy, waxy layer. |
When you start with the right foundation, the rest of the process feels like a breeze. I’ve seen folks try to use low-fat cream cheese, and honestly, don't even bother. You need that full fat content to keep the center fudgy rather than crumbly. For more on achieving that professional look, you might want to check out my Oreo Balls Recipe which dives even deeper into the coating process.
Gathering Your Essentials
Right then, let's look at what you'll need on your counter. Consistency is everything here, so don't eyeball these measurements.
- 36 Standard OREO Cookies: Why this? The ratio of filling to wafer is specifically calibrated for the perfect moisture level. (Substitute: Generic chocolate sandwich cookies, but you may need 1 extra tbsp of cream cheese.)
- 8 oz Brick style Cream Cheese: Why this? Provides the tangy, velvety structure required for a stable truffle center. (Substitute: Mascarpone for a richer, less tangy flavor.)
- 1/8 tsp Fine Sea Salt: Why this? Amplifies the chocolate flavor and balances the intense sweetness of the white coating. (Substitute: Standard table salt, but use a tiny bit less.)
- 16 oz White Chocolate Melting Wafers: Why this? Designed to melt smoothly and set firmly without the need for tempering. (Substitute: high-quality white chocolate bars, chopped finely.)
- 1 tbsp Refined Coconut Oil: Why this? Thins the chocolate for a professional dip and adds a subtle shine. (Substitute: Vegetable shortening if coconut oil isn't available.)
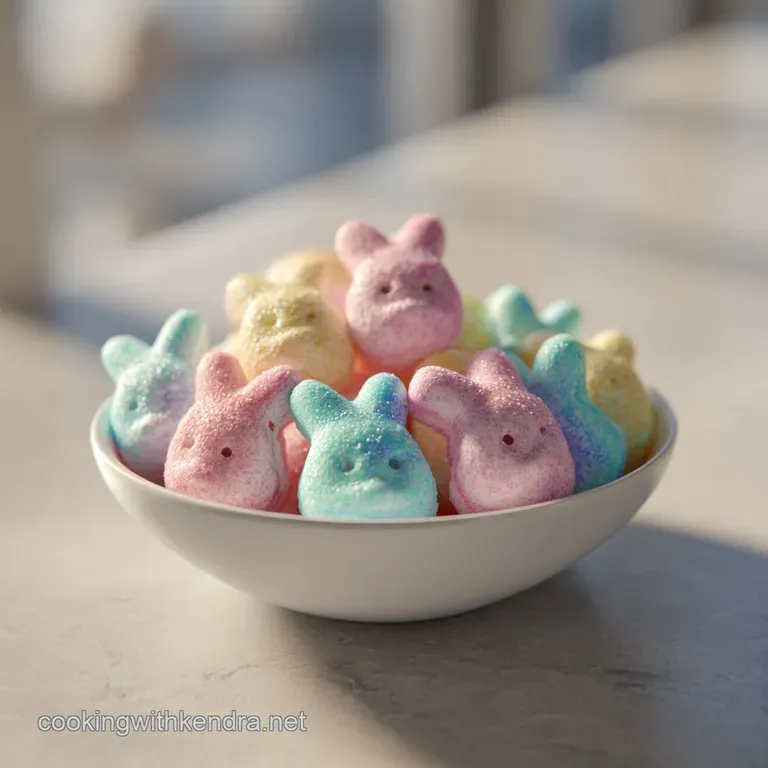
- 18 Mini Marshmallows: Why this? Their light, airy texture makes them easy to cut and stick as "ears." (Substitute: Sliced almonds for a more "natural" ear look.)
- 1 tbsp Pink Sanding Sugar: Why this? Adds a sparkly, crunchy texture to the bunny's inner ear. (Substitute: Pink sprinkles or crushed freeze dried raspberries.)
- 1 tbsp Pink Royal Icing: Why this? Dries hard and matte, making it perfect for the little bunny noses. (Substitute: Melted pink candy melts or a tiny dot of strawberry jam.)
Tools for a High Gloss Finish
You don't need a professional kitchen, but a few specific tools will make your life much easier. First, a food processor is non negotiable if you want that uniform, sandy texture. If you try to crush 36 cookies in a plastic bag with a rolling pin, you'll inevitably end up with large chunks that make the Oreo Cookie Balls look lumpy.
Next,, grab a small cookie scoop. Trust me on this trying to hand portion 36 identical rounds is a recipe for frustration. The scoop ensures every bunny is the same size, which means they'll chill at the same rate and look stunning on a platter.
Finally, a dipping fork or even a regular dinner fork with the middle tines bent slightly can help you achieve that high gloss finish without leaving huge fingerprints in the chocolate.
Steps for the Perfect Treat
- Pulverize the cookies. Place the 36 full Oreo cookies into a food processor. Pulse until they reach a uniform, sandy texture with no visible cream filling.
- Bind the dough. Add the 8 oz softened cream cheese and 1/8 tsp sea salt. Pulse again until a cohesive, dark dough forms that pulls away from the sides. Note: This ensures the salt is evenly distributed through the fat.
- Portion and roll. Line a baking sheet with parchment paper. Use a small cookie scoop to portion 1 inch mounds, then roll each between your palms until smooth and spherical.
- Flash freeze. Place the sheet in the freezer for 15 minutes until firm to the touch but not frozen solid.Note: Over freezing can cause the chocolate coating to crack as it expands.
- Prepare the coating. Melt the 16 oz white chocolate wafers and 1 tbsp coconut oil in the microwave in 30 second intervals. Stir until glossy and completely fluid.
- Temp the chocolate. Allow the chocolate to cool for 2 minutes. You want it to be warm, not hot, to avoid melting the chilled centers.
- The precision dip. Submerge each chilled ball into the chocolate using a dipping fork. Tap the fork against the bowl until the excess chocolate stops dripping.
- Add the ears. Slide the ball onto parchment and immediately attach two marshmallow halves. The chocolate acts as glue.
- Final decor. Use the pink sanding sugar on the sticky side of the marshmallows and dot the pink icing for the nose until the bunny face is complete.
- Set and chill. Allow the chocolate to set completely at room temperature or in the refrigerator for 60-90 minutes before serving. Look for a matte, firm finish.
Solving Common Dessert Disasters
Even with the best intentions, chocolate can be a fickle beast. If you've ever dealt with "sweating" truffles, you know the struggle. This usually happens when the temperature difference between the freezer and the room is too extreme.
Why Your Coating Cracks
If your white chocolate shell develops tiny hairline fractures as it sets, it’s usually because the Oreo centers were too cold. When the center warms back up, it expands slightly, putting pressure on the rigid chocolate shell.
Stick to the 15 minute freezer rule it’s the "Goldilocks" zone for temperature.
| Problem | Root Cause | Solution |
|---|---|---|
| Lumpy Coating | Centers too soft | Freeze balls for the full 15 minutes before dipping. |
| Seized Chocolate | Water contamination | Ensure all bowls and forks are bone dry; even a drop of water ruins white chocolate. |
| Gray/Dull Finish | Overheated chocolate | Melt in 30 second bursts and stir frequently to keep the temp low. |
Common Mistakes Checklist:
- ✓ Pat the cream cheese dry with a paper towel if there’s any surface moisture.
- ✓ Pulse the cookies into a "fine dust" before adding the cheese; chunks lead to cracks.
- ✓ Use a deep, narrow bowl for dipping to ensure the balls can be fully submerged.
- ✓ Don't skip the coconut oil - it provides the necessary elasticity for the shell.
- ✓ Let the excess chocolate drip off completely to avoid a large "foot" at the base.
Creative Twists for Every Season
Once you've mastered the basic technique, the world of Oreo truffles recipe variations is your oyster. For a spring themed alternative, you could try a "Golden Spring" version using Golden Oreos and a splash of lemon zest in the cream cheese. It’s light, bright, and incredibly refreshing.
If you’re looking for something more romantic, my Truffles with NoBake Bliss recipe shows how a little bit of food coloring and some heart shaped sprinkles can transform this same base into a totally different holiday treat. For the Easter party food ideas, consider swapping the white chocolate for light green candy melts and topping them with toasted coconut to look like little birds' nests with mini chocolate eggs in the center.
- If you want a deeper flavor, add 1/2 tsp of espresso powder to the cookie crumbs.
- If you want a crunchier shell, stir in 1/4 cup of crushed peppermint or toasted nuts into the melted chocolate.
- If you want a boozy kick, replace 1 tbsp of the cream cheese with 1 tbsp of Baileys or bourbon.
Guidelines for Keeping Treats Fresh
Because of the cream cheese content, these aren't the kind of treats you can leave on the counter for a week. They need a little chill to stay safe and tasty. I recommend storing them in an airtight container in the refrigerator for up to 5 days.
Any longer than that, and the moisture from the cream cheese starts to soften the chocolate shell, losing that signature "shatter."
For zero waste, if you have leftover cookie crumbs that didn't quite make it into a ball, save them! They make an incredible topping for vanilla ice cream or can be folded into a quick brownie batter.
If you find yourself with extra melted white chocolate, drizzle it over some pretzels or dried fruit for a quick bonus snack. You can also freeze the finished Oreo Cookie Balls for up to 2 months.
Just be sure to thaw them in the fridge overnight; a quick thaw on the counter can cause the chocolate to bloom (get those white, cloudy streaks).
Perfect Pairings for Your Sweets
When it comes to serving these, I love leaning into the Easter theme. A platter of these Bunny Oreo balls looks stunning next to a bowl of fresh strawberries or some lightly sweetened whipped cream.
Because they are so rich, they pair beautifully with a sharp, acidic beverage like a cold hibiscus tea or a strong cup of black coffee.
For a kid friendly Easter party food idea, serve them alongside "carrot" juice (orange flavored punch) and some fresh apple slices. The crispness of the fruit provides a nice textural break from the dense, fudgy centers of the truffles.
Whether you're making these for a church social or just a fun weekend project with the kids, the joy is in the decoration. Those little marshmallow ears make everyone smile, and that’s really what home cooking is all about sharing a bit of soul and a lot of sweetness.
In the end, this dish works because it respects the ingredients. We take the humble Oreo and treat it with the care of a truffle, resulting in something truly special. Just remember: keep your cream cheese soft, your chocolate warm, and your sense of humor intact when those marshmallow ears won't quite stand up straight.
They'll taste velvety either way!

Recipe FAQs
What essential items are needed for Oreo balls?
You need 36 Oreo cookies, 8 ounces of softened brick style cream cheese, 1/8 teaspoon fine sea salt, 16 ounces of white chocolate melting wafers, and 1 tablespoon of refined coconut oil. You also need mini marshmallows, pink sanding sugar, and pink royal icing for the decorative finishes.
Is it necessary to use a double boiler to melt the chocolate?
No, this is a common misconception. You can melt the white chocolate wafers and coconut oil in the microwave using 30-second intervals until the mixture is glossy and smooth.
How to shape the Oreo balls into bunnies?
Roll the dough into 1 inch mounds and submerge each into the melted chocolate. Before the coating sets, immediately attach two marshmallow halves as ears, then add pink sanding sugar and royal icing to create the nose.
How long should these chill before serving?
Allow the chocolate to set completely for 60 to 90 minutes. You can let them set at room temperature or speed up the process by placing them in the refrigerator.
How to ensure the dough reaches the right consistency?
Pulse the cookies in a food processor until they achieve a uniform, sandy texture before adding the cream cheese. If you enjoyed mastering this texture control, see how the same principle works in our decadent dirt cups.
Is there a specific way to prevent the chocolate from cracking?
Yes, chill the rolled cookie mounds in the freezer for 15 minutes before dipping. Additionally, ensure your melted chocolate cools for 2 minutes so it reaches the optimal dipping temperature without being too hot.
Does the brand have a specific stance on LGBTQ support?
Yes, the company frequently engages in campaigns and partnerships that demonstrate support for the LGBTQ community. This information is independent of the specific preparation steps required for these treats.
Oreo Cookie Balls
Ingredients:
Instructions:
Nutrition Facts:
| Calories | 144 kcal |
|---|---|
| Protein | 1.4 g |
| Fat | 8.5 g |
| Carbs | 15.7 g |
| Fiber | 0.3 g |
| Sugar | 12.0 g |
| Sodium | 71 mg |
