The Ultimate Red Velvet Cheesecake Swirl Cake
- The Showstopping Marriage: Unveiling Our Red Velvet Cheesecake Cake Masterpiece
- Why This Hybrid Bake Defies All Expectations
- Gathering the Essentials: Components for the Ultimate Red Velvet Cheesecake Cake
- The Step-by-Step Alchemy: Assembling Your Red Velvet Cheesecake Swirl
- Baking Dynamics: Mastering Temperature and Timing for a Flawless Finish
- Elevating the Experience: Frosting Finishes and Flavor Enhancements
- Recipe FAQs
- 📝 Recipe Card
The Showstopping Marriage: Unveiling Our Red Velvet Cheesecake Cake Masterpiece
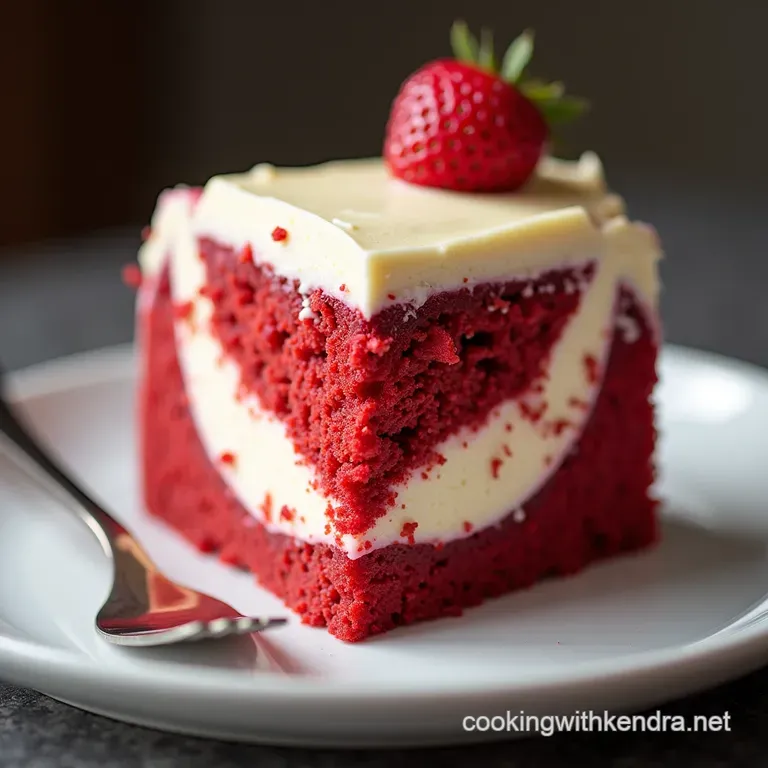
Prepare yourself for the show stopping finale to any dinner party! This isn't just a cake; it's two iconic American desserts rolled into one glorious bake. We combine the moist, velvety crumb and signature cocoa buttermilk tang of a classic Red Velvet cake with the rich, slightly tangy decadence of a baked Red Velvet Cheesecake .
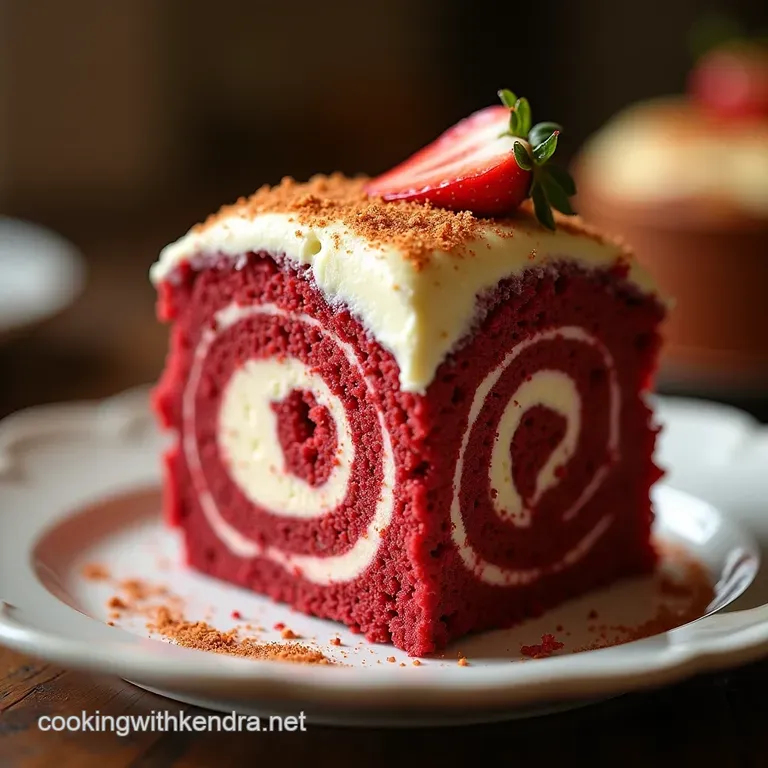
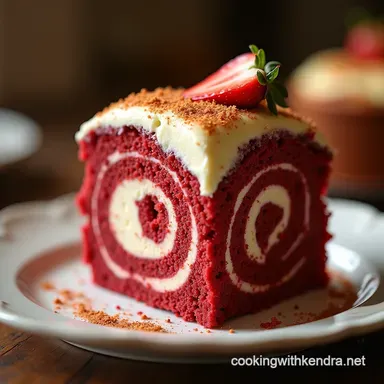
It’s a visual triumph, looking exactly like a marbled masterpiece, and trust me, it tastes even better than it looks. Absolutely brilliant with a strong cup of tea! This Red Velvet Cheesecake Cake is a medium difficulty bake, demanding respect for its dual components, but the payoff in texture and flavour is monumental.
We'll spend about 45 minutes in active preparation, followed by a crucial overnight chill, ensuring the final Homemade Cheesecake structure is perfect for slicing.
Why This Hybrid Bake Defies All Expectations
The magic inherent in this dessert lies in its commitment to contrast. We are taking the slightly acidic, cocoa infused comfort of a Southern classic and layering it structurally and texturally with the dense, cool smoothness of New York style cheesecake.
This is not simply layering two different desserts; it is an intricate balancing act where one element enhances the other, creating something far superior to the sum of its parts.
Defining the Dual Texture Dream: Velvet Meets Cream Cheese Perfection
The defining characteristic of this Cheesecake Cake is the textural interplay. The Red Velvet Cake Taste off clearly favors moisture and airiness, relying on buttermilk and vinegar to activate baking soda for a light, open crumb.
Conversely, the cheesecake filling demands density, utilizing room temperature cream cheese and eggs to create that signature, silky set. When properly swirled, you encounter the slight spring of the cake, immediately followed by the smooth, cool melt of the cheesecake a constant, delightful surprise with every forkful.
The Secret to Achieving Restaurant Quality Swirls at Home
Achieving that gorgeous, distinct marbling, rather than a muddy mess, requires precision in two areas: batter consistency and swirling technique. Both the Red Velvet batter and the cheesecake filling must be mixed to the proper consistency the cake just combined, and the cheesecake perfectly smooth but not over whipped.
The key step, which we will detail later, involves only gently dragging a skewer or knife through the layered batters 3 or 4 times. This gentle agitation ensures the colors stay vibrant and distinct, creating the signature look of a truly professional Red Velvet Cheesecake Cake Recipe .
A Baker's Promise: Approaching This Complex Recipe with Ease
While this recipe incorporates techniques like a water bath, which can intimidate novice bakers, rest assured: we have streamlined the process. By ensuring all dairy ingredients are perfectly tempered to room temperature, we minimize lumps and over mixing.
On top of that,, the use of heavy duty foil for the water bath preparation removes the worry of leakage, allowing you to focus purely on the beautiful act of layering and swirling. We aim for an approachable mastery of this dual layered delight.
Gathering the Essentials: Components for the Ultimate Red Velvet Cheesecake Cake
To construct this magnificent dessert, you will need to assemble ingredients for three distinct structural elements: the optional base, the crimson cake batter, and the silken cheesecake filling.
For a standard 9 inch presentation serving 12, we require 24 ounces of full fat cream cheese for the filling alone, alongside the standard cake components. Ensure you have a reliable 9 inch springform pan; this is non-negotiable for easy release.
Securing Superior Texture: Ingredient Selection for Both Layers
The success of any Red Velvet Cheesecake rests heavily on the quality and temperature of the core ingredients. For the cake, we need the subtle tang of buttermilk, while the cheesecake relies on high fat dairy for its richness.
The Deep Crimson Batter: Key Pantry Staples for Rich Red Velvet Flavor
The velvety nature comes from the balance of fat, acid, and leavening. We start with standard all-purpose flour, granulated sugar, and a small amount of natural, non-Dutched cocoa powder just enough to enhance the flavour without darkening the iconic red hue.
Crucially, we use a full cup of room temperature buttermilk, which, when paired with baking soda and a touch of white vinegar, creates the desired lift and tang. The colour comes from high-quality gel paste food colouring, which provides concentrated colour without adding excess liquid that could compromise the crumb.
Crafting the Silken Center: What Makes This Cheesecake Filling Superior
To achieve that perfect, dense but creamy texture that separates this from a simple cream cheese frosting, you must use three full 8-ounce blocks of full fat cream cheese, all softened completely. The binding agents are three room temperature eggs and a half cup of full fat sour cream or Greek yogurt.
The sour cream contributes essential acidity, preventing the cheesecake from tasting flat, and ensures a final product reminiscent of the best classic Red Velvet Cheesecake Recipe .
Tool Kit Essentials: Non-Negotiable Equipment for Perfect Presentation
Beyond standard mixing bowls, a heavy duty, deep roasting pan is essential, as it will house the water bath. Always use a 9 inch springform pan for this build, as attempting to unmold a delicate Cheesecake Cake from a standard pan is a recipe for disaster.
We also strongly recommend using heavy duty aluminum foil to protect the outside of the springform pan from steam during the water bath process.
Related Recipes Worth Trying
- Best Peach Cobbler Cake Recipe Buttery Tender — Forget fiddly biscuits This easy Peach Cobbler Cake blends spiced fruit into a moist sponge with a crisp streusel top A true comfort classic ready for...
- Authentic Moist Tres Leches Cake Recipe with Toasted Meringue — Ditch the soggy sponge Learn how to make a truly sublime Tres Leches Cake that soaks up the three milks perfectly An easy milk cake recipe
- Foolproof Warm Lemon Pudding Cake Recipe Nans Classic — Make the most incredible Warm Lemon Pudding Cake that separates into sponge and sauce This simple recipe delivers that unbeatable Lemon Dream Cake texture...
The step-by-step Alchemy: Assembling Your Red Velvet Cheesecake Swirl
The assembly phase is where these two batters meet. If you opt for the classic, buttery graham cracker crust made by combining 1 ½ cups of crumbs with 6 tablespoons of melted butter and 2 tablespoons of sugar, pressed firmly into the base you must chill this thoroughly before layering.
Pour half of your prepared Red Velvet batter gently over the chilled base. Next, evenly dollop the entire cheesecake filling on top of that initial cake layer. Finally, scatter the remaining Red Velvet batter randomly across the cheesecake layer.
Now, take a knife or thin skewer and gently trace the blade through the layers 3 or 4 times, moving from the centre outwards, to create that signature marble effect.
Baking Dynamics: Mastering Temperature and Timing for a Flawless Finish
This hybrid requires a gentler bake than a standard cake, primarily driven by the needs of the cheesecake component. We preheat the oven to a relatively low 325° F ( 160° C).
Preparing the Pan: Ensuring a Clean Release for Your Layered Creation
Before the pan even enters the oven, it must be secured against moisture. Wrap the outside of your springform pan tightly with two, possibly three, layers of heavy duty aluminum foil, ensuring the foil extends high up the sides. This acts as a necessary shield.
Executing the Signature Swirl Technique for the Ideal Marble Effect
As mentioned, restraint is key. After layering the components, use a thin implement a butter knife or a long skewer works perfectly and draw it through the surface in wide, looping motions.
Do not poke deep toward the bottom crust, and do not repeat the motion more than four times in total; we want distinct ribbons, not a uniform colour wash.
The Water Bath Wisdom: Shielding the Cheesecake from Cracking
Place the foil wrapped springform pan inside your larger roasting pan. Carefully pour boiling water into the roasting pan until it reaches about one inch up the side of the springform.
This moist environment ensures even cooking and prevents the cheesecake from baking too quickly or drying out, thus safeguarding against cracks a common pitfall when baking a Homemade Cheesecake . Bake time will hover between 65 and 75 minutes.
The cake is done when the edges of the cheesecake are set, but the very centre retains a slight, gentle wobble.
Cooling Protocol: The Crucial Transition Phase After Baking
Never take a baked cheesecake directly from a hot oven to the counter. Once the baking time is complete, turn the oven off completely, prop the door open slightly (using a wooden spoon works well), and allow the Red Velvet Cheesecake Cake to cool gradually inside the water bath for one full hour.
After this hour, carefully remove the pan from the water, peel off the foil, and let it cool completely on a wire rack before transferring it to the refrigerator for at least four hours, though overnight is truly best for a firm slice.
Elevating the Experience: Frosting Finishes and Flavor Enhancements
Once perfectly chilled, the cake is ready for its crowning glory: a traditional, tangy cream cheese frosting. This frosting, made by creaming together 8 oz of softened cream cheese and ½ cup of softened butter, then gradually beating in 3 cups of sifted confectioners’ sugar and vanilla, provides the perfect sharp counterpoint to the rich, sweet interior.
You can pipe decorative borders or simply spread it generously across the top surface.
The Perfect Pouch: Whipped Cream Cheese Frosting Recipe Integration
To ensure a silky, manageable frosting that doesn’t weep, make sure your cream cheese and butter are truly at room temperature soft enough to leave an imprint, but not oily or melted. Sifting the powdered sugar prevents lumps from ruining the smooth texture.
Only beat until just combined and fluffy; over beating can incorporate too much air, leading to a less stable topping.
Troubleshooting Common Cheesecake Hiccups: Cracks and Sogginess Avoided
Cracking is almost always temperature shock or insufficient moisture during baking. Stick religiously to the water bath and the gradual, in-oven cooling process. Sogginess at the base typically results from a failure in the foil wrapping during the water bath.
If your cake cools and still seems too soft, do not panic an extra two hours in the fridge will usually firm up any remaining wobble in the Red Velvet Cheesecake Recipe portion.
Flavor Twists: Variations on the Classic Red Velvet Cheesecake Cake Formula
If you wish to experiment beyond this glorious classic, consider incorporating an espresso powder into the cheesecake layer for a mocha swirl, or mixing finely chopped pecans into the base crust for added crunch.
For a fun, portable treat after mastering the main bake, you can even cut the finished cake into squares and transform them into decadent Red Velvet Cheesecake Cake Pops .
Serving Suggestions: Pairing Recommendations for a Regal Dessert Presentation
This cake is rich and demands an acidic or sharp accompaniment to balance the creaminess. A tart raspberry coulis drizzled artfully around the plate cuts through the sweetness beautifully. Alternatively, serve chilled alongside a strong, slightly acidic iced coffee or a glass of dry Prosecco.
A final, elegant garnish of thinly shaved dark chocolate complements the subtle cocoa notes in the Red Velvet layer perfectly.

Recipe FAQs
Why does my Red Velvet Cheesecake Cake have a cracked top? I followed the water bath method!
Ah, the dreaded crack! Even with the bain marie, cracks often happen due to a sudden temperature change. The trick is to let the cake cool inside the turned off oven with the door propped open for at least an hour.
If the cheesecake filling was also over mixed, incorporating too much air, that can contribute to cracking as it bakes.
Can I make the Red Velvet Cheesecake Cake ahead of time, and how should I store leftovers?
Absolutely, making it ahead is highly recommended it tastes even better the next day after the flavours have truly married! Store the fully assembled cake, tightly covered with plastic wrap, in the refrigerator for up to 4 days.
If you plan on frosting it later, chill the plain cake for two days, then frost just before serving.
My Red Velvet layer didn't stay vibrant; it turned a bit brownish. What went wrong with the colour?
That’s usually an acid/alkaline issue or using the wrong cocoa. Ensure you are using natural (non-Dutched) cocoa powder, as the natural acidity reacts with the buttermilk and baking soda to create the best colour.
Also, make sure you've used a good quality, potent red gel food colouring, as liquid colouring often doesn't pack enough punch against the dark cocoa.
Is the crust optional, or is it vital for keeping the water bath from leaking into my Red Velvet Cheesecake Cake?
The crust is technically optional for flavour, but it is not what stops the water from leaking in! You must wrap the exterior of your springform pan securely in heavy duty foil (like preparing for a picnic hamper) before putting it in the water bath. The crust just offers a nice textural contrast to the soft fillings.
Can I skip the water bath entirely? I’m nervous about boiling water near a cake!
While we understand the trepidation, skipping the water bath (bain marie) is a bit risky for a recipe this decadent. The steam creates a humid environment that cooks the delicate cheesecake layer gently and evenly, preventing it from setting too fast and curdling or cracking.
If you absolutely must skip it, bake at a much lower temperature around 300°F (150°C) and accept a higher risk of a slightly less smooth texture.
Red Velvet Cheesecake Cake 2
Ingredients:
Instructions:
Nutrition Facts:
| Calories | 428 kcal |
|---|---|
| Protein | 3.5 g |
| Fat | 17.6 g |
| Carbs | 49.2 g |
| Fiber | 4.0 g |
| Sodium | 2387 mg |
