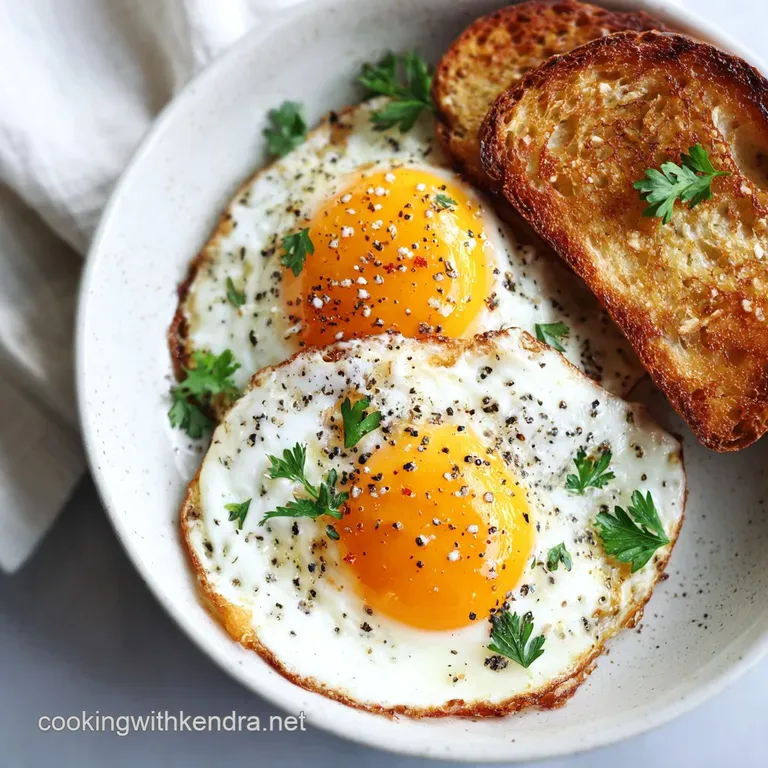
Sunny Side Up Eggs: Silky Whites, Flowing Yolk
- Time: Active 2 min, Passive 3 min, Total 5 min
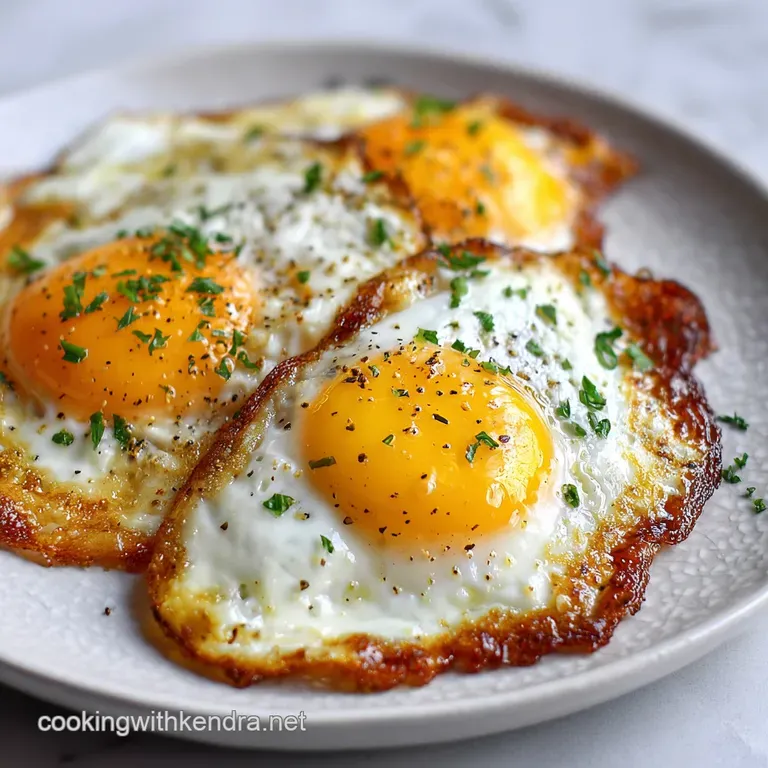
- Flavor/Texture Hook: Buttery, tender whites with a rich, flowing yolk
- Perfect for: Quick weeknight dinners or lazy weekend brunches
- Essential Specs for Egg Success
- Best Ingredients for Rich Flavor
- Essential Kitchen Tools for Frying
- From Initial Sizzle to Plate
- Troubleshooting Your Common Cooking Errors
- Simple Dietary and Health Adjustments
- Storage and Leftover Safety Tips
- Best Sides for Your Eggs
- Debunking Morning Egg Myths
- Recipe FAQs
- 📝 Recipe Card
There is nothing quite like the sound of a cold egg hitting a pool of foaming butter. That gentle sizzle is the soundtrack to my favorite mornings. I remember a Saturday a few years ago when I was determined to get that "restaurant look" at home.
I used to crank the heat up high, thinking speed was the goal, but I always ended up with crispy, brown plastic like edges and a raw, snotty top. It was frustrating, to say the least.
After dozens of rubbery attempts and broken yolks, I finally realized that the secret isn't in the spatula - it's in the temperature. This article shares a simple, delicious recipe for perfect Sunny Side Up Eggs with Butter and Salt.
When you get it right, the yolk acts like its own built in sauce, coating your toast in a way that no bottled condiment ever could. We're going to talk about why that low heat matters and how to avoid the common pitfalls that turn a simple egg into a kitchen disaster.
Trust me, once you see that yolk wobble perfectly on your plate without a hint of slime on the whites, you'll never go back to over high heat frying. We've all been there with the burnt bottoms, but those days are over. Let's get into the details of how to make this happen every single time.
Essential Specs for Egg Success
When we talk about making Side Up Eggs with Butter and Salt, we are really talking about precision on a small scale. It's a short process, but every second counts. Because we are only using four ingredients, the quality of each one stands out.
I usually grab the best eggs I can find at the market because the yolks are sturdier and less likely to pop the moment they touch the pan.
The Physics of the Buttery Set: Butter acts as a thermal buffer, distributing heat evenly across the egg's surface to prevent localized hot spots. This gentle conduction allows the proteins in the whites to coagulate slowly while the yolk remains fluid.
| Pan Type | Heat Level | Visual Cue | Doneness |
|---|---|---|---|
| Non stick | Medium Low | Whites fully opaque | 3 minutes |
| Cast Iron | Low | Edges slightly curled | 4 minutes |
| Stainless | Medium Low | Butter stops foaming | 3.5 minutes |
Choosing the right pan is the first big decision. I personally swear by a well seasoned 8 inch non stick skillet for a single serving. It gives the eggs enough room to spread without thinning out too much. If you try to cook these in a massive 12 inch pan, the butter will disperse too thinly and you might end up with dry spots. If you're looking for more variety in your morning routine, the technique here is quite different from what I use in my High Protein Scrambled Eggs recipe, where we aim for soft curd agitation rather than still life perfection.
Best Ingredients for Rich Flavor
The beauty of this simple egg recipe is that there's nowhere for mediocre ingredients to hide. Since we aren't whisking in milk or burying things under a mountain of cheese, the butter and the salt do all the heavy lifting. I always reach for unsalted butter so I can control the seasoning myself.
Some brands have a higher water content, which can cause more splattering, so a European style butter with higher fat is often worth the extra dollar.
Component Analysis
| Ingredient | Science Role | Pro Secret |
|---|---|---|
| Large Eggs | Protein Structure | Use cold eggs; they hold their shape better in the pan |
| Unsalted Butter | Heat Conductor | Wait for the "quiet foam" before sliding the eggs in |
| Fine Sea Salt | Moisture Draw | Season the whites specifically to help them set faster |
For the seasoning, don't just grab the table salt. A fine sea salt or even a flaked salt like Maldon adds a subtle crunch that contrasts beautifully with the creamy yolk. For the black pepper, freshly cracked is non negotiable.
The pre ground stuff tastes like dust in comparison to the floral, spicy kick of a fresh grind.
Ingredients List: 2 large eggs Why this? Farm fresh yolks are thicker and less likely to break (Substitute: 2 medium eggs) 0.5 tablespoon unsalted butter Why this? Provides a nutty aroma and prevents sticking (Substitute: Ghee or Avocado
Oil) 0.125 teaspoon fine sea salt Why this? Enhances the natural umami of the yolk (Substitute: Kosher salt) 0.125 teaspoon freshly cracked black pepper Why this? Adds a sharp bite to cut through the fat (Substitute: White pepper for a cleaner look)
Essential Kitchen Tools for Frying
You don't need a professional kitchen, but a few specific items make this much easier. A thin, silicone spatula is your best friend here. Metal spatulas are often too thick and can accidentally pierce the delicate underside of the egg.
I also recommend using a small ramekin or bowl to crack your eggs into before they go into the pan. This lets you fish out any stray shells and ensures you aren't dropping a broken yolk into hot grease.
If you are cooking for a crowd, you might be tempted to use the oven. It's a valid path, much like the method found in my How to Bake recipe, which uses indirect heat for a similar silky result. However, for that classic Up Eggs with Butter and Salt experience, the stovetop gives you much more control over the "shatter" of the edges.
Chef's Tip: If you find your whites are taking too long to set near the yolk, don't turn up the heat. Instead, place a lid over the pan for the final 30 seconds. The trapped steam will cook the top of the whites without filming over the yellow yolk.
From Initial Sizzle to Plate
Let's walk through the steps to get these Side Up Eggs with Butter and Salt onto your toast. Accuracy in the first sixty seconds defines the final texture.
- Place your small non stick skillet over medium low heat for about 2 minutes. Note: A preheated pan prevents the egg from sticking even on non stick surfaces.
- Add the 0.5 tablespoon of unsalted butter and swirl it around until the entire bottom is coated.
- Wait for the butter to melt and start foaming until the foam begins to subside. This is the "sweet spot" temperature.
- Crack your 2 large eggs into a small ramekin, being careful not to nick the yolk.
- Gently slide the eggs into the center of the pan. Note: Keeping them close together helps the whites merge into one cohesive shape.
- Immediately sprinkle the 0.125 teaspoon of sea salt and 0.125 teaspoon of black pepper over the top.
- Cook undisturbed for 2 to 3 minutes until the whites are completely white and opaque.
- Observe the area surrounding the yolk; if it is still clear or "jiggly," continue cooking for another 30 seconds.
- Slide a thin spatula under the eggs to ensure they move freely.
- Gently tilt the pan and slide the eggs onto a warm plate until they glisten under the light.
The total cook time is usually around 3 to 4 minutes depending on your stove's "low" setting. You want to hear a very faint sizzle, almost like a whisper. If it sounds like a thunderstorm, your heat is too high!
Troubleshooting Your Common Cooking Errors
Even with a simple dish, things can go sideways. The most common heartbreak is a broken yolk. If you're struggling, it's usually a matter of the "crack" or the "slide."
Why Your Egg White Stays Raw
If the whites near the yolk remain clear and snotty while the edges are getting crispy, your heat is likely a touch too high, or your eggs were very cold. The thickest part of the white takes the longest to cook.
You can gently "poke" the thick white with the tip of your spatula to spread it out, which helps it cook faster without affecting the yolk.
Why Your Yolk Turned Cloudy
This usually happens because the pan was covered too long or the heat was trapped. When the top of the yolk cooks, it develops a thin white film. It still tastes fine, but you lose that vibrant "sunny" look.
To fix this, skip the lid next time and try basting the whites with a little of the hot butter from the pan instead.
| Problem | Root Cause | Solution |
|---|---|---|
| Rubberway base | Heat too high | Reduce flame to medium low immediately |
| Stuck to pan | Pan wasn't preheated | Heat pan for 2 mins before adding butter |
| Broken yolk | Aggressive cracking | Use a flat surface to crack, not a sharp edge |
Common Mistakes Checklist:
- ✓ Never crack eggs directly on the rim of the pan (it pushes shells inside).
- ✓ Don't use a cold pan; the egg will soak up the butter instead of searing.
- ✓ Avoid high heat at all costs to prevent that "plastic" texture.
- ✓ Use a warm plate to serve so the eggs don't go cold instantly.
- ✓ Don't skip the butter; it's essential for both flavor and non sticking.
Simple Dietary and Health Adjustments
If you need to change things up for health reasons or pantry limitations, with Butter and Salt is a very forgiving base. While I love the richness of butter, I've had success with alternatives when I'm cooking for friends with different needs.
- Scaling Down: If you only want one egg, use 1 teaspoon of butter and a very small pan. The cook time remains the same, but watch the edges more closely as they will brown faster in a smaller volume.
- Scaling Up: To feed a family of four, use a large electric griddle set to 300°F. You'll need about 2 tablespoons of butter. Space the eggs at least 2 inches apart so you can get the spatula between them.
- Baking Large Batches: If you're doing 12 eggs at once, grease a sheet pan heavily with butter, crack the eggs on top, and bake at 350°F for 5 to 7 minutes. The texture is slightly different but much more efficient for crowds.
For a dairy-free version, avocado oil works well, though you miss that nutty finish. If you want a more "Mediterranean" vibe, use a high-quality extra virgin olive oil. It creates those lacey, crispy edges that some people actually prefer over the smooth buttery style.
Storage and Leftover Safety Tips
Honestly, fried eggs are best eaten within thirty seconds of leaving the pan. However, life happens! If you have leftovers, you can store them in an airtight container in the fridge for up to 2 days. Be warned: the yolk will firm up significantly as it sits.
To reheat, avoid the microwave at all costs unless you want a rubber disc. Instead, heat a small pan over low heat with a tiny drop of water. Place the egg in, cover it, and let the steam warm it through for about 60 seconds. This is the best way to keep some semblance of moisture in the white.
For zero waste, if you have a broken yolk or an egg that didn't turn out pretty, chop it up and toss it into a bowl of ramen or over a salad. The "messy" eggs still have all that flavor! Also, don't toss your eggshells; crush them up and put them in your garden or compost.
They are fantastic for adding calcium back into the soil.
Best Sides for Your Eggs
Now that you've mastered the Up Eggs with Butter and Salt, what do you serve them with? A thick slice of sourdough is my top choice. You need something sturdy enough to mop up that yolk. If you're feeling fancy, a side of lightly dressed arugula provides a peppery bite that balances the richness of the butter.
- The Classic Choice: Toasted brioche with a smear of avocado.
- The Hearty Choice: Crispy hash browns or sautéed sweet potatoes.
- The Light Choice: Sliced heirloom tomatoes with a drizzle of balsamic.
Regardless of what you choose, make sure your side is ready before the eggs hit the pan. These beauties wait for no one! If you're looking for a more "set" egg experience for a formal brunch, you might enjoy the elegance of my & Creamy Coddled Eggs recipe, but for a daily win, nothing beats the simplicity of the sunny side.
Debunking Morning Egg Myths
Let's clear the air on a few things I used to believe before I spent way too much time obsessing over my breakfast.
Myth: You have to flip the egg to cook the top. Truth: You absolutely do not. By using a lower heat and potentially a lid or the butter basting technique, you can cook the whites all the way through while leaving the yolk completely untouched and liquid. Flipping just increases the chance of a break.
Myth: Salt makes the eggs tough if added early. Truth: While this is true for scrambled eggs (it can make them weep), for a fried egg, adding salt early actually helps the proteins in the white break down slightly and set more evenly.
It doesn't affect the tenderness of a sunny side egg in the 3 minutes it's in the pan.
Myth: Brown butter is better for eggs. Truth: While delicious, brown butter can overshadow the delicate flavor of a fresh egg yolk. We want "foaming" butter, which is around 212°F, whereas brown butter is much hotter and can lead to those crispy, tough edges we are trying to avoid.
Keep it simple and keep it yellow.
Making the perfect breakfast isn't about fancy gadgets; it's about paying attention to the small things. The way the butter bubbles, the way the white transitions from clear to silk, and the way the salt disappears into the yolk. It's a meditative way to start the day.
I hope this helps you conquer your breakfast goals!

Recipe FAQs
Do you add salt to sunny side up eggs?
Yes, absolutely. Seasoning the whites early helps them set more evenly and enhances the overall flavor, without toughening them.
How to make a sunny side up egg with butter?
Melt butter over medium low heat until it gently foams, then gently slide in your eggs. Cook for 2-3 minutes until the whites are opaque, avoiding high heat to keep the yolk runny.
What's the secret to a perfect sunny side up egg?
It's all about temperature control. Use medium low heat and be patient; this allows the whites to set fully while keeping the yolk beautifully liquid and warm.
Why is it called son-in-law eggs?
This name comes from a Thai legend about a son-in-law who was lazy. He would boil eggs to impress his in-laws, but they'd overcook and turn rubbery, leading to the nickname.
Can I cook sunny side up eggs in advance?
Ideally, no. Sunny side up eggs are best enjoyed immediately after cooking to ensure the yolk remains perfectly fluid and the whites are tender.
What kind of pan is best for sunny side up eggs?
A non-stick skillet is generally best. It makes it easy to slide the egg out without breaking the yolk, ensuring a clean presentation similar to how you might achieve a delicate crust in our Crispy Pub-Style Breakfast Potatoes.
Should the egg yolk be firm or runny for sunny side up?
Runny is the goal. The defining characteristic of a sunny side up egg is a fully set white and a warm, liquid yolk that spills out when broken.
Sunny Side Up Eggs
Ingredients:
Instructions:
Nutrition Facts:
| Calories | 193 kcal |
|---|---|
| Protein | 12.7 g |
| Fat | 15.2 g |
| Carbs | 0.8 g |
| Fiber | 0 g |
| Sugar | 0.4 g |
| Sodium | 342 mg |
