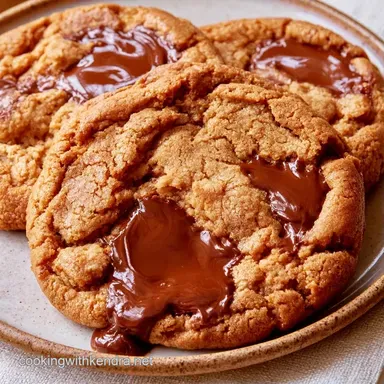
Chewy Brown Butter Chocolate Chip Cookies
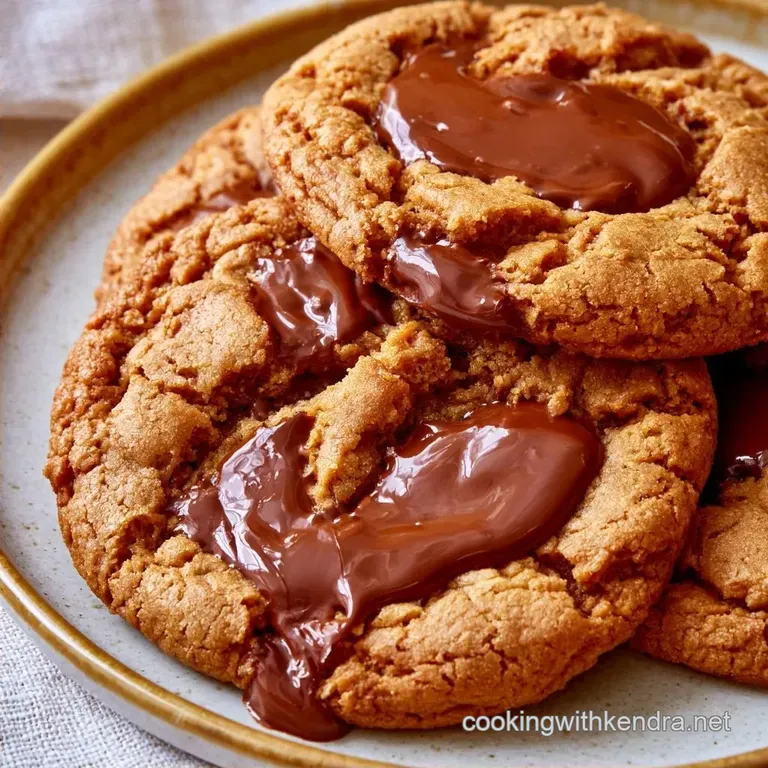
- Time: 30 min active + 2 hours chilling
- Flavor/Texture Hook: Mahogany edges with a soft, chewy center
- Perfect for: Holiday platters or a cozy weekend treat
Brown Butter Chocolate Chip Cookies
Watching butter foam in the pan is easily my favorite part of the process. It begins as a simple melt, evolves into a series of crackles and pops, and soon the whole house smells like a gourmet pâtisserie. I recall my first attempt where I was too impatient to let the butter cool.
Adding it hot created flat, oily puddles instead of cookies. It was a disaster, but it instilled a vital lesson: wait.
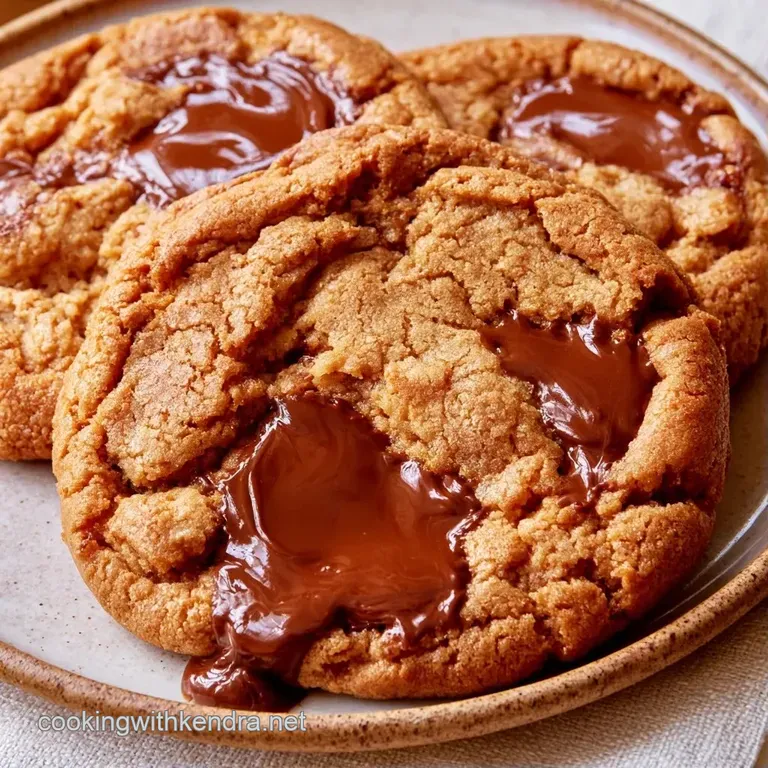
These treats are all about the textural contrast. The edges are crisp and shattering, while the center remains soft and fudgy. The interplay of salt and sweetness is what makes them so irresistible.
Achieving this doesn't require a pro kitchen. All you need is a heavy bottomed pan and a bit of time for the dough to chill. Trust the resting process; it's essential for the flavors to fully mature.
Quick Recipe Specs
| Goal | What to change |
|---|---|
| Extra Chewy | Add 2 tbsp more brown sugar |
| Crispier Edges | Bake for 15 minutes |
| Gooier Center | Use chocolate chunks instead of chips |
Reason for the Flavor
- Toasted Milk Solids: Heating the butter browns the proteins in the milk. This creates a nutty, rich taste that pairs perfectly with chocolate.
- Water Loss: Browning the butter evaporates some of the water content. This means less steam in the oven and a denser, chewier cookie.
If you're looking for a simpler version without the stovetop step, my classic chip cookies are a great place to start.
| Phase | Method | Result |
|---|---|---|
| Browning | Stovetop | Deep nuttiness and water removal |
| Baking | Oven | Caramelized edges and soft middle |
Essential Baking Ingredients
| Ingredient | Role | Alternative |
|---|---|---|
| Unsalted Butter | Adds richness and a toasted aroma | Salted butter (subtract 1/4 tsp salt) |
| Brown Sugar | Ensures moisture and chewiness | Dark brown sugar (for a deeper molasses taste) |
| Semi Sweet Chunks | Delivers bold chocolate bursts | Dark chocolate (70% cocoa) |
| Baking Soda | Provides the necessary lift | Baking powder (use 1.5 tsp) |
Ingredients Needed
- 1 cup (225g) unsalted butter, cubed Why this? Ensures it melts uniformly
- 3/4 cup (150g) packed light brown sugar Why this? Creates the signature chewy bite
- 3/4 cup (100g) granulated white sugar Why this? Helps the edges get crisp
- 2 large eggs, room temperature Why this? Creates a better emulsion with the fats
- 2 tsp (10ml) pure vanilla extract
- 2 1/4 cups (280g) of all-purpose flour Why this? Essential for structure and lift
- 1 tsp (5g) baking soda
- 1/2 tsp (3g) fine sea salt
- 2 cups (340g) semi sweet chocolate chunks Why this? Produces pools of melted chocolate
- 1/2 tsp (3g) flaky sea salt Why this? Balances the overall sweetness
Tools You'll Need
Simple equipment is all that's required. I recommend a heavy bottomed stainless steel skillet for browning the butter, as it allows you to clearly see the golden brown bits. Dark non-stick pans make this much harder to judge.
For creaming the sugar and butter, I usually reach for a stand mixer like a KitchenAid, though a hand mixer works perfectly too. You will also want a sturdy spatula to fold in the chocolate chunks and a baking sheet lined with parchment paper to ensure nothing sticks.
Steps to Bake Them
- Melt cubed butter in a heavy bottomed stainless steel skillet over medium heat. Stir steadily as it foams and sizzles. Cook until mahogany colored bits form on the bottom and the butter smells nutty.
- Immediately remove from the heat and transfer to a bowl to cool for 20 minutes. Note: Mixing hot butter into sugar will melt the dough.
- In a large bowl, cream the cooled brown butter and both sugars until light and fluffy.
- Mix in the eggs one at a time, followed by the vanilla extract.
- Whisk together the all purpose flour, baking soda, and fine sea salt in a separate bowl.
- Using a spatula, gently combine the flour mixture with the butter base until just blended. Avoid overmixing to ensure the cookies don't become tough.
- Stir in the semi sweet chocolate chunks.
- Shape the dough into 2 oz balls and place them on a tray.
- Cover with plastic wrap and chill in the refrigerator for at least 2 hours. Note: This stops the cookies from spreading too thin.
- Preheat the oven to 350°F (180°C). Bake for 13 minutes until edges are set and golden.
- Sprinkle with flaky sea salt as soon as they are removed from the oven.
Solving Baking Issues
The most frustrating thing is when you spend all that time browning butter only for the cookies to come out like flat disks. Usually, this comes down to temperature. If your butter was still warm when you added the sugar, or if you skipped the fridge time, the fat melts too quickly in the oven.
Another common issue is the taste. There is a very thin line between "browned" and "burnt." If your butter smells like smoke rather than nuts, you've gone too far. Start over, because burnt butter makes the whole batch taste bitter.
Fixing the Spread
If the cookies spread too much, your oven might be running hot, or the dough didn't chill long enough. Put the tray back in the fridge for 15 minutes before the next batch.
Dealing with Bitterness
Bitter notes usually come from over browned butter or using old baking soda. Always check the date on your soda to make sure it still has its lift.
Achieving the Right Texture
If they're too cakey, you might have added too much flour. Use a scale for the best results, or spoon the flour into the cup rather than packing it down.
| Problem | Root Cause | Solution |
|---|---|---|
| Flat Cookies | Butter too warm or no chill | Chill dough for 2+ hours |
| Burnt Taste | Overcooked butter solids | Remove butter at mahogany color |
| Cakey Texture | Too much flour | Use a scale or spoon and level |
| No Rise | Expired baking soda | Replace soda with fresh box |
Tasty Flavor Variations
Feel free to customize the add-ins to your liking. I enjoy folding in some chopped pecans for added texture. For a more indulgent treat, combine semi sweet and white chocolate. Alternatively, check out my white chocolate blondies, which utilize a nearly identical brown butter foundation.
The Toffee Crunch
Mix in 1/2 cup of crushed toffee bits along with the chocolate. Since brown butter naturally has toffee notes, this creates an even deeper flavor profile.
The Dark Chocolate Swap
Substitute the semi sweet chunks for 70% cocoa dark chocolate. This provides a sophisticated bitterness that balances the buttery dough.
The Sourdough Twist
You can replace a portion of the flour with sourdough discard if you have some on hand. The subtle tang provides a great contrast to the sweetness.
Storage and Freezing Tips
Store these in an airtight container. They'll stay soft and chewy at room temperature for about 3 days. For a longer shelf life, you can keep them chilled for a week, though I suggest popping them in the microwave for 10 seconds to restore that velvety center.
When it comes to freezing, I prefer using the raw dough balls. Arrange them on a tray first to prevent sticking before placing them in a freezer bag. They last for 3 months. For a fresh cookie, just bake them directly from the freezer, adding 1-2 minutes to the timer.
To avoid waste, stir any leftover brown butter from the pan into your morning oatmeal or use it to sear some scallops. It's far too delicious to pour down the drain.
Best Things to Pair
These cookies are rich, so they need something to cut through the fat. A cold glass of whole milk is the classic choice, but a hot cup of black coffee is even better. The bitterness of the coffee highlights the toasted notes in the butter.
If you're serving these at a party, try pairing them with a bowl of fresh raspberries or sliced pears. The acidity of the fruit cleanses the palate between bites. You could also serve them warm with a scoop of vanilla bean ice cream for a quick dessert that feels like it came from a restaurant.
Recipe FAQs
Why must the brown butter cool for 20 minutes?
Mixing hot butter into sugar will melt the dough.
Tip: Use a shallow bowl to speed up the cooling process.
Is it true that skipping the 2-hour refrigeration won't affect the cookies?
Surprisingly, no. Chilling prevents the cookies from spreading too thin in the oven.
Tip: Freeze the dough balls for 30 minutes if you are in a rush.
How to tell when the cookies are finished baking?
Bake for 13 minutes until the edges are set.
Tip: Leave the centers slightly soft for a chewier texture.
Can I freeze the dough for later?
Place raw dough balls on a tray before moving them to a freezer bag.
Tip: If you enjoy the flavor of raw dough, try our cookie dough dare for a safe treat.
Chewy Brown Butter Chocolate Chip Cookies