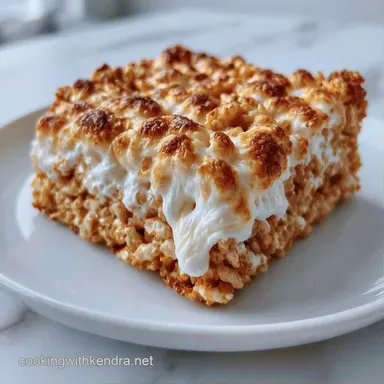
Brown Butter Rice Krispie Squares: Gooey and Nutty
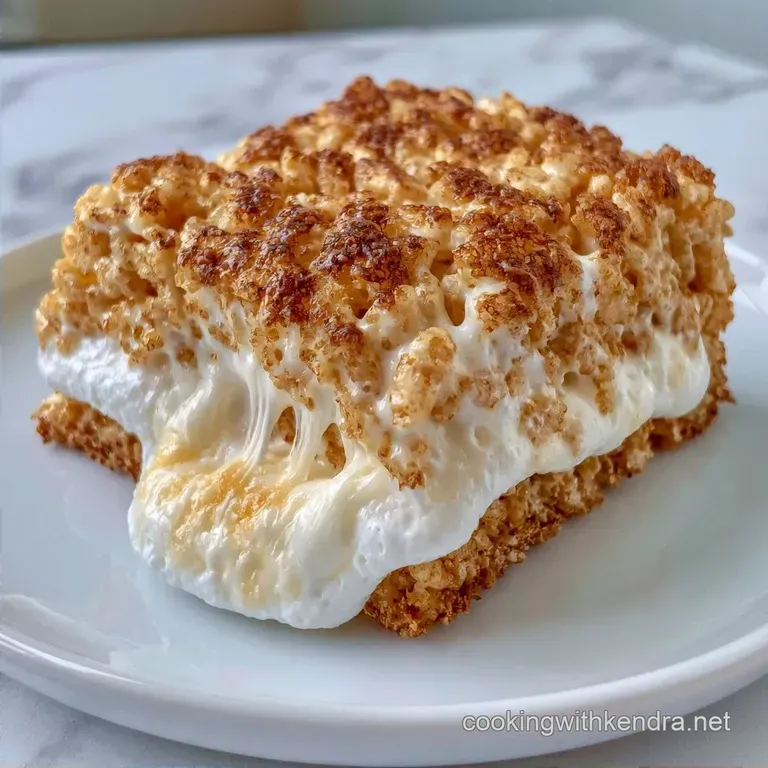
- Time: 10 min active + 1 hour chilling
- Flavor/Texture Hook: Toasted nutty aroma with gooey, stretchy marshmallow pockets
- Perfect for: Quick desserts, school treats, or late night cravings
Brown Butter Rice Krispie Squares
The moment the butter foams in the pan, that rich, toasted scent fills the kitchen. I used to simply melt butter and marshmallows together, but the result was always overwhelmingly sweet.
Switching to browned butter was a game changer; the aroma shifts from simple fat to something reminiscent of toasted hazelnuts, completely elevating the treat.
These treats offer more than just a boost in flavor. I worked hard to ensure they don't turn into those rock hard blocks often found at potlucks. The secret lies entirely in managing the temperature and the timing.
If you want a snack that feels nostalgic yet a bit more sophisticated, this is it. You still get that signature crunch, but the salt and browned butter add a complexity that keeps you reaching for another square.
The Trick Behind the Texture
- Toasted Milk Solids: Browning the butter creates small, caramelized bits that add a savory layer to the sugar.
- Temperature Control: Keeping the marshmallow melt on low heat prevents the sugar from crystallizing, which is what usually makes treats too hard to chew.
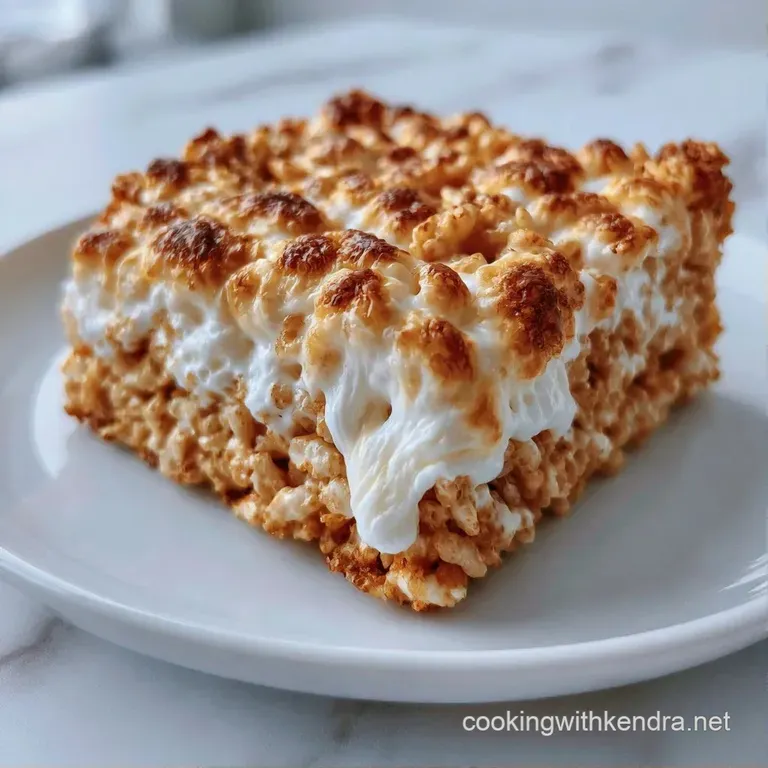
- The Partial Melt: Holding back a cup of marshmallows creates those stretchy, gooey pockets that stay soft even after the squares cool.
Recipe Specs
Before we get into the pan, here are the numbers. I've found that using a non stick pot is a lifesaver here, otherwise, you'll spend more time scrubbing the pot than eating the dessert.
| Feature | Detail |
|---|---|
| Prep Time | 10 minutes |
| Cook Time | 10 minutes |
| Total Time | 1 hour 20 mins |
| Yield | 9 large squares |
What You'll Need
For this recipe, the quality of the butter matters. Use a real brand with a decent fat content.
| Ingredient | What It Does | Best Swap |
|---|---|---|
| Unsalted Butter | Provides the nutty base | Salted butter (reduce flaky salt) |
| Mini Marshmallows | Acts as the gooey binder | Homemade marshmallow creme |
| Crisp Rice Cereal | Gives the structural crunch | Corn puffs (slightly softer) |
| Vanilla Extract | Rounds out the sugar | Maple syrup (adds woody notes) |
| Flaky Sea Salt | Balances the sweetness | Fine sea salt |
The Full List
- 1/2 cup (115g) unsalted butter Why this? Allows control over the salt level during browning
- 1 tsp (5ml) vanilla extract
- 1/4 tsp (1.5g) flaky sea salt
- 10 oz (285g) mini marshmallows Why this? Melts faster and more evenly than large ones
- 6 cups (150g) crisp rice cereal
Equipment Needed
While you don't need a professional setup, a few basic items will simplify things.
- Large non-stick pot: Crucial for preventing the sugar and butter from sticking.
- Silicone spatula: Perfect for folding in the cereal without breaking the pieces.
- 8" x 8" square baking pan: Provides the ideal thickness for 9 large squares.
- Parchment paper: The best way to lift the treats out without any sticking.
Step-by-step Instructions
Phase 1: The Butter Browning
Place the butter in a large non stick pot over medium heat. Stir constantly as it melts and begins to foam. Watch for the color to shift to a deep golden brown and the bubbling to quiet down. Once it smells nutty and brown specks appear at the bottom, immediately remove from heat and stir in the vanilla extract.
Phase 2: The Marshmallow Melt
Return the pot to low heat and add the mini marshmallows, reserving 1 cup for later. Stir continuously with a silicone spatula until the marshmallows are just melted and smooth. Note: Do not let them boil, or they'll turn into candy and make the treats hard.
Phase 3: The Fold
Dump the crisp rice cereal into the pot. Use a gentle folding motion to coat the cereal in the brown butter marshmallow mixture. Once mostly combined, fold in the reserved cup of mini marshmallows so they remain partially intact.
Phase 4: The Set
Line an 8" x 8" square baking pan with parchment paper. Transfer the mixture to the pan and gently pat the top to set without crushing the air pockets. Let cool for 1 hour before slicing.
Chef Note: When patting the mixture into the pan, don't press down hard. If you pack it too tightly, you lose that light, airy crunch and end up with a dense block.
What Can Go Wrong (and How to Fix It)
The Butter Burnt Too Quickly
If the butter goes from golden to black, it will taste bitter. This happens if the heat is too high. You have to keep the butter moving. If it burns, it's better to start over than to ruin the whole batch.
The Treats are Too Hard to Chew
This is almost always caused by overheating the marshmallows. When they boil, the sugar breaks down and hardens as it cools. Stick to low heat and remove from the burner the second they are smooth.
The Mixture is Too Sticky
If you can't get the cereal to combine, you might have used too much butter or the marshmallows didn't melt fully. Just keep folding gently; the heat from the marshmallows will eventually bond everything.
| Problem | Root Cause | Solution |
|---|---|---|
| Bitter Taste | Butter burnt | Use medium low heat and stir constantly |
| Rock Hard Texture | Overcooked marshmallows | Remove from heat as soon as melted |
| Falling Apart | Not enough binder | Use a full 10 oz of marshmallows |
Variations and Substitutions
If you want to switch things up, there are a few ways to do it. For a bit more texture, you can add a handful of toasted pecans or a drizzle of dark chocolate on top.
If you're looking for an even gooier experience, try mixing in some homemade marshmallow fluff during the fold phase. It adds a different kind of stretch to the squares.
Decision Shortcuts
- For a fudgier bite: Use 12 oz of marshmallows instead of 10.
- For a saltier edge: Double the flaky sea salt and add it on top after slicing.
- For a firmer set: Chill in the fridge for 30 minutes after the 1 hour room temp cool.
Fresh vs. Shortcut Method
| Method | Flavor Profile | Effort Level |
|---|---|---|
| Brown Butter | Deep, toasted, complex | Medium |
| Regular Butter | Sweet, milky, simple | Low |
Make-ahead and Leftover Tips
Store these treats in an airtight plastic bin on the counter for as long as 3 days. For a longer shelf life, these squares freeze quite well. Wrap each piece in parchment and place them in a zip-top bag for up to 2 months.
To warm them up, microwave a square for 5 to 10 seconds to restore the gooey, melted marshmallow texture.
To avoid waste, don't scrub the pot right away if there's leftover marshmallow mixture. Mix in some remaining cereal or pretzels for a tasty "chef's snack" before washing up.
Presentation Tips
For professional, sharp edges, use a keen knife and wipe the blade with a moist cloth after every slice. This keeps the marshmallow from sticking and ensures the squares don't tear.
These go perfectly with a cold drink of milk or a bold cup of coffee to balance the sugar. To create an elegant platter, serve them alongside some crunchy Maria cookies and fresh berries.
To add a little extra flair, sprinkle a pinch of flaky sea salt on top while the squares are still warm. The salt catches the light and signals that these are a gourmet twist on standard Rice Krispie treats.
Recipe FAQs
How to brown the butter without burning?
Stir constantly over medium heat until the butter foams and golden brown specks appear.
Tip: remove the pot from heat immediately once it smells nutty to prevent scorching.
Is it true I should boil the marshmallows for a better set?
No, and here's why. Boiling marshmallows breaks down the sugar structure and results in a hard, brittle texture.
Tip: maintain low heat and stir until just smooth.
What causes the squares to become too dense?
Pressing the mixture too firmly into the pan crushes the air pockets in the cereal.
Tip: gently pat the top rather than packing it down tightly.
Can I use a different fat instead of butter?
Stick with unsalted butter to ensure you get the characteristic nutty flavor of browned butter.
Tip: if you love this rich buttery profile, you will enjoy the creamy base of our homemade mac and cheese.
Does the cereal need to be toasted first?
Surprisingly, no. The brown butter provides enough depth of flavor that toasting the cereal is unnecessary.
Tip: fold the cereal in gently to keep the treats light and airy.
Brown Butter Rice Krispie Squares: Gooey