Peanut Butter Cookies: the Ultimate Chewy Criss-Cross Recipe

- The Criss-Cross Classic: An Introduction to Ultimate Peanut Butter Cookies
- Ingredients You Need for Peanut Butter Cookies
- Baking Bliss: Step-by-Step Instructions for Criss-Cross Perfection
- Troubleshooting and Expert Secrets for Better Peanut Butter Cookies
- Maximizing Shelf Life: Storage and Freezing the Dough
- Elevating the Experience: Serving Suggestions and Perfect Pairings
- Recipe FAQs
- 📝 Recipe Card
The Criss Cross Classic: An Introduction to Ultimate Peanut Butter Cookies
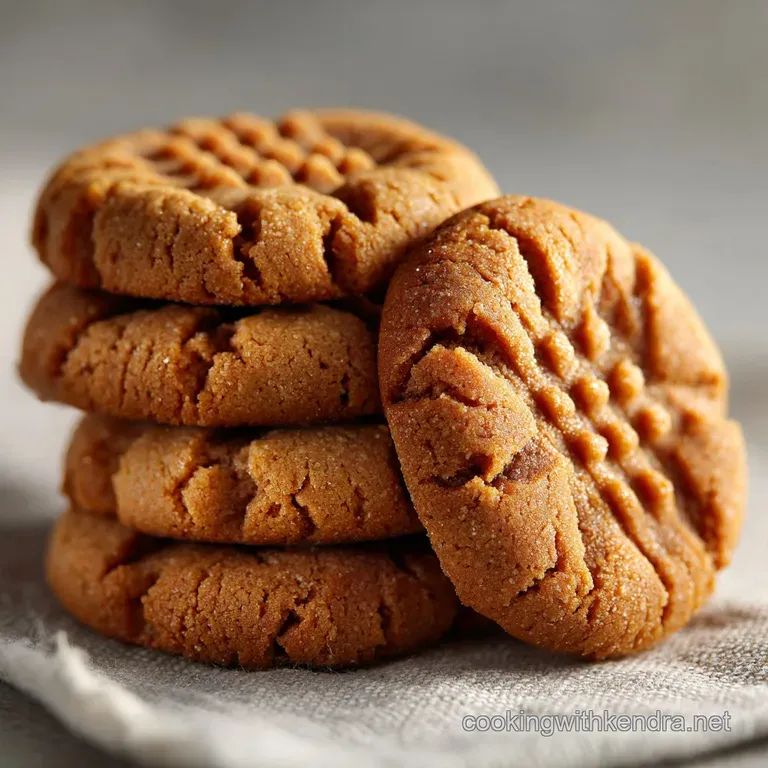
The smell of these peanut butter cookies baking is instant, deep seated comfort, isn't it? When you pull them out, the edges are perfectly golden, proudly displaying that signature criss cross pattern.
But the real magic, the part that separates the pros from the novices, is the chew that incredibly satisfying, soft yet-dense centre that clings to the roof of your mouth.
Honestly, this recipe for chewy peanut butter cookies is the best emergency bake in the entire kitchen rotation. It relies entirely on pantry staples, it's fast, and the dough is incredibly forgiving even if you're slightly distracted.
If you need a cheap, crowd pleasing win that tastes exactly like childhood, this is absolutely your move.
We aren’t just mixing stuff together and hoping for the best, though. I'm going to share the two tiny, crucial secrets one about the butter, and one about the specific type of peanut butter that take these Old School Peanut Butter Cookies from good to absolutely legendary.
Let's crack on and make some glorious cookies.
Why These Cookies Are Undisputed Biscuit Tin Champions
This particular recipe works beautifully because we lean heavily into fat and moisture retention. The combination of softened butter and processed peanut butter provides an insanely rich chew and prevents over development of gluten.
We also use a key 50/50 mix of brown and white sugar; the molasses in the brown sugar locks in moisture while the white sugar ensures the crisp edge we all crave.
Preparation Time and Difficulty Level
You’ll be surprised how fast the active prep is for this classic. It takes about 15 minutes of whisking and mixing, maybe 20 if you stop for a couple of tastes. The difficulty level is firmly Easy; if you can operate a mixer and a fork, you can nail this.
The main patience requirement is the chilling step, which, for the record, is non-negotiable if you hate flat cookies.
What to Expect: Texture Profile (Chewy Center, Crisp Edge)
Expect perfection, quite frankly. The edges should be just set, offering a satisfying snap when you bite in. The center of these cookies stays thick, dense, and deeply chewy peanut butter flavoured, thanks to our controlled baking time.
Ingredients You Need for Peanut Butter Cookies
This list is short, sweet, and mostly things you have right now. Use quality ingredients, especially the vanilla and the salt they make a huge difference in the final taste profile.
Main Ingredients Notes
- Peanut Butter: Do not use natural peanut butter that separates into oil and solids. It messes up the structure completely. You need the creamy, processed kind (like Jif or Skippy) that has stabilizers.
- Butter: Use unsalted butter so you can perfectly control the salt balance. Room temperature is key; it creams better and traps more air.
- Flour: Simple all-purpose flour works best here. Don't worry about sifting, just measure correctly using the scoop and level method.
- Salt: Salt is absolutely crucial for balancing the sweetness and making the peanut flavor pop. If you omit it, they will taste flat and boring.
Easy Substitutions and Swaps
Sometimes life happens and you’re missing an ingredient. I get it. Here are the swaps that actually work without ruining your bake.
| Ingredient | Viable Substitution | Texture/Note |
|---|---|---|
| Unsalted Butter | high-quality vegetable shortening (Crisco/Trex) or dairy-free butter stick. | May spread slightly less. |
| All-Purpose Flour | 1:1 gluten-free Baking Blend (must contain xanthan gum). | Always weigh GF flour for best results. |
| Peanut Butter | Creamy Almond Butter or Sunflower Seed Butter. | Watch the baking time; seed butters can brown faster. |
| Brown Sugar | Add 1 tablespoon of molasses to 1/2 cup of granulated sugar. | Less gooey, but retains moisture. |
| Egg | 1 'Flax Egg' (1 tbsp flaxseed meal + 3 tbsp water, rested 5 mins). | Use only if necessary; slightly denser cookie. |
Chef's Note: If you want an extra layer of decadence, try mixing in 3/4 cup of mini chocolate chips. It’s a delicious variation, kind of like a cousin to my Nutella Stuffed Chocolate Chip Cookies: Ultimate Chewy Gooey Bombs .
Essential Equipment
You really don't need much beyond standard kitchen gear. A stand mixer makes the creaming process effortless, but a hand mixer works just as well. I highly recommend using a cookie scoop (about 1.5 inches) for uniform size. Uniform cookies bake evenly, which is the main goal!
Baking Bliss: step-by-step Instructions for Criss Cross Perfection
Creaming the Sugars and Butter: Foundation of Flavor
- Prep the Kitchen. Preheat your oven to 350°F (175°C) and line two large baking sheets with parchment paper. Whisk your flour, baking soda, and salt together in a separate bowl. This prevents streaks of baking soda later.
- Cream the Fats. In your mixer bowl, beat the softened butter, granulated sugar, and brown sugar on medium speed. You need to do this until the mixture is visibly lighter in colour and texture, which takes about 2 to 3 minutes. This step incorporates the air that gives the cookies lift.
- Add the Good Stuff. Beat in the peanut butter until everything is uniformly combined. Then, add the eggs one at a time, mixing briefly after each addition. Finish by mixing in the vanilla extract.
Rolling and Shaping the Dough Balls
- Introduce the Dry. Reduce your mixer speed to low and gradually add the dry ingredients to the wet mixture. Mix only until the flour streaks have just disappeared. STOP IMMEDIATELY once the dough comes together; overmixing makes tough, cakey cookies.
- The Essential Chill. Cover the dough bowl tightly and chill it in the refrigerator for a minimum of 30 minutes. This critical step solidifies the fat, drastically reducing spread and guaranteeing a thicker, chewier cookie.
- Portion and Coat. Pour the extra rolling sugar into a shallow bowl. Scoop the chilled dough using your 1.5 inch scoop, roll the balls smoothly between your palms, and coat them thoroughly in the granulated sugar.
The Essential Criss Cross and Baking Timeline
- The Signature Mark. Place the sugared dough balls onto the prepared sheets, spaced two inches apart. Take a standard dinner fork and gently press the tines down onto the top of the dough ball, flattening it slightly. Rotate the fork 90 degrees and press again to create the famous criss cross peanut butter cookies pattern.
- Bake Time. Bake for 10 to 12 minutes, rotating the baking sheets halfway through the cook time. The secret is pulling them out when the edges are set and lightly golden, but the center still looks pale and slightly underdone.
- Cooling Protocol. Leave the cookies on the hot baking sheet for 5 minutes after removing them from the oven. They will continue to set up perfectly. Then, transfer them to a wire rack to cool completely.
Troubleshooting and Expert Secrets for Better Peanut Butter Cookies
Listen, I've had cookie fails that looked like puddles of grease; you’re in safe hands here. Mastering baking is all about knowing where the pitfalls are, so let’s talk about avoiding them.
My Cookies Are Too Flat: Fixing Dough Consistency
Flat cookies are usually caused by two things: warm dough or too much liquid fat. Did you skip the chill time? If so, the butter melted immediately in the oven and spread too fast. Always chill the dough for at least 30 minutes.
If the dough feels overly sticky even when chilled, you might need to stir in 1 to 2 extra tablespoons of flour, particularly if you live somewhere humid.
Preventing the Bottoms From Burning
This typically happens if your baking sheets are dark or thin. Dark sheets absorb and retain heat too quickly, scorching the bottoms before the tops are cooked. Use light coloured baking sheets and always line them with parchment paper or silicone mats for an insulating layer.
If you only have dark sheets, drop your oven temp by 10 degrees (5°C).
The Right Way to Know When Your Cookie is Done
This is the hardest lesson for every home baker, but critical for chewy peanut butter cookies . You want the edges to be firm and slightly golden, but the very centre of the cookie should look slightly puffy, pale, and undercooked.
That pale center firms up on the cooling rack, guaranteeing that soft chewiness instead of rock hard discs.
Maximizing Shelf Life: Storage and Freezing the Dough
Keeping Baked Cookies Fresh and Soft
Store baked cookies in an airtight container at room temperature. They are best eaten within 3 to 4 days. If they start to dry out, try placing half a slice of plain white bread in the container with them; the moisture from the bread transfers to the cookies, keeping them incredibly soft.
Freezing Raw Dough for Future Baking
Freezing raw dough is a total lifesaver. Scoop and roll the dough balls as instructed, but skip the criss cross and coating in sugar. Place the raw dough balls on a tray lined with parchment paper and freeze until solid (about 2 hours).
Transfer the frozen balls to a heavy duty freezer bag or container. They last beautifully for up to 3 months. When you're ready to bake, thaw them on a tray in the fridge overnight, roll in sugar, press the criss cross, and bake as normal.
Elevating the Experience: Serving Suggestions and Perfect Pairings
Milk, Coffee, or Tea? The Ultimate Dunking Guide
These rich, salty sweet peanut butter wonders deserve the right beverage pairing. A cold glass of whole milk is the undisputed, nostalgic winner, hands down. However, if you are a coffee drinker, the intense flavor profile holds up incredibly well to a strong, robust brew think a dark roast filter coffee or an espresso shot.
If you prefer tea, make it a strong black tea; you need something hefty to cut through the richness of the peanut butter.

Recipe FAQs
Why are my peanut butter cookies dry or crumbly?
This issue is usually caused by either measuring too much flour or by over baking the dough. Ensure you are using the "spoon and level" method when measuring dry ingredients, and always pull the cookies out of the oven just as the edges turn golden.
The centers should still look slightly soft, as they will continue to set on the cooling rack.
My cookies spread too much and flattened while baking. What went wrong?
Excessive spreading is typically a result of using butter that was too warm or skipping the required dough chilling step. Always use room temperature butter that still holds its shape, and ensure the formed dough balls are chilled for at least 30 minutes to firm up the fats before they hit the hot oven.
Is the criss cross pattern necessary, or is it just for looks?
While the criss cross is the classic visual signature of a peanut butter cookie, it serves a functional purpose by gently pressing the centers down before baking. This action ensures even distribution of heat and prevents the cookies from puffing up into small domes, guaranteeing that signature chewy texture.
Remember to dip your fork in granulated sugar between each press to avoid sticking.
Can I use natural, oily, or crunchy peanut butter instead of traditional creamy?
For the best results with this "Old School Bliss" recipe, traditional processed creamy peanut butter (like Jif or Skippy) is highly recommended. Natural or oily varieties often have insufficient stabilizers, which drastically changes the fat ratio in the dough, often leading to flatter, greasier cookies that lack the proper chewy rise.
Crunchy peanut butter works fine if you desire added texture, but use the traditional stabilized brands.
How can I adapt this recipe to be vegan?
You can easily adapt this recipe by substituting the dairy butter with a high-quality vegan butter stick suitable for baking. Replace the single egg with a flax egg, which is made by combining 1 tablespoon of ground flaxseed meal with 3 tablespoons of water and letting it rest until gelatinous.
These substitutions should yield a very similar texture, although baking time might require slight adjustment.
What is the best way to store the finished cookies, and how long do they last?
Finished peanut butter cookies should be stored in an airtight container at room temperature, where they will remain fresh for up to one week. If you want to maximize softness, you can place half a slice of standard sandwich bread in the container; the cookies will absorb the moisture from the bread, keeping them perfectly chewy.
Can I freeze the dough to bake at a later date?
Yes, cookie dough freezes wonderfully and is excellent for having fresh cookies on demand. Form the dough balls, flatten them, and perform the criss cross before freezing them solid on a sheet pan.
Once frozen, transfer the dough to a freezer safe bag or container and store for up to three months; bake directly from frozen, adding 2 4 minutes to the original bake time.
Classic Chewy Peanut Butter Cookies 2

Ingredients:
Instructions:
Nutrition Facts:
| Calories | 190 kcal |
|---|---|
| Fat | 11 g |
| Fiber | 1 g |
