Delightful Gypsy Creams
- Secrets Behind Perfect Gypsy Creams
- What Makes This Recipe Special
- Health and Nutrition Highlights
- Recipe at a Glance
- Premium Ingredients Guide
- Kitchen Equipment Essentials
- Foolproof Cooking Steps
- Professional Secrets
- Perfect Presentation
- Storage and Make-Ahead
- Creative Variations
- Complete Nutrition Guide
- Expert FAQ Solutions
- 📝 Recipe Card
Have you ever wondered what makes a cookie truly exceptional? maybe it’s the melt-in-your mouth texture, or perhaps it's that dreamy cream filling that gets you every time.
If you're on the quest for a delightful treat that’s not only scrumptious but also easy to whip up, then let me introduce you to gypsy creams .
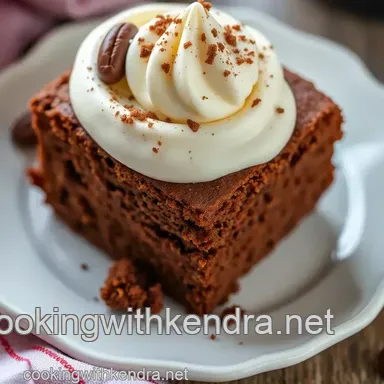
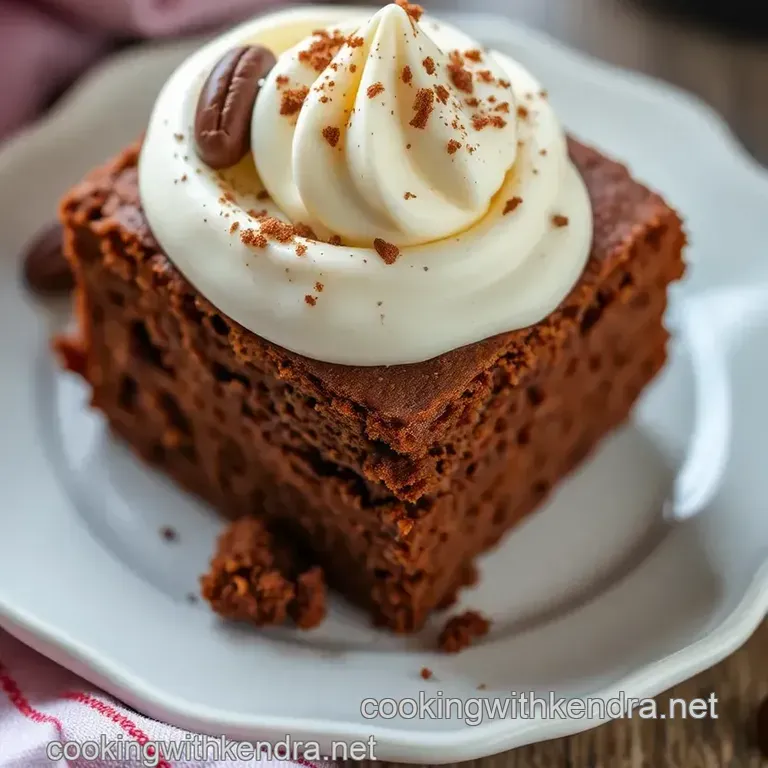
This recipe is a charming blend of chocolate biscuit cookies and a light and fluffy cream filling, offering that perfect balance of crunch and creaminess.
So, what’s the catch? it only takes about an hour from start to finish, and while it’s got a few steps, it’s totally doable even for a beginner!
Now, let’s dig a bit into history. gypsy creams hail from the uk and have become a staple in british baking recipes, often gracing afternoon tea tables.
These cream filled cookies date back to when the british culinary scene was experimenting with richer flavors and textures. what really sets gypsy creams apart is their unique combination of soft, rich chocolate flavors and that luxe cream filling.
Why should you consider making these at home? well, besides being totally delicious, they're pretty versatile. you can serve them at a tea party, as a sweet snack idea, or just because you want a treat after dinner.
Trust me, once you take a bite, you’ll understand why they’re loved by many!
Secrets Behind Perfect Gypsy Creams
Let’s talk about what gives gypsy creams their charm. the rich culinary heritage tied to these cookies is fascinating. they're not just desserts; they're a nostalgic taste of british culture that transports you back to cozy tea times.
The intriguing origin stories, often filled with tales of love and hospitality, elevate these cookies from mere snacks to cultural treasures.
In modern times, gypsy creams have exploded in popularity. instagram is flooded with pictures of these cookies, making them a hit among food ensoiasts and casual bakers alike.
What Makes This Recipe Special
One of the secrets to what makes the gypsy creams recipe so beloved is the unique flavor combinations . think about it rich chocolate and creamy sweetness.
It's like a party in your mouth! plus, this recipe is foolproof. whether you're a seasoned pro or just starting your baking journey, you’ll appreciate the step-by-step baking techniques that ensure success every time.
Need some time saving tips? chill your dough in advance, and you'll be set up for effortless baking!
Health and Nutrition Highlights
Now, let’s get real for a moment. no, these aren’t what you’d consider “health food,” but they do have some key nutritional benefits.
They can easily be made with substitutions to fit various dietary needs, like gluten-free options. plus, if you cut them into smaller portions, you can enjoy them guilt free! they’re rich in flavor without needing to overindulge keeping that balance in mind always helps.
Recipe at a Glance
- Total Preparation Time: About 1 hour (plus cooling time)
- Skill Level Required: Medium
- Serving Size: Yields about 12-15 delicious Gypsy Creams
- Cost Efficiency: Super budget friendly, especially if you keep classic pantry staples on hand.
So, are you ready to dive into making your own batch of these melt-in-your mouth cookies ? up next, we’ll chat about the essential ingredients you’ll need.
Trust me, the creamy filling for cookies is simpler than you might think! let’s roll up those sleeves and get to it because nothing says "let's have a treat" quite like homemade gypsy creams .
Premium Ingredients Guide
When it comes to making those delightful gypsy creams , using the right premium ingredients makes all the difference. i mean, let’s be real nobody wants to bite into a cookie and think, “eh, that’s okay.
” we want “wow! can i have another?” so, let's dive into what you’ll need.
Premium Core Ingredients
First up are the core ingredients . For these cream filled chocolate biscuits , you’re going to need:
- 1 cup all-purpose flour
- ½ cup unsweetened cocoa powder
- ½ cup granulated sugar
- 1 large egg
- ⅓ cup unsalted butter, softened
Now, it’s super important to measure carefully . use a proper measuring cup for liquids and a dry cup for solids.
A little off can change the texture. for your cocoa powder, go for a brand that looks rich and dark.
That’s a good indicator of quality. think of it like choosing a movie go for the one that gets the best reviews!
For storage, keep your flour in a cool, dry place and your cocoa powder in an airtight container. This keeps their qualities intact, ready for your next baking adventure.
Signature Seasoning Blend
The magic happens when you start mixing in those flavor enhancers . while gypsy creams might not scream "spices," trust me, your butter and sugar will thank you for a few extra touches.
Maybe a sprinkle of sea salt? or how about a bit of vanilla extract?
When making the filling, opt for some quality vanilla extract . nothing compares to the richness of real vanilla versus the imitation stuff.
Plus, i find it makes the light and fluffy cream feel extra special. oh, and don’t forget a dash of heavy cream in the filling! it helps whip up that silky texture you want.
Smart Substitutions
We’ve all been there you're whipping up a batch and find you’ve run out of an ingredient! No worries, I’ve got your back with some smart substitutions .
- If you’ve got a gluten intolerance, you can switch that all-purpose flour for a gluten-free blend .
- Don’t have granulated sugar? Coconut sugar works in a pinch.
- And for the butter, how about trying coconut oil ? It’ll give your cookies a subtle twist in flavor. Just remember, you’ll want it softened too.
Keep some substitutions handy for other emergencies. Perhaps no eggs? Try a flaxseed meal or applesauce instead. It’s all about getting creative in the kitchen!
Kitchen Equipment Essentials
Next, let’s talk tools. A good set of kitchen equipment essentials makes a world of difference.
- Mixing bowls – Get ones that are various sizes; trust me, you’ll use them for everything!
- Baking sheets – Always line them with parchment to prevent sticking. You'll prevent a lot of heartbreak that way.
- An electric mixer will take some of the elbow grease out of mixing your cream filling. But hey, if you’re feeling old-school, a whisk works too!
Don’t forget a cooling rack . Your cookies need to breathe after they bake. Otherwise, they’ll end up soggy, and nobody wants that!
Pro Ingredient Tips
Now, here’s where I share some of my pro ingredient tips .
- Pay attention to the quality of your unsweetened cocoa powder. Look for something labeled Dutch process for richer flavors.
- Always smell your vanilla extract. If it doesn’t smell intense, it’s just not worth it.
- And about storage? Keep your eggs in the fridge and your butter at room temperature this helps with that perfect creaming.
Lastly, who doesn’t love a few money saving tips ? when buying butter, grab the larger packs on sale and store extras in the freezer.
Same goes for chocolate you can always melt it down for easy chocolate desserts later!
With these ingredients down, you’ll set yourself up for baking success. Don’t worry if some things seem tricky; just keep following those steps, and before long, those gypsy creams will be dancing right off your baking sheet!
You totally got this. in the next section, we’ll break down those baking instructions step by step because i know that’s where the magic really happens.
Want that perfect balance of rich chocolate flavors and creamy filling? stick around!
Foolproof Cooking Steps
Essential Preparation Steps
Hey there, fellow foodies! before we dive into making those delicious gypsy creams , it’s crucial to nail the prep work .
You know what they say: “fail to prepare, prepare to fail!"
First things first, let’s talk mise en place . it's fancy french for “everything in its place.” gather your ingredients trust me, it makes life easier.
Measure out your all-purpose flour , unsweetened cocoa powder , sugar , and all that jazz before you start. you’d be surprised how much time you save when you’re not frantically searching for that elusive can of baking powder once the oven timer starts ticking!
Next, check out your prep techniques . make sure your butter is softened . i can’t stress this enough. cold butter is a cookie’s worst enemy.
We want it creamy so it mixes well with granulated sugar . this is the base of those melt-in-your mouth chocolate biscuit cookies you’re about to create.
Time management is key too. while your dough chills in the fridge for 30 minutes, you can clean up or take a breather.
But remember, don’t skip the chilling! it keeps those cookies from spreading too much in the oven.
Professional Cooking Method
Now, let’s talk methods . Preheat your oven to 350°F (180°C), and let’s roll!
First, mix your sifted dry ingredients like flour , cocoa powder , and those leavening agents. You want a smooth blend before folding in the creamed butter and sugar.
Once everything's mixed and it’s looking all soft and tempting it's time to chill. the dough needs a solid 30 minutes in the fridge.
This is a good time to start prepping your baking sheets with parchment paper. pssst, it prevents those cookies from sticking like drama on a reality tv show!
Temperate control is everything during baking, so set a timer for 12 to 15 minutes. keep an eye on them! you want them to feel slightly firm when you touch them that’s your cue they are done.
Expert Techniques
Oh, now the fun part! here come the expert techniques . after baking, let those cookies cool completely. don’t even think about spreading that luscious cream filling before then.
Room temp cookies are key!
When it’s time to mix your filling, take your softened butter and beat it until it’s as creamy as you can get it.
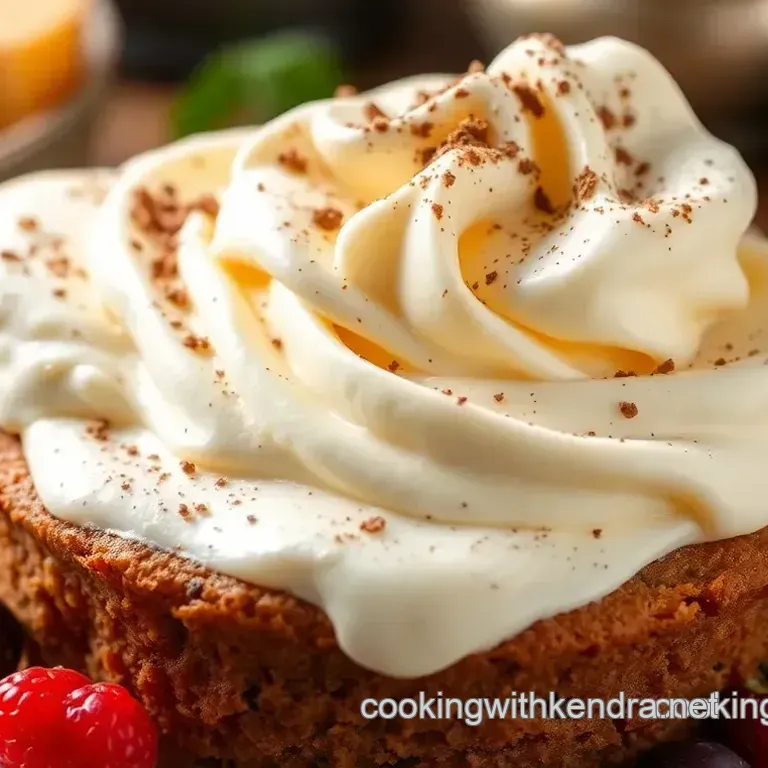
Gradually add your powdered sugar for that dreamy sweetness. and for that oh-so-important light texture, heavy cream goes in next.
You’re aiming for a light and fluffy filling not a thick paste! a good filling should be spreadable but not runny.
Success Strategies
And let’s not leave you hanging with some success strategies . if your gypsy creams aren't quite right, don’t stress! if the cookies spread too much, try chilling the dough longer next time.
For a filling that’s a tad too sweet, a dash of vanilla extract can balance it out.
Quality assurance ? always test one, or several… for, you know, scientific purposes. bite into that first cookie sandwich creation and if the texture melds just right in your mouth.
You’ve done it! that’s how you get perfect results every single time.
The thrill of making gypsy creams isn't just in the eating it’s the joy in the process! and believe me, once you realize how simple yet indulgent these rich chocolate and cream desserts are, you’ll be making them for all your friends (and yourself, of course).
Ready to learn some additional tips and storage ideas? we’ll dive into baking time, temperature nuances, and the best ways to enjoy these beauties for your next tea party or family gathering.
Let's keep this sweet momentum going!
Professional Secrets
Let’s dive into some professional insights to elevate your gypsy creams game! honestly, these chocolate biscuit cookies are a british classic, and getting them just right can be a fun challenge.
Remember to always use softened butter when creaming with sugar. it makes a huge difference in the texture! it's a simple kitchen wisdom that transforms your biscuits from okay to melt-in-your mouth magic.
And speaking of magic, here’s the secret trick: chill your cookie dough! i can’t tell you how many times i’ve skipped this step only to end up with flat cookies.
Chilling for about 30 minutes gives them the structure they need to rise, preventing that sad, spread out biscuit situation.
Now, for the expert techniques : you can test the cookies by lightly pressing down on them while they cool. If they feel firm yet slightly springy, you’ve nailed it!
Perfect Presentation
Now let's talk plating techniques because we eat with our eyes first, right? for your gypsy creams , stack two filled cookies on a cute dessert plate, and don’t be shy with the garnish! a light dusting of powdered sugar or maybe even a drizzle of chocolate sauce adds that wow factor.
To really impress at your next tea party, you can serve them alongside fresh berries or even a scoop of vanilla ice cream. It makes for an absolutely delightful afternoon tea treat!
And hey, try using cookie presentation tips to take it up a notch! place your gypsy creams in a pretty box with a clear lid; it’s perfect for gifting or just to show off your baking skills.
Storage and make-ahead
Alright, let's chat about how to keep these bad boys fresh and tasty. storage guidelines are crucial. you can store your gypsy creams in an airtight container for about 5 days at room temperature.
If you want to keep those rich chocolate flavors longer, pop them in the fridge.
And here’s a big win: you can freeze these cookies! just place them in a single layer on a baking sheet until frozen, then transfer them to a zip-top bag.
They’ll stay good for about 3 months. when you’re ready to enjoy, just pull them out, let them thaw, and bam instant homemade treats!
Creative Variations
Feeling adventurous? Let’s get into creative variations . Gypsy Creams are super versatile! You can adapt the flavors by adding zests like orange or lemon for a refreshing twist.
Need a dietary modification ? Try using coconut oil instead of butter for a vegan alternative. Or if you’re into healthy dessert alternatives, substitute half the sugar with applesauce.
You can even play with different fillings. Think about adding a minty twist or some unique flavor combinations! How about lavender cream or chai spices? Variations are what keep the baking game exciting!
Complete Nutrition Guide
Let’s break down some health benefits, shall we? while gypsy creams are definitely a treat, they do have some thoughtful dietary information behind them.
Each cookie contains about 150 calories, but it’s all about balance! with a little cocoa powder, you’re adding antioxidants along with a sweet burst of flavor.
Portion guidance can be your friend. maybe save a couple for after dinner, or enjoy them at your afternoon tea with friends.
It’s all about enjoying life while being mindful of what you eat!
Expert FAQ Solutions
Got questions about your gypsy creams? let’s tackle some common concerns. maybe your cookies came out too dry? you might have baked them a minute too long.
Always check them a minute or two earlier than the recipe suggests!
As for troubleshooting, if your cream isn’t as light and fluffy as you want, incorporate a touch more heavy cream until you achieve that silky texture.
Plus, for tips on baking time and temperature, always trust your instincts ovens can vary!
So there you have it, folks! with these pro secrets, presentation tips, storage hacks, and room for your creative flair, making delightful gypsy creams is not only accessible, it’s also endlessly fun!
Whether you’re whipping them up for a cozy afternoon tea, a party, or just a sweet snack idea, you’re now armed with all the knowledge to make these cookies shine.
Get ready for your new favorite easy chocolate dessert that’s sure to impress at any gathering!
Happy baking, my friends!
Delightful Gypsy Creams