Fluffy Buttermilk Biscuit Recipe: Shatter Crisp
- Time: Active 15 minutes, Passive 15 minutes, Total 30 minutes
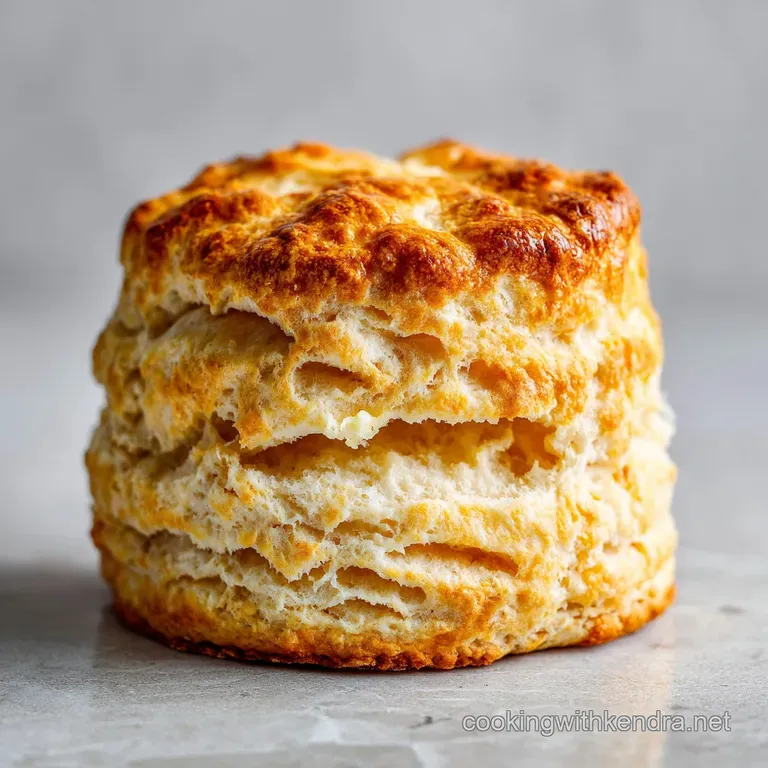
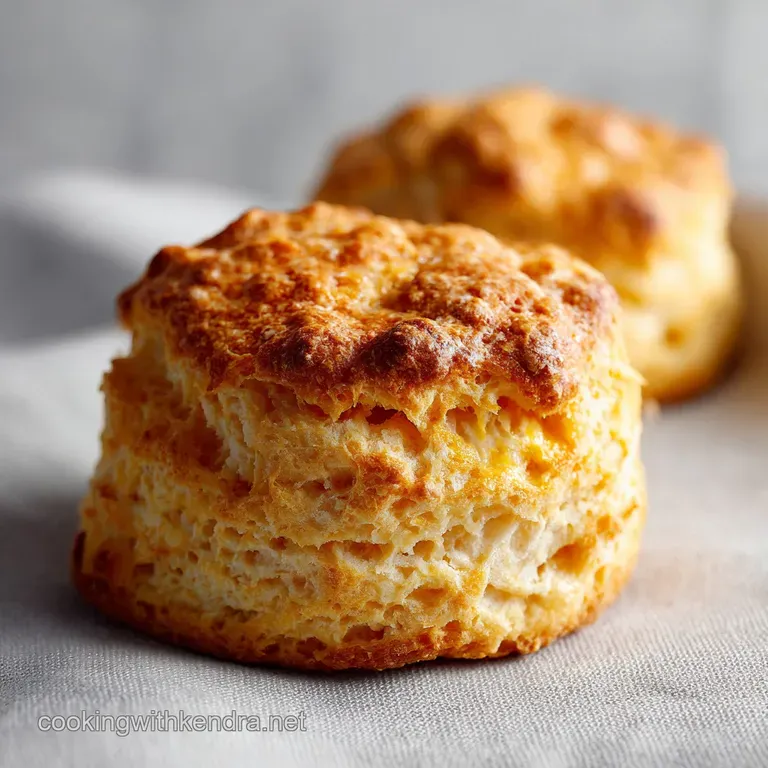
- Flavor/Texture Hook: Shatter crisp golden crust with a tangy, cloud like interior
- Perfect for: Slow weekend brunches or a cozy accompaniment to a hearty stew
- Mastering the Flaky Soul of a Southern Buttermilk Biscuit Recipe
- The Science of Steam and Chemical Lift
- Precision Metrics for the Tallest Golden Crumb
- The Molecular Chemistry of Your Biscuit Components
- Selecting Elements for Optimal Flavor and Texture
- Essential Tools for Achieving Professional Lamination
- Executing the Fold and Bake with Confidence
- Solving Common Issues in the Biscuit Dough
- Adjusting Ratios for Small Batches or Large Parties
- Debunking Traditional Beliefs About Biscuit Dough
- Managing Leftovers and Reducing Kitchen Waste
- Creative Variations for Savory or Sweet Palates
- Inspiration for Pairing Your Golden Baked Goods
- Recipe FAQs
- 📝 Recipe Card
Mastering the Flaky Soul of a Southern Buttermilk Biscuit Recipe
Imagine waking up on a Sunday morning to the smell of toasty flour and sizzling butter drifting from the kitchen. There is a specific sound, too the rhythmic clack clack of a box grater against a frozen stick of butter, followed by the soft thud of a biscuit cutter hitting a floured wooden board.
That was the soundtrack to my childhood, and honestly, it’s the only way to start a day when you need a little bit of comfort.
I spent years struggling with hockey puck biscuits before I realized that I was overthinking the process. I used to think you needed a "magic touch," but it turns out it is all about physics and temperature.
Once I stopped worrying about "perfection" and started focusing on keeping my butter frozen and my hands light, everything changed. This buttermilk biscuit recipe is the culmination of every mistake I have made and every trick I have picked up from the best bakers in my family.
We are going for something specific here: a biscuit that stands tall, pulls apart into distinct, buttery sheets, and has that signature tangy bite from the buttermilk. You do not need to be a professional baker to pull this off, but you do need to follow a few simple rules about how the ingredients interact.
Let's get the oven preheated to 200°C and get our hands a little floury, because these are about to be the best things you have ever pulled out of your oven.
The Science of Steam and Chemical Lift
The secret to this buttermilk biscuit recipe lies in the rapid conversion of solid fat into steam. When those tiny, frozen shards of butter hit the intense heat of a 200°C oven, the water within the butter evaporates instantly, pushing the layers of dough apart before the structure sets.
Steam Expansion: Frozen butter creates distinct pockets that turn into steam, forcing the flour layers upward for maximum height.
Acidic Neutralization: Buttermilk and baking soda react to create carbon dioxide, which provides an immediate, airy lift to the dough.
Starch Gelatinization: The high heat causes the flour's starch to set quickly, locking in those airy gaps before the biscuit can collapse.
| Method | Time | Texture | Best For |
|---|---|---|---|
| Standard Oven | 15 minutes | Shatter crisp crust, fluffy center | Classic Sunday brunch |
| Cast Iron Skillet | 15 minutes | Deeply browned, crunchy bottom | Pairing with sausage gravy |
| Air Fryer | 12 minutes | Extremely crispy exterior, denser core | Quick small batches |
I find that using a cast iron skillet creates a better crust, much like the technique used in my grandmother's Savory Cracknell recipe. The heat retention of the iron gives the bottom of the biscuit a fried like crunch that is simply unbeatable.
Precision Metrics for the Tallest Golden Crumb
To get that skyscraper style rise, we need to be precise. If your dough is too thin, they'll be flat; too thick, and the middle stays doughy. I always aim for a dough thickness of exactly 2.5cm before cutting. This ensures the heat penetrates the center at the same rate the outside browns.
- Oven Temp:200°C (Preheat for at least 20 minutes)
- Dough Height: 2.5cm (One inch)
- Bake Time:15 minutes
The Molecular Chemistry of Your Biscuit Components
Understanding how these elements work together is the difference between a flat biscuit and a masterpiece. Every ingredient has a specific job to do, and skipping one or changing the temperature will alter the final structure significantly.
| Ingredient | Science Role | Pro Secret |
|---|---|---|
| All purpose Flour | Provides the protein structure (gluten) | Keep it cool to prevent premature gluten development |
| Frozen Butter | Creates the steam powered layers | Grate it while frozen for even distribution |
| Buttermilk | Provides acid for leavening and tenderness | The cold temp keeps the butter solid during mixing |
| Baking Powder | Primary chemical leavener | Ensure it is fresh for the "double acting" lift |
Chef's Tip: Put your mixing bowl and your flour in the freezer for 10 minutes before you start. The colder the environment, the flakier the biscuit.
Selecting Elements for Optimal Flavor and Texture
For this buttermilk biscuit recipe, we are using specific quantities to balance moisture and lift. Don't be tempted to use low-fat buttermilk; you need that fat for the velvety mouthfeel.
- 2.5 cups (312g) all purpose flourWhy this? Provides the right protein balance for a soft yet sturdy crumb.
- Substitute: Pastry flour for an even softer, more cake like texture.
- 2 tbsp baking powderWhy this? This is a high amount, but it’s what gives that massive rise.
- Substitute: If using self rising flour, omit this and the salt.
- 0.25 tsp baking sodaWhy this? Reacts with the buttermilk to neutralize acidity and add browning.
- Substitute: An extra tsp of baking powder, though you’ll lose some browning.
- 1 tsp fine sea saltWhy this? Enhances the buttery notes and balances the sugar.
- Substitute: Standard table salt, but use slightly less.
- 1 tbsp granulated sugarWhy this? Just enough to encourage the Maillard reaction (browning).
- Substitute: Honey or maple syrup, but add to the liquid ingredients.
- 0.5 cup (113g) frozen unsalted butterWhy this? Essential for creating those laminated, flaky sheets.
- Substitute: Lard or shortening, though the flavor won't be as rich.
- 1.0625 cups (255ml) cold buttermilk, dividedWhy this? The tang and acidity are non negotiable for flavor.
- Substitute: 240ml whole milk mixed with 1 tbsp lemon juice.
- 1 tsp honeyWhy this? Adds a subtle floral sweetness and helps the top crust glow.
- Substitute: Agave nectar or simply omit if you want purely savory.
If you find yourself in a baking mood and want to try something sweeter after mastering this, you might love the texture of this Peanut Butter Cookie Recipe. It uses similar principles of fat management to achieve that classic chew.
Essential Tools for Achieving Professional Lamination
You do not need a kitchen full of gadgets, but a few specific items will make your life significantly easier. I honestly don't even bother with a pastry cutter anymore; a box grater is far superior for the butter.
- Box Grater: For shredding that frozen butter into "petals."
- Large Metal Bowl: Metal stays colder than plastic or glass.
- Bench Scraper: Vital for the folding process and keeping your warm hands off the dough.
- 2 inch (5cm) Biscuit Cutter: Use one with sharp edges. A glass jar will seal the edges and prevent the rise.
- Cast Iron Skillet or Baking Sheet: For that even, radiating heat.
Executing the Fold and Bake with Confidence
This is where the magic happens. We are going to treat the dough with a lot of respect. No aggressive kneading here we are gently coaxing those layers into existence.
- Prep the dry base. Whisk the 312g flour, 2 tbsp baking powder, baking soda, salt, and sugar in your chilled metal bowl. Note: This ensures the leaveners are evenly distributed before moisture is added.
- Grate the frozen fat. Use the large holes of a box grater to shred the 113g frozen butter directly into the flour. Note: You want the butter to look like small flakes of wood shavings.
- Toss to coat. Gently use your fingertips to coat each butter shred with flour until they are separated. The mixture should look like coarse, sandy pebbles.
- Incorporate the liquids. Create a well in the center and pour in 240ml of the cold buttermilk and the 1 tsp honey.
- Stir until just combined. Use a fork to pull the flour into the liquid until a shaggy, messy dough forms. Stop as soon as the dry spots disappear.
- Perform the letter fold. Turn the dough onto a floured surface. Pat it into a rectangle, then fold it in thirds like a letter. Repeat this 3-4 times. Note: This creates the physical layers of butter and dough.
- Cut the rounds. Pat the dough to 2.5cm thickness. Press the cutter straight down—never twist it. The edges should look clean and sharp.
- Arrange and brush. Place the biscuits in your skillet so they are just touching. Brush the tops with the remaining 15ml of buttermilk. Note: Touching biscuits help each other "climb" higher in the oven.
- Bake to gold. Slide into the 200°C oven for 15 minutes until the tops are deeply golden and the aroma of toasted butter fills the room.
- Final glaze. Brush with a little extra melted butter the moment they come out of the oven. Listen for the slight sizzle as the butter hits the hot crust.
Solving Common Issues in the Biscuit Dough
Even the best of us have had a "biscuit fail" now and then. Usually, it comes down to a temperature issue or over handling the dough. If your biscuits aren't behaving, check these common culprits.
Correcting the Leaning Tower
If your biscuits are tilting to one side like they’ve had one too many mimosas, you likely twisted the cutter. When you twist, you "pinch" the edges of the dough together, sealing the layers. This prevents an even rise. Always press straight down and pull straight up.
Fixing a Dense Crumb
A dense, heavy biscuit usually means the butter melted before it hit the oven. If your kitchen is warm, or if you spent too much time folding, the fat integrates into the flour rather than staying in distinct pockets.
If you feel the dough getting soft, pop the whole tray in the freezer for 10 minutes before baking.
| Problem | Root Cause | Solution |
|---|---|---|
| Flat biscuits | Expired baking powder | Check the date; replace every 6 months |
| Tough texture | Over mixing the dough | Stop stirring the moment the flour is moistened |
| Burnt bottoms | Pan too close to the heat | Move the rack to the middle or top third of the oven |
Common Mistakes Checklist
- ✓ Never use room temperature butter (it must be frozen or very cold).
- ✓ Don't skip the folding steps; that is where the "flaky" comes from.
- ✓ Avoid twisting the biscuit cutter at all costs.
- ✓ Ensure the oven is fully preheated to 200°C before the dough goes in.
- ✓ Pat the dough; do not use a rolling pin, which can crush the air pockets.
Adjusting Ratios for Small Batches or Large Parties
Scaling a buttermilk biscuit recipe is fairly straightforward because the hydration is key. However, if you're making a massive batch for a family reunion, you need to work in stages to keep things cold.
- Scaling Down (Making 6): Halve all ingredients. Use a smaller 8 inch skillet to keep them snug. Reduce bake time by about 2 minutes.
- Scaling Up (Making 24+): Double the ingredients, but do not double the salt or spices use 1.5x the amount instead to avoid over seasoning. Work with half the dough at a time while the other half stays in the fridge.
- Baking 2x: If you are filling two trays, swap their positions in the oven halfway through to ensure even browning.
Debunking Traditional Beliefs About Biscuit Dough
There are so many "rules" passed down through families, but science tells a different story about some of them.
- "You must use White Lily flour": While Southern soft wheat flour is legendary for biscuits, you can achieve nearly identical results with all purpose flour by not over mixing. It’s more about technique than a specific brand.
- "Overworking the dough is impossible to fix": While you want to be gentle, the "letter fold" technique technically works the dough slightly. This development of gluten is actually what allows the biscuit to stand up tall without crumbling into a pile of sand.
- "Hand mixing is the only way": Actually, using a cold fork or a bench scraper is better because it prevents the heat from your palms from melting the butter.
Managing Leftovers and Reducing Kitchen Waste
Biscuits are best the moment they leave the oven, but they don't have to go to waste if you have extras.
- Storage: Keep baked biscuits in an airtight container at room temperature for up to 2 days, or in the fridge for 5 days.
- Freezing: You can freeze the uncut dough or the unbaked rounds. Place the rounds on a tray, freeze until solid, then bag them. Bake directly from frozen, adding 3-5 minutes to the cook time.
- Zero Waste: If you have scraps left over from cutting the rounds, do not re roll them more than once. Instead, chop the scraps into small pieces, toss with cinnamon sugar, and bake them as "biscuit bites" for a quick snack.
- Leftover Hack: Stale biscuits make the absolute best croutons or the base for a killer breakfast strata.
Creative Variations for Savory or Sweet Palates
Once you have the base buttermilk biscuit recipe down, the world is your oyster. You can fold in almost anything to change the vibe.
- Cheesy Herb: Fold in 50g of sharp cheddar and 1 tbsp of chopped chive during the tossing phase.
- Black Pepper and Bacon: Add 2 tsp of cracked black pepper and 3 strips of crumbled, cooked bacon.
- Sweet Cinnamon: Increase the sugar to 2 tbsp and add a dash of vanilla extract to the buttermilk.
For a different kind of sweet treat that hits those same nostalgic notes, try The Chewy Classic recipe. It’s a great way to use up any extra flour you have on the counter.
Inspiration for Pairing Your Golden Baked Goods
These biscuits are a blank canvas. While they are stunning with just a smear of salted butter, they can easily become the star of a full meal.
Pair them with a rich sausage gravy for the ultimate breakfast, or use them as the base for a Light Buttery Homemade recipe by adding a bit more sugar and topping with macerated berries. If you’re feeling extra indulgent, a slice of these alongside Aunt Millies Decadent recipe makes for a Southern dessert spread that no one will forget.
Trust me, once you see those layers pull apart and feel that first buttery crunch, you’ll never go back to the canned stuff. Just remember: keep it cold, keep it quick, and don't twist that cutter! Happy baking, friend. Let me know how that first bite tastes I bet it's heavenly.

Recipe FAQs
What is the secret to making good biscuits?
Keep all your fat frozen and work quickly. The secret is ensuring the butter remains in small, icy shards so that when it hits the hot oven, the water trapped inside turns immediately to steam, forcing the layers apart for height.
Is buttermilk or heavy cream better for biscuits?
Buttermilk is better for classic flavor and lift. The acidity in buttermilk reacts strongly with the baking soda, creating extra lift while also tenderizing the dough beautifully.
How do you make 3 ingredient butter biscuits?
Combine 1 cup self rising flour, 1/2 cup frozen butter (grated), and 1/3 cup cold buttermilk. Gently mix until just combined, pat to 2.5cm thickness, cut, and bake at 200°C until golden.
What are common biscuit baking mistakes?
The most common mistake is twisting the biscuit cutter when cutting the rounds. Twisting seals the edges of the dough, which physically prevents the biscuit from rising straight up in the oven.
Is it true that I must use a specific brand of soft wheat flour?
No, this is a common misconception. You can achieve nearly identical results using high-quality all-purpose flour if you master the technique of not overworking the dough, which keeps the gluten structure relaxed.
Why do my biscuits come out tough and dense?
Your butter likely melted before the biscuit hit the heat, usually due to over mixing. Handle the dough minimally; if the mixture feels warm while mixing, chill it for 10 minutes before proceeding to the folding steps.
How should I store unbaked biscuit dough for later use?
Freeze the cut rounds immediately on a baking sheet until solid. Once frozen, transfer them to an airtight, freezer safe bag, and adjust your bake time by adding 3 to 5 minutes when cooking from frozen.
Fluffy Buttermilk Biscuit Recipe

Ingredients:
Instructions:
Nutrition Facts:
| Calories | 178 kcal |
|---|---|
| Protein | 3.5 g |
| Fat | 8.1 g |
| Carbs | 22.6 g |
| Fiber | 0.7 g |
| Sugar | 2.5 g |
| Sodium | 445 mg |
