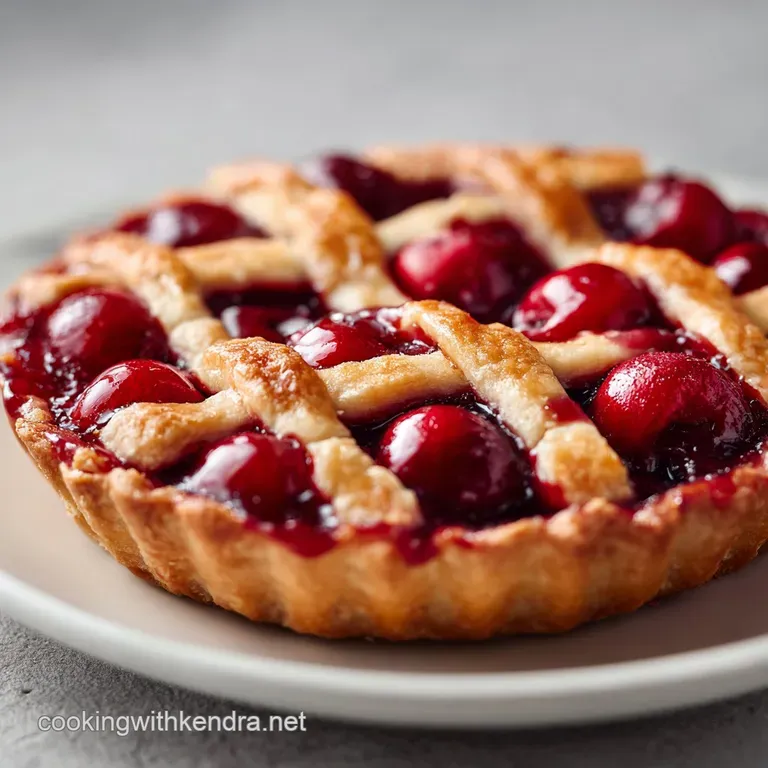
Best Homemade Cherry Pie: Thick and Glossy
- Time: 30 min active + 2 hours chilling = Total 3 hours 35 mins
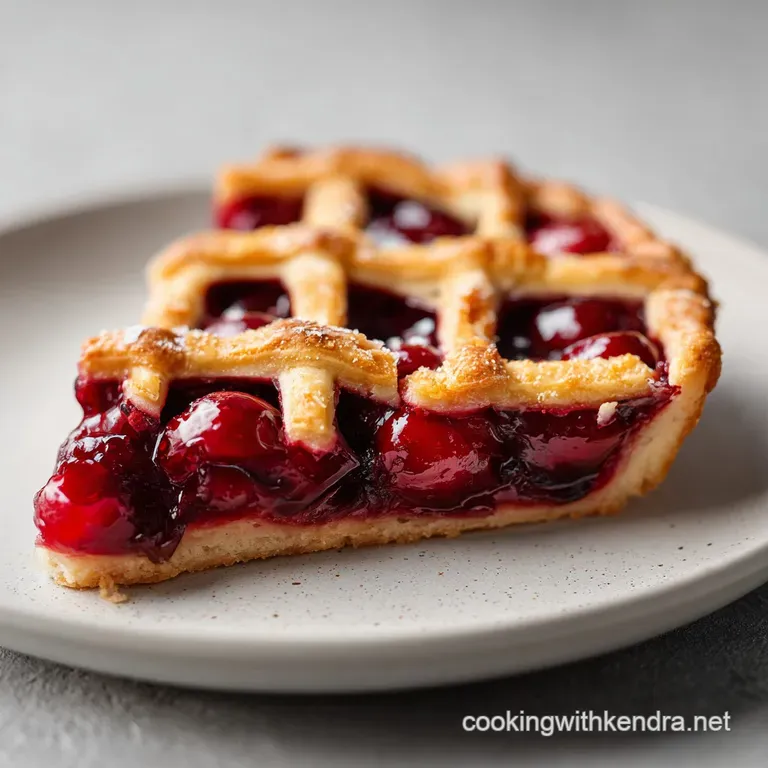
- Flavor/Texture Hook: Shattering buttery crust with a velvety, deep mahogany filling
- Perfect for: Family Sunday dinners or a cozy holiday dessert
That sound of the first slice cutting through a golden, flaky crust is basically music to me. But let's be real, we've all been there: you pull a beautiful dessert out of the oven, wait (impatiently) for it to cool, and then cut a slice only to have the filling run across the plate like a red river.
It's heartbreaking when the bottom crust stays pale and gummy because the fruit juices just soaked right into it.
I used to think the only way to fix that was to overbake the whole thing, but that just burnt the edges. The secret isn't more time in the oven, it's what you do before the fruit even touches the dough. By treating the filling like a preserve first, you lock in that jammy consistency.
Once you get this right, a homemade Cherry Pie becomes your go to comfort bake. You get that sharp contrast between the salty, buttery pastry and the tart, bubbling cherries. It's the kind of dish that makes the whole house smell like a cozy bakery and feels like a warm hug on a plate.
Making a Classic Cherry Pie
Right then, let's talk about why this version actually works where others fail. Most recipes just toss raw fruit with sugar and starch and hope for the best. But fruit is mostly water, and as it heats up, it releases all that liquid. If the starch doesn't activate and thicken it quickly, you get a soggy mess.
By simmering the cherries on the stove first, we're creating a concentrated glaze. This means the cornstarch is already doing its job before the pie ever hits the heat. When the pastry bakes, it's not fighting a flood of juice, so it can actually crisp up and shatter when you bite into it.
Butter Temperature: Keeping the butter chilled prevents it from melting into the flour. This leaves tiny pockets of fat that steam during baking, creating those flaky layers.
Starch Activation: Cooking the filling first ensures the cornstarch reaches the temperature needed to swell and bind the juices.
Acid Balance: A splash of lemon juice cuts through the heavy sugar, brightening the fruit and preventing the filling from tasting one dimensional.
Crust Hydration: Adding ice water slowly ensures the gluten doesn't overdevelop, which keeps the crust tender instead of chewy.
But what if you're in a rush? Not everyone has three hours to spend on a dessert. For those moments, you might wonder if a shortcut is worth it. Here's how the fast version stacks up against the classic approach.
| Feature | Fast Version (Store Crust) | Classic Version (Homemade) | Impact |
|---|---|---|---|
| Crust Texture | Uniform and soft | Shattering and flaky | High |
| Flavor Profile | Slightly metallic/salty | Rich and buttery | Medium |
| Prep Time | 15 minutes | 30 minutes active | Medium |
| Bottom Crust | Prone to sogginess | Sturdier and crisp | High |
If you're looking for another sweet treat to pair with this, you might love my soft chewy sugar cookies for a full blown dessert spread.
Component Analysis
To get a Cherry Pie that tastes like it came from a professional kitchen, you have to understand what each part is doing. It's not just about following a list, it's about knowing why we use these specific items.
| Ingredient | Science Role | Pro Secret |
|---|---|---|
| All Purpose Flour | Provides structure | Chill your measuring cup to keep the flour cool |
| Unsalted Butter | Creates flaky layers | Use high fat European style for more richness |
| Cornstarch | Thickens the juices | Mix it with sugar first to avoid clumps |
| Fresh Cherries | Primary flavor/acid | Halve them for better juice release |
What You'll Need
For the crust, we're sticking to the basics. Don't try to swap the flour for something like almond flour here, as you'll lose the structural integrity needed to hold that heavy filling.
- 2.5 cups (310g) all purpose flour Why this? Balanced protein for a tender but strong crust
- 1 tsp (6g) salt Why this? Enhances the butter's richness
- 1 tbsp (12g) granulated sugar Why this? Helps with browning the edges
- 1 cup (225g) unsalted butter, chilled and cubed Why this? Creates the steam pockets for flakiness
- 8 tbsp (120ml) ice water Why this? Binds dough without melting the butter
For that velvety filling, fresh fruit is king, but I'll show you a shortcut later.
- 6 cups (900g) fresh sweet cherries, pitted and halved Why this? Provides the best tart sweet balance
- 0.75 cup (150g) granulated sugar Why this? Macerates the fruit and thickens the glaze
- 0.25 cup (30g) cornstarch Why this? Ensures a thick, sliceable filling
- 1 tbsp (15ml) lemon juice Why this? Balances the sweetness
- 1 tsp (2g) ground cinnamon Why this? Adds warm, earthy depth
- 0.25 tsp (1.5g) salt Why this? Brightens the fruit flavors
- 1 tbsp (14g) unsalted butter Why this? Adds a silky finish to the glaze
And for the golden finish:
- 1 large (50g) egg
- 1 tbsp (15ml) milk
- 1 tbsp (12g) coarse sugar
The Tool Kit
You don't need a fancy kitchen to make a great Cherry Pie, but a few things make life way easier. A pastry cutter is a lifesaver for working the butter, but a fork or two knives work in a pinch. I always use a 9 inch pie dish with slanted sides, as it makes crimping the edges a breeze.
If you're feeling adventurous with your pastry, I highly recommend checking out some guides on pastry techniques to help you get those perfect lattice lines.
Step by step Process
Let's crack on. This is where we build the flavor in layers. First, we focus on the pastry, then the filling, and finally the bake.
Phase 1: Prepping the Shattering Crust
- Whisk flour, salt, and sugar in a bowl. Make sure there are no clumps of salt.
- Use a pastry cutter to work the cold butter into the flour. Stop until the mixture looks like coarse crumbs with some pea sized chunks remaining. Note: Those chunks are what create the flakes!
- Add ice water one tablespoon at a time. Stir with a fork until the dough just holds together. Don't overwork it, or you'll end up with a tough crust.
- Divide dough into two discs, wrap in plastic, and refrigerate for 2 hours. This lets the gluten relax and the butter firm back up.
Phase 2: Crafting the Thick Cherry Filling
- In a saucepan over medium heat, combine cherries, sugar, cinnamon, and salt.
- Stir in the cornstarch and lemon butter. Cook for 5–8 minutes until the liquid turns into a deep mahogany glaze and thickens. Note: It should look like a thick syrup that coats the back of a spoon.
- Remove from heat and let the filling cool slightly. This prevents the bottom crust from melting the moment the filling hits it.
Phase 3: Assembly and Baking
- On a floured surface, roll out the first disc to fit a 9 inch pie dish. Press it firmly into the bottom and sides.
- Pour the thickened cherry filling into the crust. Spread it evenly so you don't have a mound in the middle.
- Roll out the second disc and place it over the filling. You can leave it whole with steam slits or do a lattice.
- Crimp the edges with fingers or a fork to seal. This keeps the juices from leaking onto your oven floor.
- Brush the top with the egg and milk mixture, then sprinkle with coarse sugar.
- Bake at 400°F (200°C) for 20 minutes, then reduce to 375°F (190°C) for another 40–45 minutes until the crust is golden brown and the filling is bubbling.
Fixing Common Mistakes
Even for seasoned cooks, a Cherry Pie can be temperamental. Most issues come down to moisture management or temperature. If your crust shrank, it's usually because you stretched it too much when placing it in the pan.
Troubleshooting Common Issues
| Issue | Solution |
|---|---|
| Why Your Crust Is Soggy | This happens when the filling is too wet or the oven temperature is too low at the start. The initial blast of 400°F heat is designed to "set" the bottom crust before the juices can soak in. |
| Why Your Filling Is Runny | If the filling doesn't set, you likely didn't cook the cornstarch long enough on the stove. Starch needs to reach a specific temperature to "gel." If you skip the stovetop step, you're relying entirel |
| Why Your Crust Is Tough | Overworking the dough is the culprit here. When you stir the water in, stop the moment it clumps. If you knead it like bread, you develop too much gluten, and you lose that shatter crisp texture. |
Chef's Note: If you notice the edges of your Cherry Pie browning too quickly while the center is still pale, just cover the edges with strips of aluminum foil. It's a simple trick that saves the crust from burning.
Common Mistakes Checklist:
- ✓ Did I use ice cold water and butter?
- ✓ Did I cook the filling until it turned mahogany?
- ✓ Did I let the dough rest for the full 2 hours?
- ✓ Did I cut steam vents in the top crust?
- ✓ Did I reduce the oven temp after the first 20 minutes?
Adjusting Your Batch Size
If you're making this for a small gathering or a huge party, you can scale the Cherry Pie recipe, but keep a few things in mind.
Scaling Down (Half Batch): Use a smaller 6 inch or 7 inch pan. Reduce the baking time by about 20%, but still keep the temperature shift. For the egg wash, beat one egg in a small bowl and use only half of it.
Scaling Up (Double Batch): Work in batches for the crust. If you try to mix too much dough in one bowl, you'll likely overwork it. For the filling, increase the cherries and sugar, but only increase the salt and cinnamon by 1.5x to avoid overpowering the fruit.
If you're planning a massive dessert table, this pairs beautifully with a rich cola cake recipe for those who want something chocolatey alongside the fruit.
Truths About Pie Baking
There are a few things people tell you about baking a Cherry Pie that are just plain wrong. Let's clear those up.
The Ice Water Myth: Some say you need ice water to keep the dough cold. While it helps, the real goal is to prevent the butter from melting. If your kitchen is freezing, cold tap water is fine. The key is the temperature of the butter, not just the water.
The Blind Baking Myth: Many believe you must blind bake (pre bake) the crust to avoid sogginess. While it works for cream pies, for a Cherry Pie, the stovetop reduction method is actually more effective and keeps the crust from becoming too hard or "cookie like."
Keeping it Fresh
Once your Cherry Pie is finished, the clock starts ticking on that flaky crust.
Storage: Keep leftovers in the fridge for up to 4 days. Store them in an airtight container or cover the pie dish tightly with foil. To keep the crust from getting soft, don't slice the whole pie at once; just cut a slice as you need it.
Freezing: You can freeze a baked pie for up to 2 months. Wrap it in plastic wrap and then a layer of foil. When you're ready to eat, let it thaw in the fridge overnight before reheating.
Reheating: Avoid the microwave! It makes the crust rubbery. Put a slice in a 350°F (175°C) oven for about 10-15 minutes. This brings back that shatter crisp texture.
Zero Waste: Don't throw away the cherry pits if you're feeling fancy. You can dry them and simmer them with sugar and water to make a light cherry syrup for cocktails or pancakes.
Also, any leftover scraps of dough can be rolled into small coins, sprinkled with cinnamon sugar, and baked for 8 minutes as a little treat for the cook.
Best Serving Ideas
A slice of Cherry Pie is great on its own, but there are ways to make it feel like a real event.
The Classic Way: A huge scoop of vanilla bean ice cream. The cold cream melting into the warm, tart cherries is the gold standard.
The Southern Twist: A dollop of homemade whipped cream and a sprinkle of fresh mint. This lightens up the richness of the butter crust.
The Cheese Board Approach: Serve a slice with a sharp piece of cheddar cheese on the side. The saltiness of the cheese cuts through the sugar of the Cherry Pie in a way that's surprisingly addictive.
The Beverage Pairing: A glass of cold milk is a classic, but a tart hibiscus tea or a light roast coffee complements the cinnamon and fruit notes perfectly.
Recipe FAQs
What is the best filling for a cherry pie?
Fresh sweet cherries thickened with cornstarch. Cooking the fruit with sugar, cinnamon, and lemon juice on the stove creates a deep mahogany glaze that prevents the crust from getting soggy. If you love working with fresh cherries, you might also enjoy making chocolate covered cherries.
Why is my pie crust coming out tough?
You likely overworked the dough. Handling the flour and butter too much develops excess gluten, which ruins the flaky texture. Mix only until the dough just holds together.
How to prevent a soggy bottom crust?
Start the bake at 400°F. This initial high heat sets the bottom crust quickly before the cherry juices can soak in. After 20 minutes, reduce the temperature to 375°F to finish baking.
Why is my cherry pie filling still runny after baking?
The cornstarch wasn't cooked long enough on the stove. Starch must reach a specific temperature to gel properly. Ensure the filling thickens into a glaze before adding it to the crust.
Is it true I can just put raw filling into the crust to save time?
No, this is a common misconception. Skipping the stovetop step prevents the cornstarch from activating, which often results in a runny filling that fails to set.
How to make the pie crust?
Whisk flour, salt, and sugar before cutting in cold butter. Use a pastry cutter until you see pea-sized chunks, then stir in ice water one tablespoon at a time until the dough forms.
How to bake the pie for a golden crust?
Brush the top with an egg and milk wash. Sprinkle with coarse sugar and bake at 400°F for 20 minutes, then at 375°F for 40 45 minutes until the filling is bubbling.
Homemade Cherry Pie

