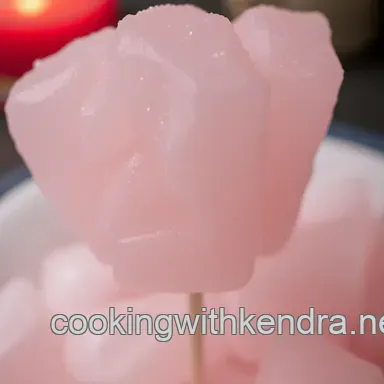
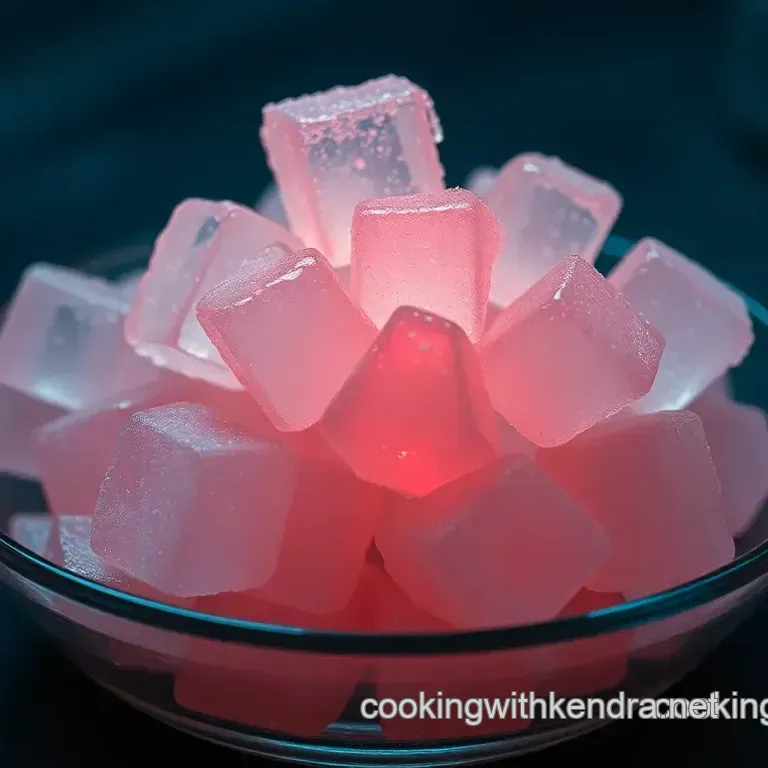
Sparkling Crystal Creations: Homemade Rock Candy
Recipe Introduction
Quick Hook
Remember those days, watching sweets slowly grow? how about we try and how to make rock candy at home? it's like a science experiment, and the prize is yummy! this recipe is dead easy, yet gives you this awesome crystal clear sweetness.
Brief Overview
Rock candy, dating back to the 17th century, isn't just a sweet treat. it's a piece of history! it's surprisingly easy, even if it looks posh.
This recipe, once cracked, delivers around 10-12 sticks of pure sugary delight.
Main Benefits
Honestly, the best part is making something so cool with just a few ingredients. think about the perfect occasion for serving ! kids love it, and it looks amazing as a gift.
Plus, it's basically just pure sugar, so energy boost? you betcha! it is one of the yummy deserts to make .
Ready to transform your kitchen into a candy laboratory? first, you'll need 3 cups of granulated sugar. don't skimp, get the good stuff! then, a cup of water.
Simple, right? and a cheeky 1/4 teaspoon of cream of tartar.
Alright, let's get this rock candy show on the road! Honestly, how to make rock candy always felt like magic to me as a kid. It’s surprisingly simple. You know?
Ingredients & Equipment: The Nitty Gritty

So, what do you need to whip up these yummy desserts to make ? Grab your kit, let's roll!
Main Ingredients
We're keeping it basic, folks! Here’s what you need, precise like a proper scientist:
- 3 cups (600g) Granulated Sugar: This is the star! Any granulated sugar will do. Quality doesn't matter too much.
- 1 cup (240ml) Water: Tap water's fine. Don't get fancy.
- ¼ teaspoon Cream of Tartar: This is optional. But it helps avoid big, ugly crystals. It gives you that nice, clean candy rocks recipe look.
Seasoning Notes: Get Creative!
Time to jazz things up a bit. It's Diy Candies Recipes galore!
- Essential Spice Combinations: Vanilla extract is classic. Peppermint gives it a festive kick. Lemon is zingy! A drop is all you need.
- Flavor Enhancers and Aromatics: Food coloring is fun. Gel or liquid, whatever tickles your fancy.
- Quick Substitution Options: No cream of tartar? A TINY squeeze of lemon juice will do in a pinch.
Equipment Needed
Right, gear up, it's science time! (Almost).
- Essential Tools Only: Heavy bottomed saucepan, candy thermometer, tall glasses or jars, and some string or sticks.
- Common Household Alternatives: Don't have fancy jars? Old jam jars work! Clothespins act as the pro string holders.
Honestly, the thermometer is the only must have. you really need to hit that perfect 300° f ( 149° c) or you are making toffee.
Oh my gosh! talk about a disaster. been there, done that. and no one wants to clean up toffee.
The right equipment is key for the perfect at home experiments for kids or even getting your little angel involved in a 4 h food project ideas , you will also impress him or her with one of those pop rock recipes , i bet!.
This is more than just a craft recipes this is an experience, a lovely opportunity for easy food activities for kids .
Now, on to the fun part! Let's learn how to make rock candy step by step.
Alright, let's dive into making some sparkling crystal creations: homemade rock candy . seriously, who doesn't love rock candy? it's like edible gems.
Plus, it's a perfect project for rainy days. did you know that rock candy has been around since the 17th century? fancy, right?
Cooking Method: Rock Candy Magic!
This is easier than you think. Promise! It just needs a bit of patience. We're talking turning simple ingredients into yummy deserts to make . Let's get started.
Prep Steps: The Mise en Place Dance!
First, the setup. it's all about that mise en place . grab 3 cups of sugar , 1 cup of water , and if you have it, 1/4 teaspoon of cream of tartar .
This helps with crystallization. get your candy thermometer ready. you absolutely need this! i once tried without and ended up with a sticky mess.
Not fun. sterilize your glasses or jars and grab your strings or skewers. you can make diy candies recipes easily with this recipe!
Time saving tip : coat your strings in sugar beforehand. this gives the crystals something to grab onto. let them dry completely while you prep everything else.
Trust me, it makes a difference. safety first, though. hot sugar is no joke. have your pot holders handy and be careful when pouring.
Step-by-step Process: Crystal Clear Instructions
Okay, here’s how to make rock candy , step-by-step:
- Sugar Time : In a heavy bottomed saucepan, combine the sugar, water, and cream of tartar (if using).
- Heat It Up : Over medium heat, stir, stir, stir until all the sugar dissolves.
- Boil, Baby, Boil : Stop stirring! Attach your candy thermometer and bring the mixture to a boil. Aim for 300° F ( 149° C) . This is crucial. Visual cues? The syrup should be clear and bubbling like crazy.
- Cool Down : Take it off the heat and let it cool for 5- 10 minutes .
- Flavor & Color (Optional) : Now for the fun part! Add your favourite food coloring and extracts. Vanilla? Peppermint? Go wild!
- Pour Carefully : Pour the hot syrup into your prepared glasses, about 3/4 full.
- String Suspension : Carefully dangle your sugar coated strings into the syrup. Use clothespins to hold them in place. Make sure the strings don't touch the bottom.
- Wait : Leave them undisturbed for 3-7 days . This is where the magic happens. Patience, young Padawan.
Pro Tips: Rock Candy Jedi Master
Honestly, the biggest mistake people make is not using a candy thermometer. you need to know the temperature! for at home experiments for kids this is a classic one.
Another tip? don't touch the jars while they're crystallizing! if your rock candy turns cloudy, it means you probably stirred it too much while it was boiling.
And that's how you make something awesome and easy food activities for kids
You can also create your own candy rocks recipe based on this procedure and it's fun for a 4 h food project ideas .
If you think this is interesting you might want to check some pop rock recipes too.
Alright, let's dive deeper into this sparkling crystal creations: homemade rock candy recipe. there's more to it than just boiling sugar, honestly! it's all about those little tweaks that make it your own.
Think of these as your personal willy wonka wisdom.
Recipe Notes
Serving Ideas That Sparkle
Alright, first things first: presentation. how about serving your diy candies recipes stuck into mugs of hot chocolate on a chilly evening? oh my gosh, imagine the kids' faces! or, get fancy and use them as swizzle sticks for cocktails.
They're especially great for kids and adults! foods to make with kids are often memorable and fun!
For sides, nothing is needed. the rock candy is already as sweet as can be. if you want a bit of balance, go with unsweetened tea.
Or, how about a cheese board with sharp cheddar? it's a surprising but delicious pairing!
Storing Your Sweet Gems
So, you've slaved away creating these sugary masterpieces. how do you keep them from becoming a sticky mess? easy! store your candy rocks recipe in an airtight container at room temperature.
Avoid the fridge, as the humidity can make them soft. if you live somewhere super humid, add a food safe desiccant pack.
For real!
Freezing? not recommended. honestly, they'll just get weird and sticky when they thaw. just make smaller batches and enjoy them fresh.
If you do want to take a challenge of the reheating? just don't do it in the microwave. avoid the sun! put them into the fridge!
Sweet Variations
Want to jazz things up? let's do it! for a dietary twist, though i can't recommend this and it is not something i have tried, experiment with sugar-free sweeteners.
Let me know! for the rest of us normal people, try adding a dash of peppermint extract.
Feeling seasonal? during the summer, use lemon or lime extract. in the autumn, think cinnamon or apple cider flavoring. get creative with those flavor combinations! if you are looking for craft recipes, you can go the creative route.
Try to add a drop of blue with your green extract to make something fun.
Nutrition Lowdown
Okay, let's be real. rock candy is basically pure sugar. but hey, everything in moderation, right? one stick will give you a quick energy boost.
It is often part of a 4 h food project ideas for kids. it is nice to give kids easy food activities for kids.
Remember: These aren't health foods. But sometimes, you just need a little bit of joy.
Time To Shine!
So there you have it. that's how to make rock candy ! don't stress if your first batch isn't perfect.
It's all part of the fun. just keep experimenting and soon you'll be the rock candy rockstar. plus, these at home experiments for kids are fantastic learning experiences.
Go get those yummy deserts to make and make some pop rock recipes! go on, give it a go! you've got this!
Frequently Asked Questions
Help! Why didn't my rock candy form crystals? What went wrong when I tried to make rock candy?
Crikey! Several things could've gone wrong. First, make sure your sugar syrup reached the "hard crack" stage (300°F/149°C) a candy thermometer is your best mate here.
Also, avoid disturbing the jars during crystallization, and ensure your sugar coated strings/sticks are fully dry before using them, otherwise the new crystals will not have a good place to grab onto.
Is it really necessary to use a candy thermometer when I am attempting to learn how to make rock candy?
Absolutely, old chap! While some seasoned cooks might wing it, a candy thermometer is essential for beginners. It ensures your sugar syrup reaches the correct temperature, which is crucial for proper crystallization. Without it, you might end up with sugary sludge or a brittle mess.
Think of it as your safety net in the often unforgiving world of sugar alchemy!
Can I add flavours or colours to my homemade rock candy? What are my options?
You bet your sweet bippy you can! This is where the fun begins. Stir in a few drops of food coloring (gel or liquid) and your favorite flavoring extracts (vanilla, peppermint, lemon, etc.) after removing the syrup from the heat and letting it cool slightly.
Be careful not to add too much liquid, or you might affect the crystallization process - a little goes a long way!
How long does rock candy last, and what's the best way to store it?
If stored properly, your sparkly treats can last for several weeks. Keep them in an airtight container at room temperature, away from direct sunlight and moisture, which can cause them to become sticky. For longer storage, you can wrap individual sticks in plastic wrap before placing them in an airtight container.
Think of it like protecting delicate artwork!
Is rock candy a healthy snack option? Should I be worried about the sugar content of my rock candy creation?
Let's be honest, rock candy is essentially pure sugar, so it's definitely a "treat yourself" kind of indulgence rather than a health food. Enjoy it in moderation. Each stick is quite sugary, so be mindful of your overall sugar intake. Maybe balance it out with a cuppa and a cucumber sandwich afterwards?
Jolly good show!
Can I use honey or other sweeteners instead of sugar to make rock candy?
Unfortunately, replacing sugar with honey or other alternative sweeteners is tricky and not generally recommended for standard rock candy. The crystallization process relies on the specific properties of granulated sugar. While you could experiment, expect different results and possibly failed attempts.
Stick to sugar for reliable results, and maybe try a honey cake another time!
Sparkling Crystal Creations Homemade Rock Candy