The Perfect All-Butter Pie Crust
- Recipe Introduction: The Perfect All-Butter Homemade Pie Crust (That Actually Works!)
- Ingredients & Equipment: Your Pie-Making Arsenal
- The Perfect All-Butter Homemade Pie Crust (That Actually Works!)
- Serving It Up: Plating & Pairings
- Storage Sorted: Keepin' It Fresh
- Mixing It Up: Variations Galore
- Numbers and Knowledge
- Frequently Asked Questions
- 📝 Recipe Card
Recipe Introduction: The Perfect All-Butter Homemade Pie Crust (That Actually Works!)
Ever stared longingly at a picture perfect pie, wondering how they got that amazing crust? well, wonder no more! this homemade pie crust recipe is your answer.
We're talking flaky, golden brown perfection that'll make you feel like a baking rockstar. get ready to impress, even if you're more of a "soggy bottom" kind of baker.
This isn't some fancy, complicated pie crust recipe martha stewart would gatekeep! it’s a straightforward, reliable recipe. it's rooted in classic techniques, aiming to deliver that melt-in-your mouth texture we all crave.
It takes about an hour and a half, with a 20-minute active prep. this recipe will make enough for one double crust, or two single crust pies.
Why This Crust Rocks
Honestly, the taste and texture are everything . but more than that, making your own homemade pie crust means you know exactly what's going in it.
No weird additives or preservatives! it's perfect for holidays, potlucks. this recipe uses vinegar and keeps everything ice-cold, resulting in the flakey pie crust recipe of your dreams.
What Makes it Special?
What sets this recipe apart? it's that extra tablespoon of apple cider vinegar. seriously, it's a game changer! also, flakey pie crust recipe easy to create for anybody!.
It helps prevent the gluten from over developing, meaning a tender, flakey pie crust recipe . trust me, this one trick will elevate your baking game.
What You'll Need
Time to raid the pantry! here’s what you’ll need: all-purpose flour, salt, unsalted butter, ice water, and apple cider vinegar.
That's it! we will also be needing to use a food processor or large bowl. we will need the plastic wrap, rolling pin, and finally the pie plate.
This recipe delivers both natasha's kitchen pie crust secrets and a delicious outcome!
Alright, let's dive into what you need for a perfect all-butter homemade pie crust . this isn't just any pie crust, this is the one .
Forget soggy bottoms! this flakey pie crust recipe will be your new best friend.
Ingredients & Equipment: Your Pie-Making Arsenal
First things first. let's gather our troops, shall we? a good flakey pie crust recipe easy to follow requires the right gear.
I once tried making homemade pie crust without a food processor. trust me, it's like building a house with a butter knife.
Doable, but painful.
Main Ingredients
- 2 1/2 cups (315g) all-purpose flour , plus extra for dusting. Look for unbleached flour for the best texture.
- 1 teaspoon (5g) salt . Don't skip this! It balances the sweetness.
- 1 cup (2 sticks/226g) unsalted butter , ice-cold , and cut into 1/2 inch cubes. This is key for flakiness. Use the best quality butter.
- 6-8 tablespoons (90-120ml) ice water . Ice cold is a MUST.
- 1 tablespoon (15ml) apple cider vinegar or white vinegar . This is my secret weapon. It helps with flakiness!
Seasoning Notes
Forget fancy spices. simplicity rules here. a pinch of salt is all you need. however, for a savory pie, try adding 1 tablespoon of dried rosemary or thyme to the flour mix.
It adds that "oomph!"
Don't have apple cider vinegar? white vinegar works just fine. lemon juice is also a great alternative. i’ve even heard tales of using vodka for a super flakey crust, although i'm not sure.
Equipment Needed
- Food processor. Optional, but a lifesaver.
- Large mixing bowl. For those feeling old-school.
- Pastry blender or fork. If you're mixing by hand.
- Plastic wrap. For chilling, crucial step.
- Rolling pin. Obviously!
- 9 inch pie plate. Glass or ceramic works best.
- Measuring cups and spoons. Accuracy matters.
- Baking sheet. To catch any drips.
If you don't have a pastry blender, two butter knives work in a pinch. No rolling pin? A clean wine bottle will do the trick. Just improvise!
Now, i know what you're thinking, "can i make a healthy pie crust ?" honestly, traditional pie crust isn't exactly health food.
But, you can try using whole wheat flour or reducing the amount of butter slightly. some folks have success with coconut oil pie crust or even coconut flour pie crust , but be warned: the texture will be different.
You might want to look for pie crust recipe martha stewart or natasha’s kitchen pie crust for some healthy pie inspiration.
So, gather your ingredients, and let's get baking! Making homemade pie crust is so worth it.
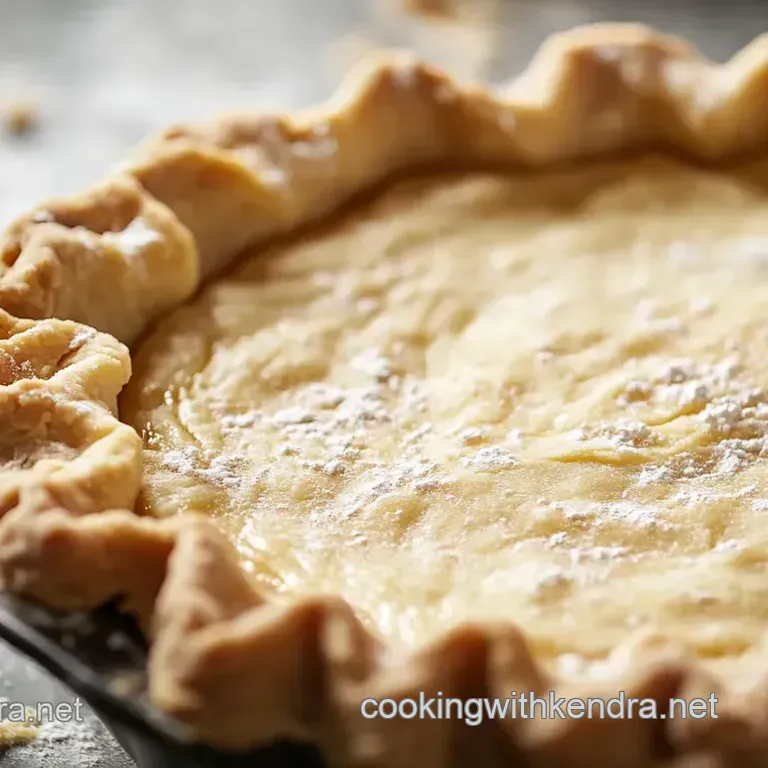
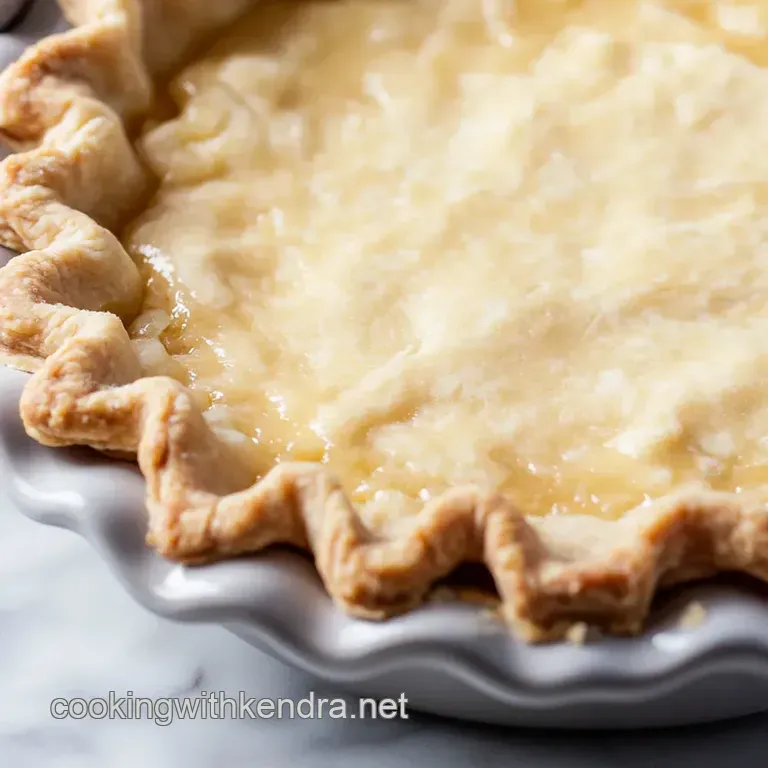
The Perfect All-Butter Homemade Pie Crust (That Actually Works!)
Honestly, a great pie starts with the crust. forget the store-bought stuff. we are making homemade pie crust . chef's kiss ! this recipe gives you a beautifully flaky, golden brown all-butter pie crust every time.
Even if your baking skills are a bit... unpredictable , you got this!
It is a medium difficulty. requires some love and care. especially when keeping things cold! prep is around 20 minutes, plus at least an hour to chill.
Baking time is around 15- 25 minutes , depending on your pie.
Prep Steps: The Essential Mise en Place
First, gather your squad. you'll need flour, salt, ice-cold butter, ice water, and vinegar. measuring cups and spoons are a must! oh my gosh, make sure your butter is seriously cold.
Cut it into small cubes. i use a food processor. makes life so easy. if you don't have one, a large bowl and pastry blender will do the trick.
My tip: get everything prepped before you even start. this is essential . it will save you a heap of time later.
Especially if you have kids running around like mine! for safety, just be careful when using sharp knives and the food processor.
You know?
Step-by-step Process: Let's Get Baking!
- Combine 2 1/2 cups flour and 1 teaspoon salt. Pulse in a food processor or whisk in a bowl.
- Add 1 cup of super cold cubed butter. Pulse until it looks like coarse crumbs. We want pea-sized butter bits.
- Gradually add 6-8 tablespoons of ice water and 1 tablespoon of vinegar. Pulse until the dough just comes together. Don't overmix.
- Divide the dough in half. Flatten into disks. Wrap tightly in plastic wrap. Chill in the fridge for at least 1 hour . This chilling is critical .
- Roll out the dough on a lightly floured surface to a 12 inch circle.
- Transfer to your pie plate. Crimp the edges.
- If pre-baking is needed, prick the crust and bake at 375° F ( 190° C) for 15- 20 minutes with pie weights. Then, another 5- 10 minutes without weights.
- Add your filling and bake as your recipe directs.
Pro Tips: Secrets to Pie Perfection
Always keep your ingredients cold. cold, cold, cold! don't overmix. overmixing makes a tough crust. butter size matters. pea-sized butter means flaky magic.
Want a flakey pie crust recipe easy ? use a food processor. also, try chilling the rolled out crust before filling it.
Common mistake? warm butter! it's a disaster. make-ahead option? absolutely! the dough can be made days in advance. perfect for stress free holiday baking.
Did you know that using cold ingredients inhibits gluten development which results in a more flakey pie crust recipe ?
You could even try Oil Pie Crust , Coconut Oil Pie Crust , or even Coconut Flour Pie Crust . If you are looking for something healthier, you could even try a Healthy Pie Crust option, but let's stick with the original recipe of flaky crust, and don't forget to look at Pie Crust Recipe Martha Stewart or even Natasha’s Kitchen Pie Crust
Alright, let's talk Recipe Notes for the perfect pie, alright? Because honestly, a great pie is all about the details, innit? We all want that perfect bake!
Serving It Up: Plating & Pairings
Right, so you've got this amazing pie. Now, let's make it look chef's kiss .
Plating and presentation ideas: A simple dusting of icing sugar does wonders. You could also get fancy with some fresh berries dotted around. Think simple elegance, you know?
Complementary sides or beverages: vanilla ice cream is a classic, of course. but a dollop of whipped cream? also top-tier! tea also goes down a treat.
For a fancy dinner party, think about a dessert wine!
Storage Sorted: Keepin' It Fresh
Okay, so maybe you didn't eat the whole pie in one sitting. I get it, restraint is hard.
Refrigeration guidelines: Keep your pie in the fridge, covered, for up to 3 days.
Freezing options (if applicable): you can freeze your unbaked pie crust! wrap it tightly in plastic wrap, then foil. it'll keep for up to 3 months.
Thaw it in the fridge overnight before using it for that flakey pie crust recipe easy dessert.
Reheating instructions: A quick zap in the microwave or a gentle warm-up in the oven works a charm. But honestly, sometimes cold pie straight from the fridge is the best!
Mixing It Up: Variations Galore
Want to get a bit creative? No problem! This flakey pie crust recipe is your oyster.
Dietary adaptations: for a best gluten-free piecrust use coconut flour pie crust or a gluten-free flour blend. make sure to adjust the liquid! if you are feeling brave, you could try coconut oil pie crust .
Seasonal ingredient swaps: Think pumpkin pie in autumn, strawberry rhubarb in spring. It's all about what's fresh and tasty!
Numbers and Knowledge
This homemade pie crust uses simple ingredients. It delivers a flaky crust. It is great for sweet or savory pies.
Simplified nutrition information: Honestly, pie isn't exactly a health food. But it's good for the soul, right? Just enjoy in moderation!
Key health benefits: It's a great source of happiness!
So there you have it! This homemade pie crust recipe is your secret weapon. With these notes, you can adjust the bake to your hearts desire!
Frequently Asked Questions
Why is my homemade pie crust tough, not flaky? Like trying to cut through a Yorkshire pudding gone wrong!
A tough pie crust usually means the gluten in the flour has been overdeveloped. This often happens from overmixing or adding too much water. Next time, be gentle with the dough, add just enough ice water to bring it together, and ensure you chill it properly.
The cold butter and minimal mixing are key to that lovely, flaky texture think layers like a perfect puff pastry, just a bit more rustic!
Help! My homemade pie crust shrunk during baking. What did I do wrong?
Shrinking is a common pie-baking woe! It's usually caused by the gluten contracting during baking. To prevent this, make sure to chill the dough thoroughly before rolling, chill the rolled out crust in the pie plate before baking, and don't stretch the dough when placing it in the pie plate.
Docking the crust (pricking it with a fork) before blind baking also helps prevent it from puffing up and shrinking.
Can I make homemade pie crust ahead of time and freeze it? Like prepping for a bake off blitz!
Absolutely! Pie crust freezes beautifully. Wrap the dough disks tightly in plastic wrap, then place them in a freezer bag. They can be frozen for up to 3 months. When ready to use, thaw the dough in the refrigerator overnight before rolling it out.
You can also freeze a fully assembled, unbaked pie just be sure to wrap it well to prevent freezer burn.
What's the secret ingredient for the most amazing homemade pie crust? Beyond just butter, I mean!
While cold butter is essential, the real secret weapon is a touch of acid, like apple cider vinegar or white vinegar (as mentioned in the recipe!). A tablespoon of vinegar helps to relax the gluten, resulting in a more tender and flaky crust.
It's a bit like a secret handshake between you and a perfect pie only seasoned bakers know the trick!
Can I use shortening instead of butter for homemade pie crust, and what's the difference?
Yes, you can use shortening, or even a mix of butter and shortening. Shortening creates a very flaky crust because it has a higher fat content and melts differently than butter. However, butter provides a richer flavor. For the best of both worlds, try using half butter and half shortening.
You get flakiness and flavour a win-win!
How do I keep my bottom pie crust from getting soggy? I hate a soggy bottom!
Ah, the dreaded soggy bottom! To avoid it, pre-bake or "blind bake" your crust, especially if your filling is very moist. Brush the bottom crust with a beaten egg white before adding the filling this creates a waterproof barrier. Also, make sure your filling isn't too hot when you pour it into the crust.
A cooler filling will help prevent the crust from becoming soggy.
The Perfect All Butter Pie Crust

