Sugar Cookie: the Best Cut out Recipe
- Mastering the Classic Cut-Out Cookie: Recipe Overview
- The Science of a Tender Crumb: Why This Sugar Cookie Holds Its Shape
- Essential Ingredients and Smart Swaps for Your Dough
- The Baker's Method: A Step-by-Step Guide to Perfect Dough
- Troubleshooting Your Cookie Dough: Solutions for Sticky or Crumbly Textures
- Planning Ahead: Chilling, Storing, and Freezing the Dough and Baked Cookies
- Elevating the Experience: Decoration and Serving Pairings
- Recipe FAQs
- 📝 Recipe Card
Mastering the Classic Cut-Out Cookie: Recipe Overview
When that glorious buttery aroma starts wafting through the house, you know exactly what’s happening. It’s the smell of pure nostalgia, the sign that a batch of truly perfect Sugar Cookie dough is hitting the oven.
I'm talking about that dreamy, tender cookie that holds the shape of the cutter without fail, yet still melts away the second it touches your tongue.
Look, baking shouldn't be stressful. We’ve all dealt with those frustrating recipes where the dough spreads into an unrecognizable blob of blandness, wasting all your fancy sprinkles and patience.
This precise, foolproof method for making a Sugar Cookie is your escape plan it’s fast, uses staples you already have, and delivers a consistent, stunning result every time.
So, ditch the overly complicated internet searches. I’ve tested this Vanilla Sugar Cookie Recipe hundreds of times, making all the mistakes so you don’t have to.
We are covering the science, the swaps, and every trick necessary to produce the ultimate Sugar Cookie that is ready for decorating. Let's crack on and create the best base for your favorite Cut Out Sugar Cookies .
The Science of a Tender Crumb: Why This Sugar Cookie Holds Its Shape
The secret to a non-spreading, tender Sugar Cookie isn't magic; it’s technique, specifically the ratio of fat to flour and the degree of air you whip into the butter. We are aiming for a cookie that has structure, not one that turns into a brittle cracker.
Why the Roll Out Technique Matters
If you’re making beautiful, detailed shapes, you need uniformity. Rolling your dough between two sheets of parchment paper ensures two things: zero added flour (which prevents dryness) and a perfectly consistent thickness.
This consistency guarantees that every single Sugar Cookie bakes in exactly the same amount of time, giving you those crisp edges and soft centers we crave.
Expected Prep and Bake Times
I always preach patience with baking, especially when dealing with the chilling time required for this beautiful Sugar Cookie dough. Active mixing time is only about 20 minutes, which is super fast!
However, the chilling process is mandatory, otherwise, your Sugar Cookie will spread instantly. Be sure to budget at least 60– 90 minutes for the dough to firm up properly in the fridge.
Essential Tools for Perfect Cookie Cutting
You can absolutely use any old rolling pin, but if you want that professional look, grab a rolling pin with thickness guides. Setting the guides to exactly 1/4 inch ensures every piece of dough is identical.
A thin spatula is also crucial for gently lifting the cut Sugar Cookie shapes without distorting them.
The Creaming Method: Achieving Maximum Air Incorporation
This is the most critical stage for a light and tender Sugar Cookie . You need to beat the butter and sugar until the mixture is visibly pale, fluffy, and almost white not just combined! This takes a full 3 to 5 minutes on medium speed.
What you’re doing here is forcing air pockets into the fat. These tiny air pockets expand in the oven, creating that wonderful, airy texture found in the best Homemade Sugar Cookies Tutorial recipes.
Balancing Fat and Flour for Zero Spread (The “No-Fail” Ratio)
The downfall of many homemade recipes is too much fat or too little flour, leading to excessive spreading. This recipe maintains a higher flour-to-fat ratio compared to traditional drop cookies, which is what keeps your star and tree shapes sharp.
The structure comes from the flour, but the richness of the Sugar Cookie flavor is all about the butter content. It’s a delicate dance!
The Subtle Role of Salt in Enhancing Sweetness
Don't ever skip the salt in your baking! It might seem counter intuitive in a sweet treat, but the small amount of salt actually grounds and intensifies the flavor of the sugar and vanilla.
Without it, your final Sugar Cookie will taste flat and boring, regardless of how much vanilla you throw in.
Essential Ingredients and Smart Swaps for Your Dough
Baking is chemistry, and chemistry means precision. But sometimes, life happens, and you need a quick substitution. Here are the core ingredients and how you can manage without them, without compromising the delicious flavor of your Sugar Cookie .
Selecting the Best Butter for Cookie Structure
I always use unsalted butter in this Sugar Cookie recipe because it gives me absolute control over the salt level. Make sure your butter is truly softened , which means you can easily press a finger into it, but it’s not greasy or melting.
If it’s too cold, it won't cream properly. If it’s too warm, the dough will be oily and difficult to handle immediately.
| Ingredient | My Recommendation | Smart Swap Option |
|---|---|---|
| Unsalted Butter | high-quality European style, softened | High fat, plain vegetable shortening (Crisco) or a quality baking specific dairy-free block. |
| Granulated Sugar | Fine granulated | Powdered sugar (by weight, not volume) for a meltier texture. |
| Large Egg | Room temperature is non-negotiable | 3 tablespoons of applesauce or a flax egg (1 tbsp flaxmeal + 3 tbsp water). |
| All-Purpose Flour | Measured by weight (360g) | Measure for-measure gluten-free blend. |
| Baking Powder | Fresh! | Baking soda (use 1/4 tsp and omit 1/4 cup of flour). |
Flour Types: Ensuring the Perfect Texture (Low vs. High Protein)
We use standard All-Purpose flour for this easy Sugar Cookie dough. It has the perfect protein content to give the cookies the necessary structure without making them tough or chewy. Do not substitute this with bread flour!
Bread flour is too high in protein, which creates too much gluten, leading to a rock hard cookie instead of a tender one.
Customizing the Flavor Profile (Vanilla vs. Almond Extracts)
Vanilla extract is the backbone of any great classic Sugar Cookie . I am absolutely devoted to pure vanilla, not the imitation stuff. However, if you want a professional bakery vibe, swap out half the vanilla for pure almond extract. It adds a sophisticated, marzipan like nuance. Want something zesty? You could try adding lemon zest, much like I do when making my famous Lemon Meltaway Cookies: The Ultimate Buttery, Zesty, Easy Recipe .
Adjusting Sweetness: Granulated vs. Powdered Sugar
We use granulated sugar here because it helps create a crisp edge and allows for better spread control. If you absolutely prefer an "Easy Chewy Sugar Cookies" texture that melts instantly in your mouth, you can substitute the granulated sugar with the same weight of powdered sugar.
Just know that the structure for your Sugar Cookie might be slightly softer when baked.
The Baker's Method: A step-by-step Guide to Perfect Dough
We’re moving from ingredients to assembly. This Best Sugar Cookie Recipe Cutout depends on your attention to these small details.
Preparing the Work Surface for Rolling and Cutting
Here’s a trick I learned the hard way: if you flour the counter, only use the absolute bare minimum, just a whisper. Too much flour dries out your dough, which makes the baked Sugar Cookie crumbly.
The best strategy is to roll the dough between two sheets of parchment paper right after you take it out of the fridge. This keeps the dough soft and minimizes sticking.
Optimal Dough Thickness: Avoiding Thin and Crispy Edges
Aim for 1/4 inch thickness (about 6mm). If you roll your dough too thin (1/8 inch), your Sugar Cookies for Decorating will be brittle and break when you ice them. If you roll them too thick (1/2 inch), they will puff up too much and won't bake evenly through the center. Consistency is king here.
Transferring Delicate Shapes to the Baking Sheet
This step stresses everyone out! Once your shapes are cut, use a thin, offset spatula to gently slide under the cookie. Move it quickly and confidently onto the parchment lined sheet.
If the dough starts sticking, place the entire sheet of cut dough back into the freezer for five minutes; everything stiffens up and transfers like a dream.
Timing is Everything: Knowing When Your Cookies Are Done
Don't wait for your Sugar Cookie to turn golden brown! By the time the tops are significantly colored, they are definitely overbaked and will be dry. The correct indicator is when the edges are set and just starting to turn a very, very faint pale gold, while the center still looks slightly underbaked or soft.
Remember, they continue to cook on the sheet after they leave the oven.
Troubleshooting Your Cookie Dough: Solutions for Sticky or Crumbly Textures
We’ve all been there a batch of dough that just won't behave. Here are the most common hiccups when making a perfect Sugar Cookie and how to reverse them.
Why Your Dough Might Be Crumbly (And How to Fix It)
Crumbly dough is usually a sign of one thing: too much flour. Did you scoop the flour straight from the bag? That packs it down, adding 20 30% extra flour by volume. If your dough is too dry, gently sprinkle in 1 teaspoon of milk (dairy or non-dairy) at a time, mixing until it just comes together.
Stop immediately when it looks cohesive.
Preventing Overworking: The Key to Keeping Cookies Tender
Once you add the flour to the wet ingredients, mix only until the streaks of flour disappear. That’s it. Seriously, 30 seconds max on low speed. Overmixing develops gluten, which makes the final Sugar Cookie chewy in a tough, unpleasant way. You want tender, not tough!
Dealing with Spreading During Baking (A Temperature Check)
If your beautiful star shapes turn into circles, your dough was too warm when it hit the oven. This is why the second chill is mandatory. Transfer the cut shapes to the baking sheet and stick the whole sheet in the freezer for 10 minutes while the oven preheats.
This firms up the fat, delaying its melting and locking in the shape. This is the ultimate "Best Cut Out Sugar Cookie Recipe" secret.
When to Remove Cookies: Understanding Residual Heat
As mentioned above, removing your Sugar Cookie when the center still looks pale is key. The residual heat from the baking sheet continues to set the cookie for the first five minutes it spends cooling on the sheet. If you transfer them too early, they will fall apart.
If you leave them too long, they overbake.
How Long Must the Dough Chill? The Minimum Time Required
The absolute minimum chill time is one hour. I prefer 90 minutes. You need the fat to fully firm up and for the gluten strands (developed during mixing) to relax. If you try to roll it too soon, the dough will be sticky and rubbery, making your rolling experience miserable.
Planning Ahead: Chilling, Storing, and Freezing the Dough and Baked Cookies
These Cut Out Sugar Cookies are fantastic for planning ahead.
Freezing Raw Cookie Dough: Best Practices for Long Term Storage
The raw dough freezes beautifully. Simply wrap the flattened discs tightly in plastic wrap, then seal them inside a freezer bag. They keep well for up to 3 months. When ready to bake, thaw the dough overnight in the fridge before rolling.
You can also freeze the cut shapes, placing them directly onto the baking sheet (no need to thaw!) and adding 1– 2 minutes to the bake time.
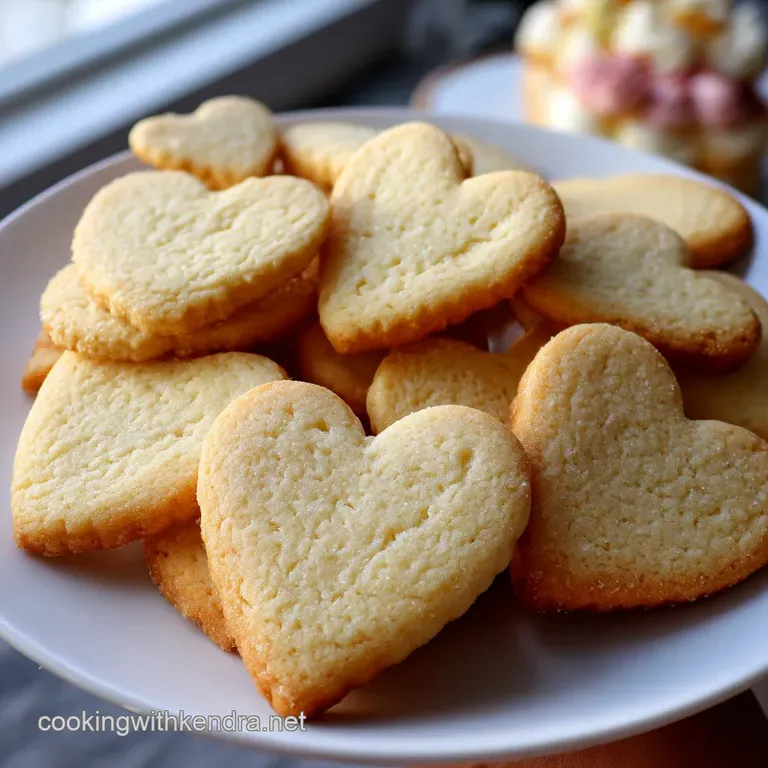
Storage of Baked Cookies
Baked Sugar Cookies for Decorating should be stored at room temperature in an airtight container once completely cooled. They will stay fresh and delicious for about five to seven days.
If you've frosted them with royal icing, ensure the icing is completely hardened before stacking them carefully between layers of parchment paper.
Kendra’s Critical Tip: Never refrigerate the baked Sugar Cookie unless the frosting requires it (like cream cheese frosting). The cold air dries them out far too quickly, compromising that perfect tender texture.
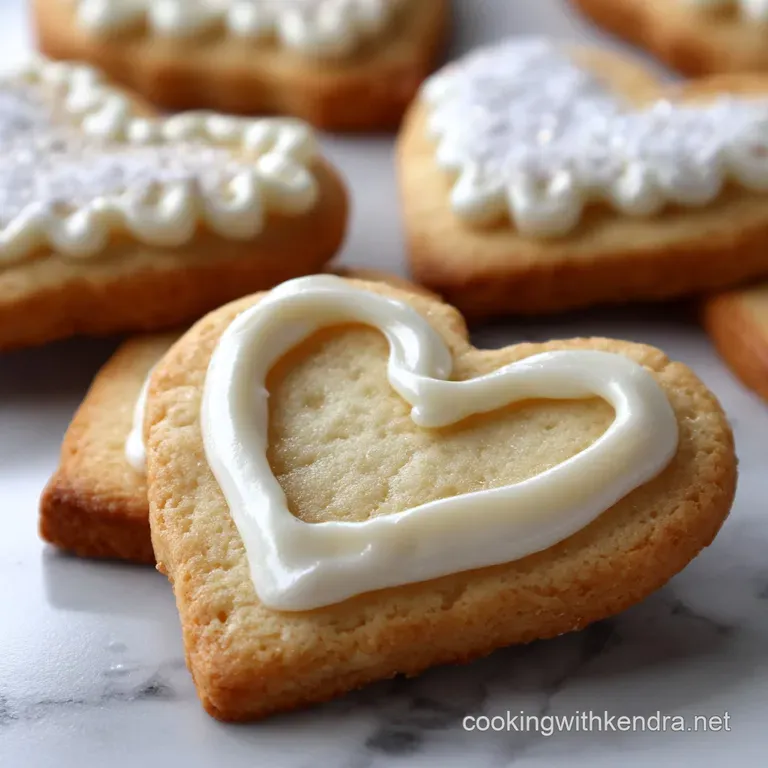
Elevating the Experience: Decoration and Serving Pairings
These cookies are the ultimate blank canvas. They have enough flavor to stand on their own but they absolutely shine when paired with decoration.
I love using royal icing for detailed designs, but sometimes I just do a simple powdered sugar glaze it dries fast and adds just the right level of glossy sweetness to the classic Sugar Cookie . If you're looking for a complementary texture, consider pairing these with my ultra chewy Classic Peanut Butter Lunch Lady Cookie Bars Easy 9x13 Bar for a variety platter.
This reliable sugar cookie recipe truly is a powerhouse for holidays and everyday baking. Give it a shot, nail the creaming and the chilling, and you’ll have the softest, most beautifully shaped Sugar Cookie you’ve ever made. Happy baking!

Recipe FAQs
Why did my cut-out cookies spread and lose their detailed shape?
This usually happens because the dough was too warm before baking or you used too much leavening (baking powder/soda). Ensure your butter and eggs are at true room temperature, not melted, and measure your flour accurately.
Crucially, cut out your shapes and return the baking sheets to the freezer for 5 10 minutes before placing them in the hot oven; this brief freeze solidifies the fat and guarantees sharp edges.
My cookies are tough and dry. What went wrong?
The most common culprit is overworking the flour once it is added, which develops the gluten too much. Mix the dry ingredients into the wet ingredients only until just combined, stopping as soon as the last streaks of flour disappear.
Over baking can also cause dryness, so pull the cookies out immediately once the edges turn pale golden, even if the centers still look slightly soft.
Is chilling the dough really necessary, or can I skip that step?
Chilling is absolutely mandatory for successful cut-out cookies. It solidifies the fat (butter), which prevents rapid spreading when the cookies hit the hot oven, ensuring they hold their clean, sharp edges.
Chill the dough, wrapped tightly, for a minimum of 30 minutes, or up to 2 days for maximum flavor development.
How should I store the unbaked dough and the finished cookies?
Unbaked dough wraps tightly in plastic wrap and keeps well in the refrigerator for up to 4 days, or frozen for up to 3 months. Thaw frozen dough overnight in the fridge before rolling.
Baked, un-iced cookies should be stored in an airtight container at room temperature for about 5 7 days. If the cookies are iced, ensure the icing is completely hardened before layering them with parchment paper.
What is the ideal thickness for rolling the dough?
For robust cookies that are perfect for decorating and standing up to transport, aim for a thickness of 1/4 inch (approximately 6mm).
If you prefer a thinner, crispier cookie, you can roll them closer to 1/8 inch, but be sure to reduce the baking time by 1-2 minutes. Using rolling pin spacer guides is highly recommended for consistent results.
Can I substitute gluten-free flour for the all-purpose flour in this recipe?
Yes, this recipe adapts well to high-quality, cup-for-cup gluten-free flour blends that already include xanthan gum. Ensure you measure the blend accurately by weight for the best results.
Allow the gluten-free dough to rest for at least 30 minutes before rolling to fully hydrate the starches, which helps prevent a crumbly texture.
When should I apply royal icing or glaze to the baked cookies?
Always wait until the cookies are completely cool a minimum of 30 to 60 minutes after coming out of the oven before decorating.
Applying icing to warm cookies will cause the residual heat to melt the fats in the glaze or royal icing, resulting in a runny, oily mess that won't set properly.
Classic Cut Out Sugar Cookie

Ingredients:
Instructions:
Nutrition Facts:
| Calories | 160 calories |
|---|---|
| Fat | 8 g |
| Fiber | 0.5 g |
