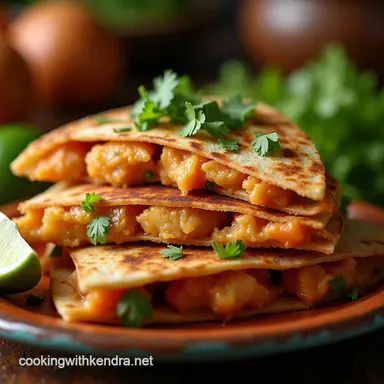
Smoky Fiesta the Ultimate Fajitastyle Chicken Quesadillas
- Elevating the Humble Weeknight Meal: Why These Chicken Quesadillas Reign Supreme
- Capturing the Essence of Tex-Mex Flavor in Every Fold
- Assembling Your Fajita-Inspired Chicken Quesadillas Components
- Mastering the Skillet: Step-by-Step Guide to Cooking Tender Chicken
- Serving Suggestions: What Truly Complements These Fiery Folds
- Making Ahead and Storing Flavor Profiles
- Recipe FAQs
- 📝 Recipe Card
Elevating the Humble Weeknight Meal: Why These Chicken Quesadillas Reign Supreme
There are certain dishes that immediately signal comfort, flavor, and ease and right at the top of that list sit perfectly executed Chicken Quesadillas . Forget bland, hastily assembled wraps; we are elevating this humble meal into something truly spectacular.
Inspired by the vibrant, sizzling action of a Tex-Mex kitchen, this recipe transforms simple ingredients into a fiesta for the taste buds. Designed for speed without sacrificing depth of flavor, these Easy Chicken Quesadillas become a guaranteed weeknight winner, providing an incredibly satisfying experience in under 40 minutes.
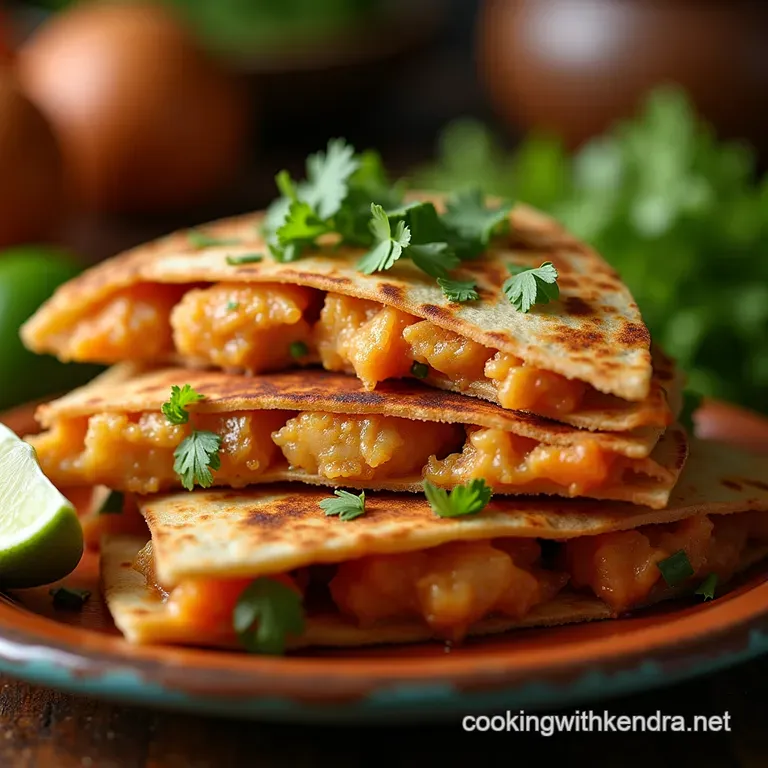
They offer that perfect textural contrast: a crispy, golden exterior yielding to a molten core of seasoned filling.
Capturing the Essence of Tex-Mex Flavor in Every Fold
What separates a standard chicken wrap from authentic Tex Mex Quesadillas ? It’s all about the seasoning profile. Our goal is to infuse the core ingredients the chicken, peppers, and onions with a smoky, savory complexity that echoes the best fajita joints.
We achieve this using a simple yet potent spice rub that hits all the right notes: earthy cumin, warming chili powder, and the deep hue of smoked paprika. This aromatic base is what transforms this meal from simple lunch fare into something deserving of its own dedicated spot in your rotation of favorite Quesadilla Recipes .
Beyond Basic Cheese: Introducing the Fajita Flavor Bomb
While cheese is crucial, the true heart of these Chicken Fajita Quesadillas lies in the filling. We are treating the chicken breast strips sliced thin for rapid cooking with our signature rub.
Once seared to perfection, these protein morsels are combined with tender crisp strips of sautéed bell peppers and onions. The combination of charred vegetables and deeply spiced meat creates a robust "fajita flavor bomb" that holds up beautifully against the richness of the cheese.
This method ensures every single bite delivers a comprehensive flavor experience.
Why Skillet Searing Beats Baking for Authentic Texture
When aiming for that quintessential crispness, the skillet remains unmatched. While methods like using an oven or an Air Fryer Chicken Quesadillas setup can certainly cook the contents, they often struggle to deliver the necessary surface contact heat to perfectly crisp the tortilla exterior while simultaneously melting the interior cheese.
Skillet searing, ideally in a dry or lightly buttered pan, encourages the Maillard reaction right where you need it, yielding that beautiful golden brown crunch that signals a truly excellent quesadilla.
Assembling Your Fajita Inspired Chicken Quesadillas Components
Crafting truly memorable Cheesy Chicken Quesadillas requires attention to ingredient quality and thoughtful preparation. Before we even turn on the stove, ensuring your components are ready streamlines the final assembly process, keeping everything moving smoothly toward that satisfying golden finish.
The Marinade Magic: Crafting Our Signature Smoky Spice Rub
The foundation of our flavor comes from a carefully balanced dry rub. To create this, you’ll combine 1 teaspoon each of chili powder and ground cumin, 1/2 teaspoon of smoked paprika (the smoked variety is vital for that deep, Smoky Chicken Quesadillas undertone), 1/2 teaspoon each of dried oregano and garlic powder, finished with salt and pepper to taste.
This mixture needs to generously coat about one pound of thinly sliced chicken breast strips. Letting this chicken rest for about ten minutes while you prep the vegetables allows the spice compounds to begin integrating with the meat fibers, deepening the resulting flavor profile significantly.
Selecting the Right Tortillas for Maximum Structural Integrity
For Rotisserie Chicken Quesadillas or our fajita version, the tortilla is your delivery vehicle, and structural integrity is paramount. We highly recommend using 10 inch large flour tortillas.
They offer enough surface area to hold a generous amount of filling without being so massive that they become floppy once folded. Avoid tortillas that look dried out; a fresh, pliable tortilla will crisp up beautifully on the griddle without tearing when folded.
Pairing Perfection: Recommended Cheese and Produce Choices
For the cheese, we seek both flavor and meltability. A 50/50 blend of sharp, tangy shredded Cheddar and creamy, mild Monterey Jack provides the perfect "cheese pull" while ensuring the flavor isn't overpowered by dairy alone.
When it comes to vegetables, the classic pairing of one medium yellow onion and two mixed bell peppers (red and green) sliced into thin strips provides the best balance of sweetness and visual appeal once sautéed.
Related Recipes Worth Trying
- The Best Crispy Weeknight Chicken Parmesan Recipe — Tired of soggy coatings This Chicken Parmesan Recipe guarantees a shatteringly crisp crust beneath melted mozzarella Perfect comfort food in under an hour
- Velvet Dream Classic Creamy Smothered Chicken with Rice Recipe — Our foolproof creamy smothered chicken with rice recipe delivers ultimate comfort food in under an hour A rich velvety sauce makes this a dinner favourite
- The Sunday Best Chicken and Rice Casserole Easy Comfort — Forget dry dinners This Easy Chicken and Rice Casserole is creamy cheesy and uses a simple shortcut for foolproof flavour Your new favourite family meal awaits
Mastering the Skillet: step-by-step Guide to Cooking Tender Chicken
With all your components prepped, the cooking process moves swiftly. This stage focuses on developing the core flavors of the filling before they are sealed inside the tortilla.
Building the Flavor Base: Sautéing Peppers and Onions to Perfection
Start by heating one tablespoon of olive oil in your large skillet over medium high heat. Add your thinly sliced onions and peppers. The key here is patience: sauté for about five to seven minutes, allowing them to soften substantially and achieve those lovely charred edges.
This charring introduces a subtle bitterness and smokiness that complements the spice rub perfectly. Once caramelized to your liking, remove the vegetables from the pan and set them aside; this prevents them from becoming mushy while the chicken cooks.
Layering Strategy: Ensuring Even Heat Distribution in Your Chicken Quesadillas
Next, introduce the second tablespoon of oil to the now-hot pan. Add your seasoned chicken strips, ensuring they are arranged in a single layer if possible. If you are making a large batch, cook the chicken in smaller batches.
Overcrowding the pan lowers the temperature, causing the chicken to steam instead of sear, resulting in pale, less flavorful meat. Cook these strips for five to eight minutes, turning occasionally, until they are cooked through and beautifully browned.
Once cooked, return the sautéed vegetables to the pan, sprinkle with the remaining seasoning mix, and toss everything together for one final minute over the heat, ensuring the filling is piping hot. Turn the heat off.
The Flip Technique: Getting the Ideal Exterior Crisp Without Burning
Now for the final stage. Wipe out the skillet if necessary, and melt a small amount of butter or drizzle a little oil over medium heat. Lay out your prepared tortillas, which should already have cheese sprinkled on one half, followed by the chicken and vegetable filling, and then folded over.
Place one or two quesadillas in the hot pan do not overcrowd. Cook for two to three minutes per side, using a sturdy spatula to gently press down on the top surface. This pressure ensures maximum contact with the hot pan, guaranteeing that irresistible golden brown, crisp exterior while the cheese inside achieves maximum gooeyness.
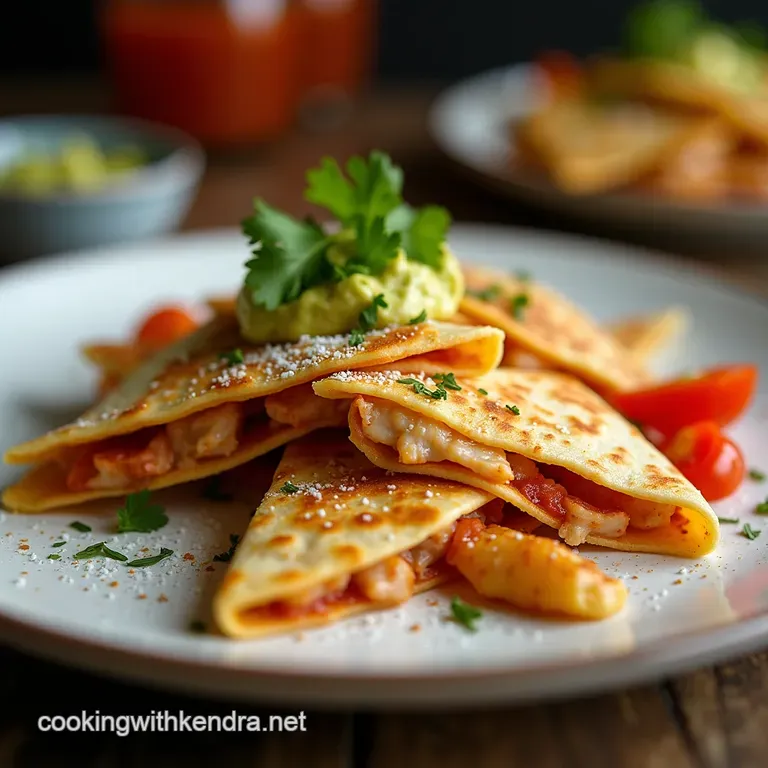
Serving Suggestions: What Truly Complements These Fiery Folds
Once sliced into traditional wedges, these Chicken Quesadillas are ready to shine. The richness of the cheese and the depth of the spices demand sharp, cool, and bright accompaniments. A substantial dollop of cool sour cream or, for a lighter, tangier contrast, Greek yogurt is essential.
Alongside this, a vibrant, chunky Pico de Gallo offers a fresh, acidic counterpoint that cuts beautifully through the fat and smoke. For a full meal, serve these alongside a simple side of cilantro lime rice.
Making Ahead and Storing Flavor Profiles
One of the hidden gems of these Easy Chicken Quesadillas is their flexibility. While best served immediately, knowing how to prep ahead or store leftovers makes them fantastic for meal prepping.
Spice Level Adjustments: Customizing Heat for Your Crowd
To tailor the heat level of your filling, think about when you want the spice to hit. For a deeper warmth that permeates the entire dish, add cayenne pepper directly into the initial dry spice rub.
If you prefer a sharper, fresher heat that hits upfront, sauté one finely minced jalapeño (seeds removed for less intensity) along with your onions and peppers. This allows you to control the type of heat present in your filling.
Freezing and Reheating Your Favorite Homemade Quesadillas
You can certainly freeze these! Assemble the quesadillas completely (but before the final griddling). Lay them flat on a baking sheet lined with parchment paper and freeze until solid. Once frozen, transfer them to an airtight freezer bag.
When ready to reheat, place them directly from the freezer onto a preheated, lightly oiled skillet over medium heat. Cook slowly, flipping every 4– 5 minutes, until the exterior is crisp and the interior is piping hot and fully melted this usually takes around 15 minutes from frozen.
Beyond Sour Cream: Unique Dipping Sauces to Explore
While the classics are wonderful, pushing your dipping game elevates the experience further. For a creamy, slightly spicy kick, mix mayonnaise with chipotle peppers in adobo sauce for a quick Chipotle Mayo.
Alternatively, blending avocado with lime juice, cilantro, and a touch of water yields a luxurious, pourable Avocado Crema that is lighter than guacamole but just as refreshing. These vibrant dipping options truly round out the Tex-Mex profile of your fantastic Chicken Quesadillas Recipe .
Recipe FAQs
How can I make sure my Chicken Quesadillas don't end up floppy and soggy?
Ah, the dreaded soggy bottom! The key here is high heat and not overloading them. Make sure your skillet is properly hot before adding the assembled quesadilla, and use just a smidge of butter or oil to get that gorgeous golden crispness on the outside.
Also, only fill them about 60% full, leaving room for the cheese to act as glue.
Can I use pre-cooked or rotisserie chicken instead of cooking chicken strips for these Chicken Quesadillas?
Absolutely, that’s a smashing shortcut for a speedy weeknight meal! If you use rotisserie chicken, just make sure you shred it finely and toss it really well with the fajita seasoning mix.
You’ll want to sauté the peppers and onions first, remove them, then just warm the seasoned chicken through in the pan before assembling.
I've made too many! How should I store leftover quesadillas?
If you must have leftovers (though they are best piping hot!), let them cool completely first, then wrap them tightly in foil or pop them in an airtight container in the fridge for up to three days.
When reheating, avoid the microwave if you can; a few minutes in a dry frying pan or toaster oven will restore that lovely crisp exterior.
What’s the best cheese combination for that ultimate melt factor?
For true Tex-Mex flavour and stretch, a blend is best we recommend mixing sharp Cheddar for flavour depth and Monterey Jack for that superior meltiness. If you want something smoother, a mild Colby works just as well, but whatever you pick, shredding it yourself rather than buying pre-shredded saves you from anti caking agents that can hinder the melt!
These look a bit spicy; can I tone down the heat for the kids?
Yes, you can dial down the spice level easily enough! Just omit the chili powder and cayenne (if you added any extra kick). The main flavour drivers cumin and smoked paprika aren't spicy, just smoky and earthy, so keep those in for the flavour profile.
You can always serve a side of cooling sour cream for those who like it mild.
Fajita Chicken Quesadillas