Irresistible Bread Machine Banana Bread Set It and Forget It Comfort
- Why the Bread Machine Is Your New Best Friend for Baking Banana Bread
- The Nostalgic Heart of This Foolproof Recipe
- Achieving That Coveted, Ultra-Moist Crumb Every Time
- Essential Components for Superior Flavor Concentration
- Mastering the Banana Quotient: Ripeness Matters
- Step-by-Step Loading Sequence for Bread Machine Users
- Navigating Your Machine Settings for Flawless Baking
- The Crucial Cooling Phase for Structural Integrity
- Troubleshooting Common Bread Machine Baking Issues
- Extending the Shelf Life of Your Homemade Loaf
- Recipe FAQs
- 📝 Recipe Card
Why the Bread Machine Is Your New Best Friend for Baking Banana Bread
There’s a certain magic that happens when you walk into a home filled with the unmistakable aroma of freshly baked goods, and few scents are as comforting as warm Banana Bread .
While many bakers revel in the tactile experience of creaming butter and folding flour by hand, the modern kitchen demands efficiency. This is precisely where the bread machine steps in, transforming what can sometimes be a messy, multi bowl endeavor into a seamless, hands off operation.
Utilizing your appliance for this classic bake ensures consistency, especially when time is short, making it a brilliant addition to your rotation of Family Brunch Recipes .
We are moving beyond traditional yeast bread cycles here; we are harnessing the machine's mixing and baking capability specifically for chemically leavened quick breads.
The Nostalgic Heart of This Foolproof Recipe
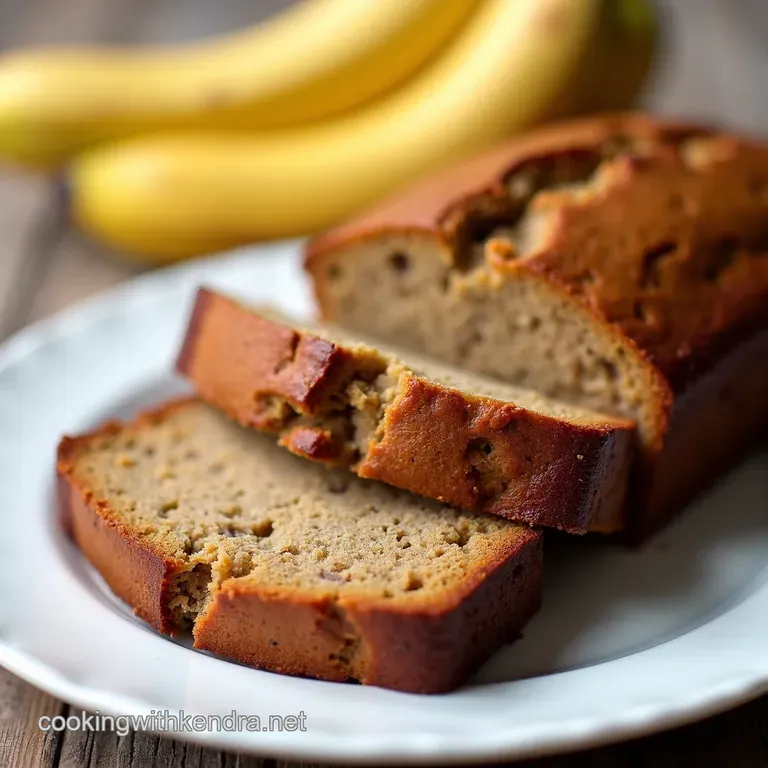
The essence of truly great Banana Bread Recipe lies in deep flavour saturation. It's not merely a sweet loaf; it's a vehicle for the intensely sweet, caramelized notes that only come from overripe fruit. This specific formulation is designed to maximize that inherent banana goodness.
While many recipes rely on just two fruits, we've found that using approximately three very brown or speckled bananas yields the perfect balance of moisture and profound flavour, moving us toward the coveted "almost black" stage for peak sweetness.
This commitment to ripeness is what elevates a simple bake to something truly memorable.
Achieving That Coveted, Ultra Moist Crumb Every Time
A dry slice of banana bread is a culinary tragedy. Our primary goal is to lock in moisture, resulting in a tender, springy interior. The technique you choose whether manual mixing or leveraging your appliance is key to achieving this glorious texture.
Setting the Stage: Manual Mixing vs. Automation
When mixing by hand, over mixing the flour develops gluten too aggressively, leading to toughness. The bread machine, however, manages the initial incorporation phases quite gently, often using a brief "mix" cycle before letting the batter rest.
This automation reduces the chance of human error related to overworking the batter, which is a significant advantage for beginners.
A Quick Preview of Your Delicious Outcome
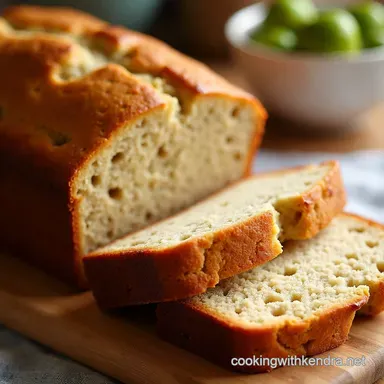
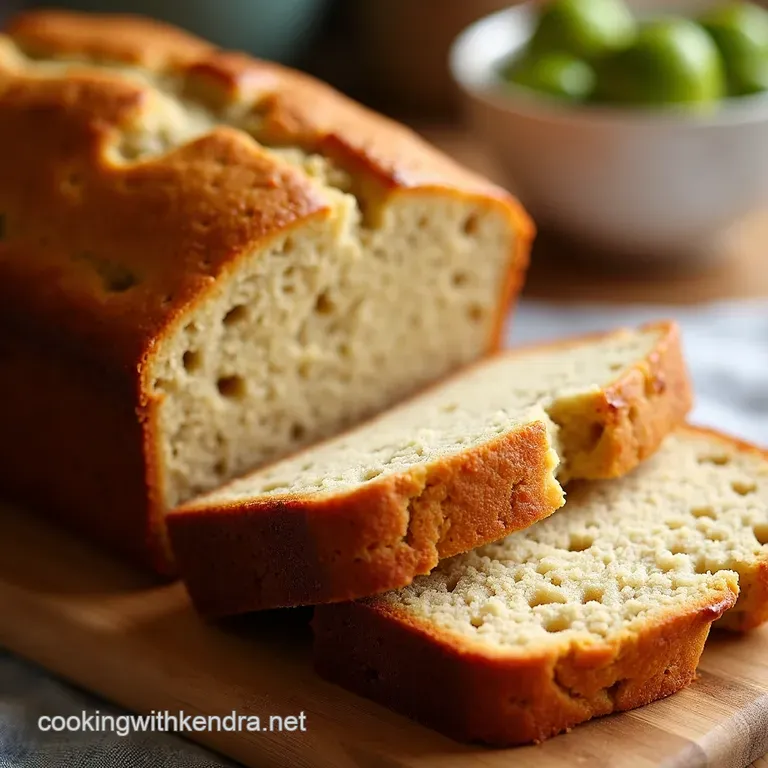
When this Easy Banana Bread Recipe is complete, expect a loaf with a deep golden brown crust, perhaps slightly domed, exhibiting a dense but yielding texture when pressed gently.
It should slice cleanly without crumbling excessively, indicating perfect internal structure development supported by the precise ratio of wet ingredients (like the 1/2 cup of melted butter) to dry components.
Understanding the Machine's Role in Perfect Texture
The bread machine excels at maintaining an even, consistent temperature throughout the baking process, which is crucial for quick breads that rely on baking soda for lift. The controlled environment prevents hot spots that can cause dry edges or an undercooked centre.
If you're looking for a quicker fix than a full loaf, remember that this same batter can be adapted beautifully into Banana Bread Muffins , although baking times will differ significantly.
Essential Components for Superior Flavor Concentration
To ensure our loaf sings with flavour, we rely on high impact ingredients measured precisely. We incorporate vanilla extract for aromatic depth and ground cinnamon, which provides a warm counterpoint to the fruit's sweetness.
The dry components 2 1/2 cups of all-purpose flour, 3/4 cup of granulated sugar, 1 teaspoon of baking soda, and 1/2 teaspoon of salt are standardized measurements designed to interact perfectly with the chemical leavening agent when subjected to the machine’s heat cycle.
Mastering the Banana Quotient: Ripeness Matters
The star of this show is undeniably the banana. Its sugar content dictates both the flavour intensity and the moisture level of the final product.
The Exact Measurements for Machine Success
For optimal performance in most standard loaf pans within a bread machine, we target 1 cup of mashed banana. This volume is carefully calibrated against the flour and fat content to prevent the loaf from collapsing or becoming overly gummy.
Dairy and Dry Goods: Quality Checks Before You Start
Always ensure your melted butter is slightly cooled before adding the eggs; hot butter can scramble the eggs, ruining the emulsion needed for a smooth batter. Similarly, verify that your baking soda is fresh; flat soda means a flat loaf, regardless of how perfectly ripe your fruit is.
Optimal State of Your Fruit: Guidelines for Brown and Spotty Bananas
We are looking for bananas that are more brown than yellow. When the peel is heavily speckled or almost entirely black, the starches have converted to sugars, giving you a sweeter, more concentrated flavour profile. Do not substitute under ripe fruit; the structural difference is too significant.
Optional Add-Ins: Spice Blends and Chocolate Swirls
While the base recipe is perfection, customization is welcome. If you desire richer flavour, a 1/2 cup of chopped walnuts or pecans can be incorporated. For those seeking indulgence, this recipe easily adapts to become Banana Bread Recipe Chocolate Chips by adding them toward the end of the mixing cycle.
Related Recipes Worth Trying
- Buttery Shortbread Patriotic Fruit Pizza Recipe — Skip the boring cake This easy Fruit Pizza Recipe uses a crisp shortbread base for the perfect 4th of July Cookie Pizza dessert A showstopper for your party
- The ManagedRise Focaccia Proper Artisan Bread Using Cold Proofing — Master this managed cold proofing focaccia recipe Achieve incredible complex bread flavour and optimal gluten structure with our precise method Worth the wait
- Garlic Butter Bread Rolls My Better Than Olive Garden Secret — Dreaming of soft fluffy Garlic Butter Bread Rolls This easy recipe rivals Olive Garden Homemade garlic butter takes them over the top Get baking
Step-by-step Loading Sequence for Bread Machine Users
The sequence in which ingredients enter the machine pan is paramount, as it dictates how the paddle mixes and how the leavening agent activates. Always prioritize liquids first, creating a cushion for the dry ingredients.
Begin by placing the 1/2 cup of slightly cooled, melted butter, followed by the 2 lightly whisked eggs, 1 cup of mashed banana, and 1 teaspoon of vanilla extract. Next, gently spoon and level the 2 1/2 cups of flour over the top, ensuring it covers the liquid layer.
Finally, sprinkle the sugar, baking soda, cinnamon, and salt on top of the flour layer, trying to keep them segregated from the paddle initially.
Navigating Your Machine Settings for Flawless Baking
Selecting the right cycle is perhaps the most machine specific step. Do not use the "Basic White" or "Whole Wheat" settings, as these are designed for yeast activation, involving long kneading and punch down phases that will violently agitate and ultimately destroy the delicate structure of this quick bread batter.
Instead, locate and select the "Quick Bread," "Cake," or "Sweet Bread" cycle. These settings use a short mixing phase followed immediately by a long, steady bake, mimicking a conventional oven environment perfectly suited for chemically leavened goods.
The Crucial Cooling Phase for Structural Integrity
Once the machine announces the completion of its cycle, the work isn't quite finished. Allowing the loaf to cool within the hot metal pan is the recipe for a soggy bottom crust, as steam becomes trapped.
Layering Ingredients: Liquids First, Solids Last
Reiterating this critical point: the layering order ensures that the baking soda is not immediately activated by the liquid or salt before the paddle has evenly distributed the flour. This careful addition prevents pockets of unmixed ingredients that can cause the loaf to collapse mid-bake.
Selecting the Correct Cycle (Quick Bread vs. Basic White)
The fundamental difference lies in kneading. Quick breads utilize baking soda or powder for lift and require minimal mixing; yeast breads need extensive kneading to develop gluten structure. Always choose the non-kneading setting.
Monitoring the Initial Mix Cycle for Batter Consistency
If your machine allows you to observe the initial mixing (usually the first 10- 15 minutes), peek in. The batter should come together into a thick, slightly sticky mass that easily pulls away from the sides.
If it appears overly dry or crumbly, stop the machine and add one teaspoon of milk at a time until the correct consistency is achieved.
Transferring and Finishing: When to Use the Oven
Once the machine cycle is done, immediately remove the baking pan. Gently tip the loaf out onto a wire cooling rack. If the toothpick test reveals wet batter in the centre, place the loaf directly onto a baking sheet and return it to a preheated 350° F oven for an additional 10 to 15 minutes to finish baking through.
Troubleshooting Common Bread Machine Baking Issues
Even with automation, issues can arise. If your loaf emerges very dense, it often points to old baking soda or not enough banana volume was added. Conversely, if the top collapses severely, the oven temperature in the machine might have been too low, or you may have exceeded the required amount of liquid, leading to structural failure before the crumb set.
For those who sometimes find the Bread Machine Banana Bread cycle too long, consider using the machine only for mixing and then transferring the batter to a greased loaf pan to bake in a conventional oven for about 55- 65 minutes at 350° F.
Extending the Shelf Life of Your Homemade Loaf
Because this loaf is inherently moist, it keeps well, but proper storage is key. Once completely cool, wrap the loaf tightly in plastic wrap, followed by a layer of aluminum foil. Stored at room temperature, it will remain delicious for 3 to 4 days.
Freezing Techniques for Long Term Banana Bread Preservation
For bulk baking, freezing is ideal. After cooling completely, slice the loaf. Lay the slices flat on a parchment lined tray and flash freeze for an hour. Once frozen solid, transfer the slices to a heavy duty freezer bag, removing as much air as possible.
This preparation makes it easy to pull out individual portions for quick snacks or even transform them into Banana Bread Cookies by crisping slices in a toaster oven.
Pairing Suggestions: Spreads, Glazes, and Coffee
While excellent plain, a swipe of cream cheese or homemade apricot jam adds a lovely tang. For those needing more sweetness, a simple glaze made from powdered sugar, milk, and a tiny dash of lemon juice provides a lovely finish.
Substituting Ingredients: Vegan Options and gluten-free Flours
Adapting this recipe is straightforward. To make this recipe vegan, substitute the eggs with commercial egg replacer equivalent to two eggs, or use flax eggs (2 tablespoons ground flaxseed mixed with 6 tablespoons water, set for 10 minutes).
For gluten-free versions, substitute the all-purpose flour with a quality 1:1 gluten-free baking blend; no other adjustments are usually necessary for this type of quick bread.
Recipe FAQs
Why are my bananas black in this Banana Bread recipe? Aren't they too ripe?
Not at all! For the best flavour and moisture, your bananas should be heavily speckled or nearly black think of them as perfectly matured fruit ready for their moment in the spotlight. The starches have fully converted to sugar, which means a deeper flavour and a wonderfully soft crumb in your final loaf.
Can I skip the bread machine and bake this in a conventional oven?
Absolutely, you can! Simply grease and flour a standard 9x5 inch loaf pan and preheat your oven to 350°F (175°C). Pour the batter in and bake for about 55 to 65 minutes, testing for doneness with a skewer as you would normally.
My Banana Bread came out a bit dense. What did I do wrong?
More often than not, this is due to over mixing the flour or using bananas that weren't quite ripe enough. Also, ensure you are using the 'Quick Bread' or 'Cake' setting on your machine, as the standard bread cycles involve aggressive kneading which develops too much gluten for this type of batter.
How should I store leftover Banana Bread to keep it fresh for a few days?
Once completely cooled, wrap the loaf tightly in cling film or aluminium foil, or place it in an airtight container. It will keep happily at room temperature for up to four days if it lasts that long, that is! For longer storage, slice it first and freeze it.
Can I add things like chocolate chips or nuts to this recipe?
Go for it a bit of texture never hurt anyone! If adding nuts or chocolate chips, gently fold them into the batter by hand just before starting the bread machine cycle, or carefully sprinkle them over the top layer of dry ingredients. Just remember not to overmix once the machine starts!
Why must I add the ingredients in the specific order for the bread machine?
It's a bit like following the rules of the road; the order matters to prevent disaster! Typically, liquids must go in first, followed by the dry ingredients, so that the baking soda or yeast doesn't prematurely interact with the liquid or salt before the machine starts its mixing phase.
Check your machine's manual if you are unsure!
Machine Banana Bread Comfort