Christmas Cookie Scented Candle
- About christmas cookie scented candle
- Master the art of christmas cookie scented candle
- Why you'll love this version
- Health & nutrition highlights
- Recipe at a glance
- Master ingredient list
- Kitchen equipment essentials
- Foolproof cooking steps
- Success guaranteed tips
- Perfect presentation
- Storage & make - ahead
- Creative variations
- Expert faq solutions
- Complete nutrition guide
- 📝 Recipe Card
About christmas cookie scented candle
Ah, the holiday season. it’s that magical time of year when the air is filled with scents of cinnamon, vanilla, and warm sugar cookies, the tradition of creating festive candles has a rich history dating back to ancient times, candles were once made from tallow and beeswax, providing light during long winter nights, fast forward to today, we’ve turned this age - old practice into something special : the christmas cookie scented candle .
Creating your own candles not only allows you to customize scents but also brings a personal touch to your home decor, imagine walking into your house and being greeted by the delightful aroma reminiscent of freshly baked cookies.
This diy project is not just about making a candle; it’s about crafting an experience that captures the spirit of the holidays, plus, let’s be honest nothing beats giving homemade gifts from the heart.
Master the art of christmas cookie scented candle
Candles have always held a fascinating place in culinary and cultural traditions worldwide, originating as practical sources for light and warmth, they’ve evolved into symbols of celebration, mindfulness, and coziness especially during winter festivities like christmas, the art of candle - making combines
Creativity with craftsmanship; it's truly beautiful how wax can transform into such aromatic treasures .
The origin story behind infused candles dates back centuries when people began adding herbs and spices to their simple tallow creations for fragrance, today’s versions share these historical roots while incorporating modern techniques that make them accessible even for beginners.
A christmas cookie scented candle is more than just another decorative item it serves as a reminder of shared moments around family gatherings or cozy evenings spent sipping cocoa by the fire .
In recent years, there’s been a surge in popularity around homemade candles due to social media trends showcasing unique designs and scents, people are now embracing this hands - on activity not only as an enjoyable hobby but also as partaking in sustainable living practices by using eco - friendly materials like
Soy wax .
Why you'll love this version
This particular recipe stands out because it features unique flavor combinations that evoke nostalgia while offering fresh twists on classic scents. with delicious notes like cinnamon spice paired with creamy vanilla undertones (and maybe even nutmeg if you're feeling adventurous), every whiff transports you straight to grandma's kitchen during her holiday baking marathons .
What makes this method foolproof ? well, it's all about simple steps anyone can follow without fancy equipment or skills needed a total win - win situation here. i mean who doesn’t love easy things ? plus, i’ve included expert - tested tips throughout so you won’t have any hiccups along the way.
And let’s talk about those time - saving tricks : whether you're crunched for time or simply want maximum results with minimal effort you’ll learn ways to create beautiful candles quickly yet effectively without sacrificing quality.
Health & nutrition highlights
While we’re talking about wellness benefits here (because hey self - care matters.), let me remind you that lighting up one lovely candle creates an inviting atmosphere known for reducing stress levels after long days filled with holiday hustle - bustle activities .
Of course…we should mention dietary considerations too since essential oils used in our recipe come packed with natural goodness often linked back towards enhancing mood stability plus relaxation effects which sounds pretty great right ?
Plus remember : balanced nutrition facts may not apply directly given some ingredients are non - edible but feel free enjoying their aromatic properties guilt - free knowing they uplift spirits instead.
Recipe at a glance
Alrighty then let's get down to business regarding what you'll need before diving headfirst into creating your very own captivating masterpiece.
- total preparation time : 15 minutes
- skill level required : easy - peasy.
- serving size details : one glorious scented candle
- cost efficiency : super budget - friendly compared against store - bought options.
So grab those soy wax flakes because soon enough you'll find yourself immersed within enchanting aromas filling up spaces everywhere and trust me when i say nothing compares quite like experiencing all this joy firsthand whilst crafting memorable treats through artistry combined together perfectly under one roof.
Master ingredient list
Premium core ingredients
Soy wax flakes : 2 cups
look for high - quality, 100% soy wax flakes, they burn cleaner than paraffin and are eco - friendly, when selecting, check for a smooth texture; the best brands will have a consistent look without any lumps, store in a cool, dry place away from direct sunlight toMaintain their quality .
Wicks : 1 (with a metal base)
use cotton wicks with metal bases designed specifically for candle - making, this ensures they stay upright and burn evenly, when choosing your wick, consider the size of your container; larger containers may require thicker wicks to ensure an even burn, keep themStored in their original packaging until you’re ready to use .
cinnamon oil : 10 drops
opt for pure essential cinnamon oil rather than synthetic versions for the best scent throw and health benefits, check labels carefully. store in dark glass bottles away from heat sources to preserve potency .Vanilla extract or oil : 10 drops
pure vanilla extract offers a rich aroma but can be pricier; if you choose vanilla oil make sure it’s specifically meant for candles since some oils can contain additives that aren’t suitable, keep it tightly sealed in a cool spot out of sunlight .nutmeg oil (optional) : 5 drops
nutmeg adds warmth and depth to your candle's scent profile. as with cinnamon oil, always go for the pure stuff look at those ingredient lists. it should be kept similarly stored as other oils .dye (optional) : candle dye chips
choose red or green colors to add that festive flair. make sure they're made specifically for candles so they blend well with the wax without affecting its burning properties, store them in airtight containers away from moisture .container : heat - resistant glass jar or tin can
your container is super important it has to withstand heat while looking cute too. glass jars are great because they show off your creation; just make sure they're thick enough not to crack under heat.
Signature seasoning blend
Creating that cozy christmas cookie vibe isn’t all about scents it's also about those warm spices we love during the holidays.
spice combinations : think cinnamon, nutmeg, and ginger classic holiday spices that truly evoke feelings of home - baked cookies right outta grandma's oven .
herb selections : while herbs might seem more savory than sweet, consider using dried rosemary or thyme sparingly they create an interesting contrast when blended correctly.
flavor enhancers : sweeten things up by adding just a hint of brown sugar essential oil along with vanilla it gives an extra layer of sweetness reminiscent of freshly baked treats .
aromatic additions : don’t forget about citrus zest like orange or lemon. a few drops can brighten up your candle's aroma beautifully.
Smart substitutions
Sometimes life throws curveballs at us while we're cooking or making candles. here are some alternatives :
alternative options : if you can't find soy wax flakes, beeswax is another wonderful option though it burns differently just adjust melting temps accordingly.
dietary swaps : for those sensitive to certain ingredients, coconut oil works well as both a binder and carrier but may alter how scents blend together .
emergency replacements : outta one spice ? no worries. you could swap nutmeg with allspice if you're really desperate that'll still work wonders .
seasonal variations : depending on what's available where you live seasonally you could play around with local spice mixes too for instance pumpkin pie spice instead of straight - up cinnamon brings its own unique twist.
Kitchen equipment essentials
Getting set up properly makes this whole process smoother :
1, double boiler - this is crucial for melting wax evenly without burning it don't skip this step. 1, heat - resistant containers - grab jars or tins that fit snugly into whatever space you have available on countertops.
1, thermometer - a simple cooking thermometer helps ensure you're pouring at just the right temp trust me on this one. 1, stirring utensil - wooden spoons work well here; avoid anything plastic as melted wax will warp them easily.
Pro ingredient tips
Get ahead by following these insider tips :
1, selection secrets : look closely at color intensity when picking out oils the deeper hues usually indicate better quality . 1, quality markers : always check expiration dates on essentials before buying; fresh ingredients yield better results.
1, storage solutions : airtight containers help keep everything fresh longer vacuum sealing works wonders if you've got tools handy. 1, money - saving tips : buy ingredients in bulk whenever possible you save money over time plus it's easier having extras on hand when creativity strikes.
Now armed with this master ingredient list loaded with tips galore and maybe some quirkiness sprinkled throughout you’re ready not only to craft amazing christmas cookie scented candles but also fill your home (and heart) full of delightful aromas that'll transport you back to cherished holidays past each time they glow warmly beside ya.
Happy crafting..
Foolproof cooking steps
Cooking can be a breeze if you take it step by step, here’s how to make sure your culinary adventures go off without a hitch.
Essential preparation steps
1, mise en place : this french term means “everything in its place .” before you start cooking, gather all your ingredients and tools, chop, measure, and organize everything on your countertop, it saves time and stress when you're in the heat of cooking .
1, prep techniques : familiarize yourself with basic prep techniques like chopping onions or dicing vegetables, practice makes perfect. if you’re unsure about a technique, look up quick videos online they're super helpful.
1, time management : keep an eye on how long each step takes timing is key. for instance, if something simmers for 20 minutes, set a timer so it doesn’t overcook while you’re prepping other items .
1, organization tips : arrange your workspace neatly, put frequently used items within reach and keep waste containers handy for easy cleanup as you go along .
Professional cooking method
1, step - by - step process :
- start by heating your pan on medium heat before adding oil or butter .
- add aromatics (like garlic or onions) first to build flavor .
- follow the recipe closely; each ingredient plays its part in creating that perfect dish .
1, temperature control : use an instant - read thermometer to ensure meats are cooked through but not dried out 165°f (75°c) for poultry is standard. for baking, preheat your oven properly; this ensures even cooking .
1, timing precision : stick to timing mentioned in recipes but also trust your senses. if something smells fantastic after 15 minutes instead of 20, check it early.
1, success indicators : look for visual cues like golden browning on meats or bubbling sauces as indicators that things are progressing well .
Expert techniques
1, professional methods : mastering techniques like searing meat helps lock in flavors and adds depth to dishes high heat creates that beautiful crust everyone loves.
1, critical steps :
- deglazing pans after searing helps incorporate those tasty browned bits into sauces .
- always taste as you cook don’t be shy about adjusting seasoning along the way.
1, precision points :
- when baking bread or cakes, precision counts. measure dry ingredients accurately using weight rather than volume when possible .
1, quality checks : check food doneness by cutting into it if unsure; juices should run clear for chicken or fish should flake easily with a fork .
Success strategies
1, troubleshooting tips :
- if something isn’t working (like sauce separation), try whisking vigorously until it's re - emulsified.
- overcooked veggies ? toss them into ice water immediately to halt cooking they’ll retain color and crunch this way.
1, quality assurance :
- always use fresh ingredients when possible it makes a world of difference.
- invest in good quality pans they distribute heat better ensuring even cooking results every time .
1, perfect results guide :
- keep notes from previous attempts at recipes what worked ? what didn’t ? adjustments can lead to delightful surprises next time around.
1, final touches :
- a sprinkle of fresh herbs right before serving enhances flavor beautifully .
- adding a squeeze of lemon juice brightens up many dishes instantly a little acidity goes a long way.
By following these foolproof steps from preparation through execution you’ll find success more often than not. happy cooking.
Success guaranteed tips
When making your christmas cookie scented candle , a few simple tips can elevate your experience, first, always use high - quality soy wax flakes for the best results, they melt consistently and provide an even burn, also, don’t skimp on essential oils; using good quality ones will ensure that
Your candle has that delightful aroma when lit .
A professional trick ? letting the melted wax cool slightly before pouring is key, this prevents bubbles from forming and helps the wick stay centered better. and remember to keep everything clean; it makes a world of difference in how polished your finished product looks .
Perfect presentation
Once you've created your beautiful christmas cookie scented candle , you’ll want it to look as good as it smells. for plating techniques well, candles don’t exactly get plated like food, but think about how you display them.
Use a lovely tray or elevate them on stands with festive decorations around .
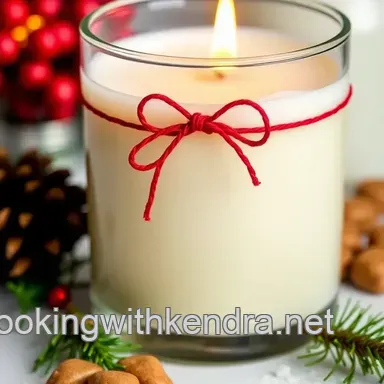
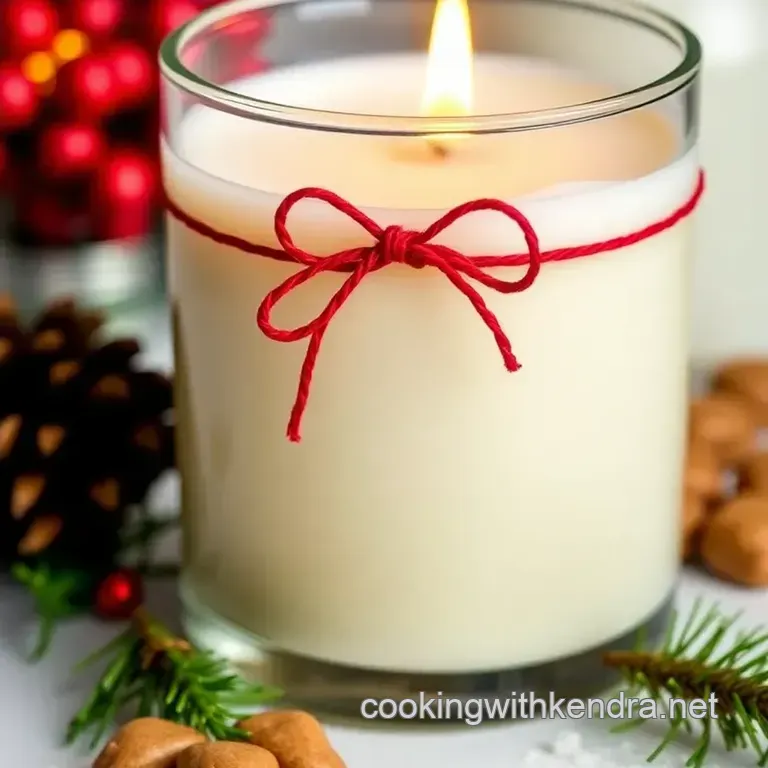
For garnish ideas, consider adding some cinnamon sticks or dried orange slices next to the candle for that extra cozy feel, a pretty ribbon tied around the jar can also add a special touch, presenting your candles this way makes them perfect gifts or stunning centerpieces during holiday gatherings.
Storage & make - ahead
Storing homemade candles is different than food, but here’s what i’ve learned : keep them in a cool, dry place away from direct sunlight to maintain their scent and appearance, if you make several ahead of time as gifts (which i totally recommend.), wrap each one in tissue paper or store them in gift boxes
.
If you ever need to reheat and reuse any leftover wax (you know those little bits left at the bottom ?), just pop it back into the double boiler until it's melted again easy peasy. to keep things fresh, avoid placing strong scents near these candles when storing; scents can mingle over time .
Creative variations
Feeling adventurous ? there are endless possibilities for christmas cookie scented candle variations. you could swap out cinnamon oil for peppermint oil if you're craving something cooler and fresher during winter festivities, or maybe try mixing some gingerbread spice blend essential oil for an entirely new vibe .
Dietary modifications aren’t quite applicable here since we’re dealing with non - edible items but if you have friends who prefer natural products, consider opting for beeswax instead of soy wax. seasonal twists could include adding pumpkin spice essence leading up to halloween why not ?
Expert faq solutions
Got questions about making candles ? no worries i’ve got answers. one common concern is whether essential oils will throw enough scent while burning; they usually do well but be sure not to skimp on drops.
If you're struggling with wicks that won’t stay centered while cooling down try using hot glue instead of dipping in molten wax first; sometimes it just works better. for troubleshooting issues like uneven burns later on : trim the wick shorter before lighting next time it really helps balance things out.
Complete nutrition guide
Okay . ., so technically we're talking about candles so no nutritional info applies here because these aren't edible treats (trust me.), but let's think health benefits : using natural ingredients like soy wax means fewer toxins released compared to paraffin - based options that's definitely a win - win.
And portion guidance ? well . ., one lovely christmas cookie scented candle per room should suffice unless you're gifting multiple ones you might want more then because who doesn’t love ambiance ?. just remember : create joy through smell rather than calories this holiday season.
Make Christmas Cookie Scented Candle Quickly