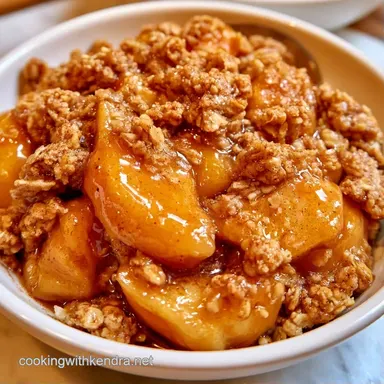
Award-Winning Warm Apple Crisp
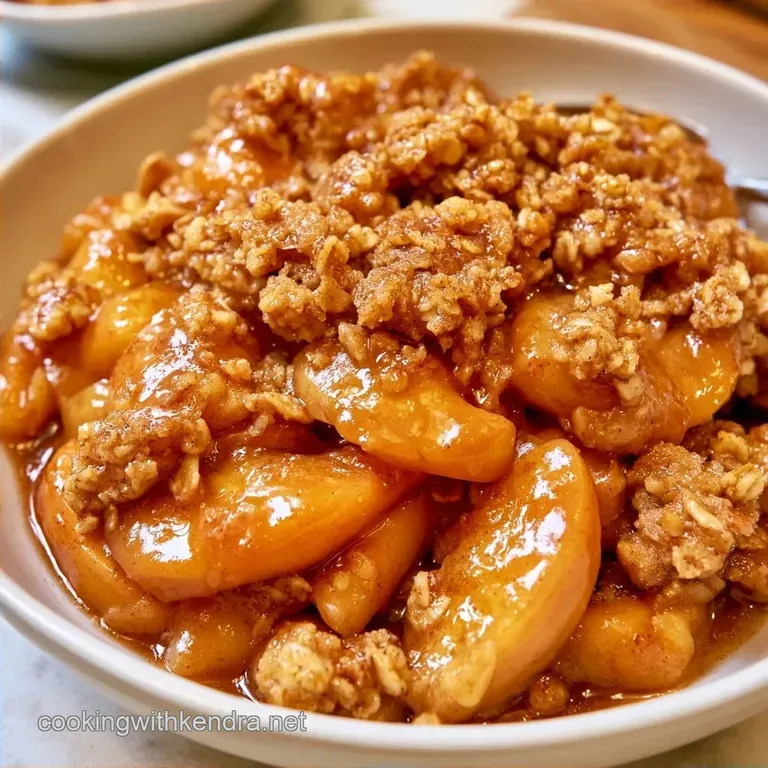
- Time: 15 min active + 60 min cook
- Flavor/Texture Hook: Tart Granny Smith apples under a mahogany gold oat crumble
- Perfect for: Cozy family Sundays or a quick autumn potluck
The scent of toasted cinnamon and simmering fruit fills the air as soon as you open the oven. It is a comforting fragrance that instantly warms up the entire room. I used to think bakery quality desserts required hours of labor, but this recipe proves that isn't the case.
You can have this ready for the oven with just 15 minutes of preparation. The result is a dish where the fruit remains tender while the topping stays perfectly crunchy. It is the ideal solution for satisfying a sugar craving without spending your whole afternoon in the kitchen.
This Apple Crisp offsets the rich sweetness of brown sugar with a bright touch of citrus. It is a versatile treat that is just as appropriate for a casual Tuesday as it is for a holiday celebration. Here is the process.
The Trick Behind the Texture
Cold Butter: Using chilled butter creates tiny steam pockets in the oven, which keeps the topping from turning into a solid cookie.
Lemon Juice: The acidity cuts through the sugar and prevents the fruit from tasting flat.
Starch Balance: A small amount of flour in the filling thickens the juices into a syrup rather than a watery soup.
When you're making an Apple Crisp, the goal is a specific contrast. You want the fruit to be soft but not mushy, and the oats to be toasted and crunchy.
| Ingredient | Role | If You Don't Have It |
|---|---|---|
| Granny Smith Apples | Provides tartness and holds shape | Braeburn or Honeycrisp (will be sweeter) |
| Old Fashioned Oats | Adds chew and structure | Quick oats (will be less crunchy) |
| Brown Sugar | Creates a caramel like flavor | Coconut sugar (slightly more earthy) |
| Cold Butter | Ensures a crumbly texture | Chilled coconut oil (solid state) |
Shopping List Breakdown
- - 1/2 cup packed brown sugar (Substitute
- Maple sugar for a woodsy taste)
- - 1 tsp ground cinnamon (Substitute
- Apple pie spice)
- - 2 tbsp all purpose flour (Substitute
- Cornstarch for a clearer glaze)
- - 1 tbsp lemon juice (Substitute
- Apple cider vinegar)
- - 1 cup all purpose flour (Substitute
- Spelt flour for a nuttier crumb)
- - 1 cup packed brown sugar (Substitute
- Dark brown sugar for more molasses)
- - 1 tsp ground cinnamon (Substitute
- Nutmeg for a warm twist)
- - 1/4 tsp salt (Substitute
- Sea salt flakes)
Since this is a homemade Apple Crisp, I recommend using high-quality butter. It makes a noticeable difference in how the topping browns.
Essential Tools for Baking
This recipe is straightforward and requires minimal equipment. A standard 9x9 inch baking dish is ideal. Be aware that using a larger pan will result in a thinner fruit layer that might bake more quickly, so monitor the oven closely.
I recommend using one large bowl for the apples and another for the topping. While a pastry cutter is useful for incorporating the butter, your hands are perfectly fine. A stand mixer is also an option just use the paddle on a low speed and avoid overworking the butter.
| Style | Prep Time | Texture |
|---|---|---|
| Fast Track | 5 mins | Softer, jammy fruit |
| Classic | 15 mins | Distinct, tender slices |
I lean toward the classic approach, as the well defined fruit slices give it a more traditional feel.
From Prep to Plate
Prepping the Orchard Base
- Combine the sliced apples, lemon juice, brown sugar, cinnamon, and flour in a large bowl.
- Toss gently until every slice is velvety and coated in the spices. Note: Don't over stir or you'll bruise the fruit.
- Pour the mixture into your 9x9 inch baking dish.
- Spread the apples evenly to ensure they all cook at the same rate.
Rubbing the Crumble Topping
- Whisk together oats, flour, brown sugar, cinnamon, and salt in a separate bowl.
- Add the cubed cold butter. Use your fingertips to rub the butter into the flour until you see coarse crumbs with a few pea sized chunks.
- Sprinkle the crumble evenly over the apples. Note: Do not press the topping down; leave it loose for more air.
- Bake at 375°F (190°C) for 40-45 minutes until the juices bubble up the sides and the top is deep mahogany gold.
- Let the dish rest for 10 minutes before serving. This allows the juices to set so it isn't runny on the plate.
| Goal | What to change |
|---|---|
| Extra crunch | Add 1/2 cup chopped pecans |
| Tangier base | Increase lemon juice to 2 tbsp |
| Thicker sauce | Add 1 extra tbsp flour to fruit |
The Trick Behind the Texture
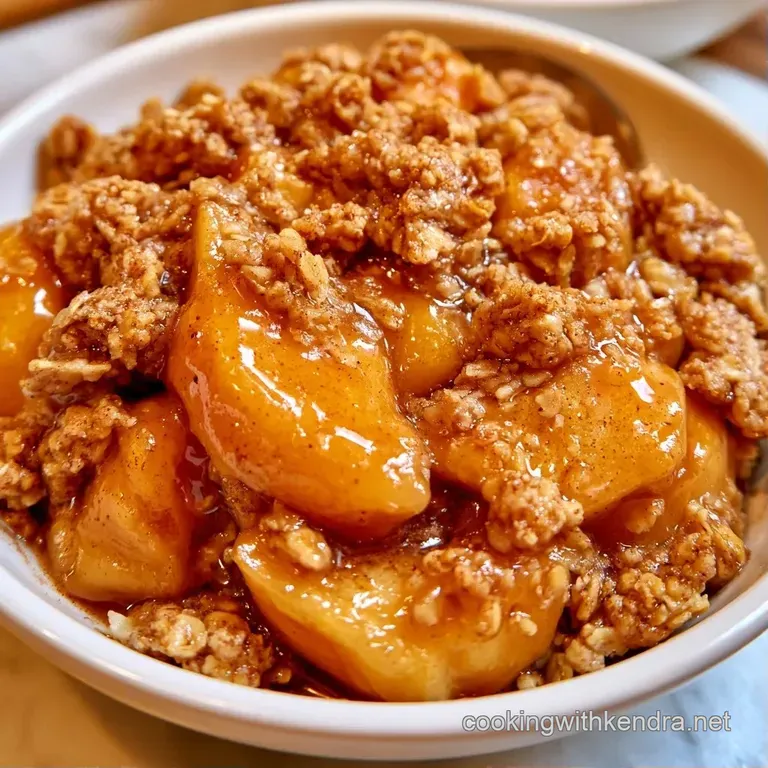
The baking process is where the magic truly happens. Since the butter is cold, it won't melt right away, creating small air pockets that fry the oats from the inside.
If melted butter is used, you'll get a sugary paste instead of a crisp crumble. The flour in the filling acts as a stabilizer, turning the apple juices into a thick glaze that coats every slice. This is why any top-rated Apple Crisp needs a bit of starch.
Avoiding Kitchen Disasters
Fixing a Soggy Topping
If the crumble feels damp, it usually means the butter was too warm when you started. To fix this mid bake, move the pan to the top rack for the last 5 minutes. You can also turn on the broiler for 60 seconds to crisp up the top.
Preventing Burnt Edges
Sometimes the edges of the pan brown faster than the center. If you see the perimeter getting too dark, simply tent the edges with a bit of aluminum foil while the middle finishes.
Managing Excess Liquid
A soggy Apple Crisp often happens when you use too many "juicy" apples or skip the flour. If your filling looks like soup after baking, let it rest for an extra 10 minutes. The pectin in the apples will naturally thicken as it cools slightly.
| Problem | Fix |
|---|---|
| Soggy Topping | Use ice cold butter; move to top rack |
| Burnt Edges | Tent with foil after 30 minutes |
| Watery Filling | Increase resting time to 15 minutes |
Common Baking Misconceptions
Some people think you have to peel the apples to get a good texture. While peeling is traditional, leaving the skins on actually adds more fiber and prevents the slices from falling apart. It just changes the look.
Another myth is that you need to pre cook the apples on the stove to save time. This actually leads to overcooked fruit. Baking them raw with the topping ensures the apples stay tender and the topping doesn't get soaked by the pre released juices.
Preservation and Zero Waste
Store any remaining Apple Crisp in a tightly closed dish in the fridge for a maximum of 3 days. To reheat, skip the microwave; instead, place a portion in the oven at 350°F for 5-10 minutes to restore that signature crunch.
This dish can also be frozen before it is baked. Just assemble the ingredients, wrap the pan securely in foil, and keep it frozen for a maximum of 2 months. Bake it straight from the freezer, but allow an additional 10-15 minutes of cooking time.
To reduce waste, don't discard the apple peels. Coat them in a bit of sugar and cinnamon, then bake at 300°F until they transform into chewy cinnamon chips. They make a perfect snack while the main dessert is in the oven.
Variations and Substitutions
For a bit of variety, stir a handful of dried cranberries into the fruit base for a tart, festive touch. To make an apple crisp without oats, you can substitute them with almond meal or crushed graham crackers for a different kind of crunch.
Scaling this recipe for a crowd is simple. Just double the portions and use a 9x13 inch pan. Because the pan is larger, remember to increase the bake time by approximately 10 minutes.
For a more sophisticated flavor, consider adding a teaspoon of vanilla extract or a pinch of ground cardamom to the fruit. These tastes pair beautifully with Cinnamon Apple Muffins if you're putting together a full orchard brunch.
Serving and Presentation Tips
Warm Apple Crisp is best enjoyed with a dollop of vanilla bean ice cream. The contrast of chilled cream swirling into the hot cinnamon fruit is what makes this dessert so satisfying.
To elevate the presentation, add a drizzle of salted caramel just before serving. A small sprig of fresh mint adds a vibrant touch of color against the dark brown crust.
When including this in a wider dessert selection, it pairs perfectly with something rich like a Classic Pumpkin Pie. Just ensure you plate the crisp immediately after it rests so the topping remains perfectly crisp.
It is crucial to allow for that 10-minute rest. If you serve it too soon, the sauce will run across the plate. A little patience is the key to a clean, professional look.
This homemade Apple Crisp proves that the simplest ingredients often create the most comforting dishes. Once you try this version, you'll likely never buy the store-bought kind again.
Recipe FAQs
What is the difference between apple crumble and apple crisp?
Apple crisps include oats in the topping for a crunchier, more rustic texture. Crumbles typically use a flour and butter mixture without oats.
How do I warm leftover apple crisp?
Place portions in the oven at 350°F until heated through. This maintains the crunch of the oat topping better than a microwave.
Which secret makes the flavor balance so effective?
Combine tart Granny Smith apples with a touch of lemon juice to cut through the sugar. If you love this sweet tart balance, see how we use a similar acid technique in our pickled banana peppers.
Is it true I must peel the apples for an old-fashioned crisp?
Actually, no. Leaving the skins on provides a more rustic texture and adds extra nutrition to the dish.
Warm Apple Crisp