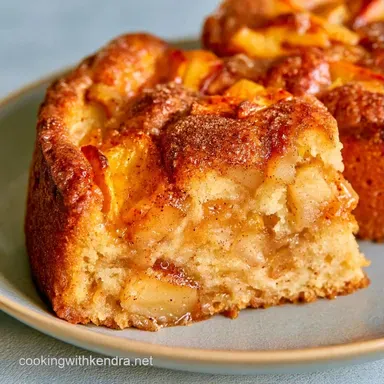
Moist Brown Butter Apple Cake
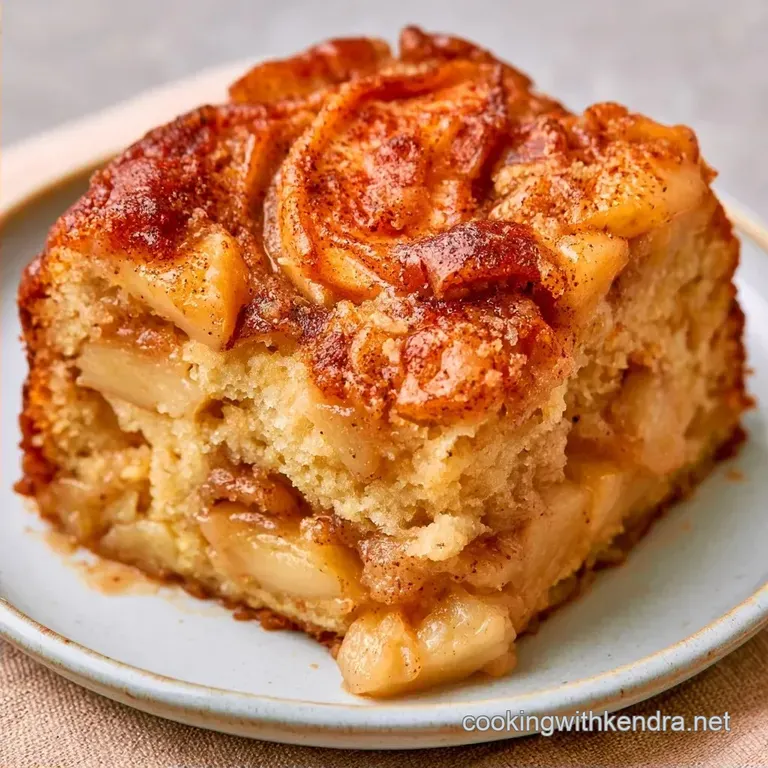
- Time: 30 min active + 45 min baking
- Flavor/Texture Hook: Nutty undertones paired with a crunchy streusel
- Perfect for: Relaxed Sunday brunches or fall gatherings
Brown Butter Apple Cake
Ever baked a cake that looks perfect on the outside, only to find a soggy, fruit-heavy mess in the middle? I’ve dealt with that. In one attempt, my apples clumped at the bottom in a single gummy mass, while the top stayed dry.
It's a common struggle to balance the fruit's moisture with the batter's structural integrity.
The secret isn't adding more flour, which often leads to a rubbery texture. The real solution lies in managing the fat and fruit. Browning the butter eliminates excess water and provides a depth of flavor that complements the apples perfectly.
This Brown Butter Apple Cake pairs that nutty, toasted profile with bright cinnamon and a satisfying crunch. It fills the air with a cozy, inviting aroma.
Why This Recipe Works
Toasted Milk Solids: Cooking the butter until it browns creates a nutty flavor that cuts through the sugar, so the cake doesn't taste one dimensional.
Controlled Hydration: Using whole milk and eggs in a specific order ensures the batter stays stable enough to hold the diced apples in place.
Cold Streusel Fat: Using cold butter for the topping keeps the clumps large and pebbly, preventing them from melting into a flat glaze.
| Method | Time | Texture | Best For |
|---|---|---|---|
| Fast Mix | 45 mins | Spongy/Uniform | Weeknight snack |
| Classic Brown | 75 mins | Rich/Tender | Special occasions |
Gear You'll Need
A 9 inch springform pan is my preference because it ensures the cake releases effortlessly. Using a standard round pan can be a struggle and may lead to broken edges. I also recommend a heavy bottomed saucepan for the butter, as thinner cookware can cause the milk solids to burn too fast.
A stand mixer like a KitchenAid is ideal for the batter, though a hand mixer or a sturdy whisk is perfectly fine. To avoid overmixing, be sure to use a separate medium bowl for your dry ingredients.
Shopping List Breakdown
| Component | Purpose | Substitute Notes |
|---|---|---|
| Unsalted Butter | Flavor & Moisture | Salted butter works, but omit the extra salt |
| All Purpose Flour | Structure | Almond flour makes it denser and moister |
| Firm Apples | Bulk & Sweetness | Pears work well but add more moisture |
| Whole Milk | Tenderizer | Greek yogurt adds a slight tang and thickness |
For the Apple Batter
- 1 cup (225g) unsalted butter Why this? Creates the signature nutty base
- 3 cups (450g) firm apples, peeled and diced Why this? Holds shape during baking
- 2 cups (250g) all purpose flour
- 1.5 tsp (7g) baking powder
- 0.5 tsp (3g) salt
- 1 tsp (2g) ground cinnamon
- 0.75 cup (150g) granulated sugar
- 2 large eggs
- 1 tsp (5ml) vanilla extract
- 0.5 cup (120ml) whole milk
For the Cinnamon Streusel
- 0.5 cup (65g) all purpose flour
- 0.5 cup (100g) brown sugar, packed
- 4 tbsp (55g) cold unsalted butter, cubed
- 0.5 tsp (1g) ground cinnamon
Recipe Specs
You'll get about 12 slices from this recipe. It requires 30 minutes of prep work and 45 minutes of baking time. To avoid tearing the crumb, wait roughly 15 minutes before releasing the cake from the pan.
For more ways to enjoy autumn harvests, my apple sauce recipe is perfect for using up cores and peelings. It's an easy way to cut down on waste while making the kitchen smell wonderful.
The Cooking Process
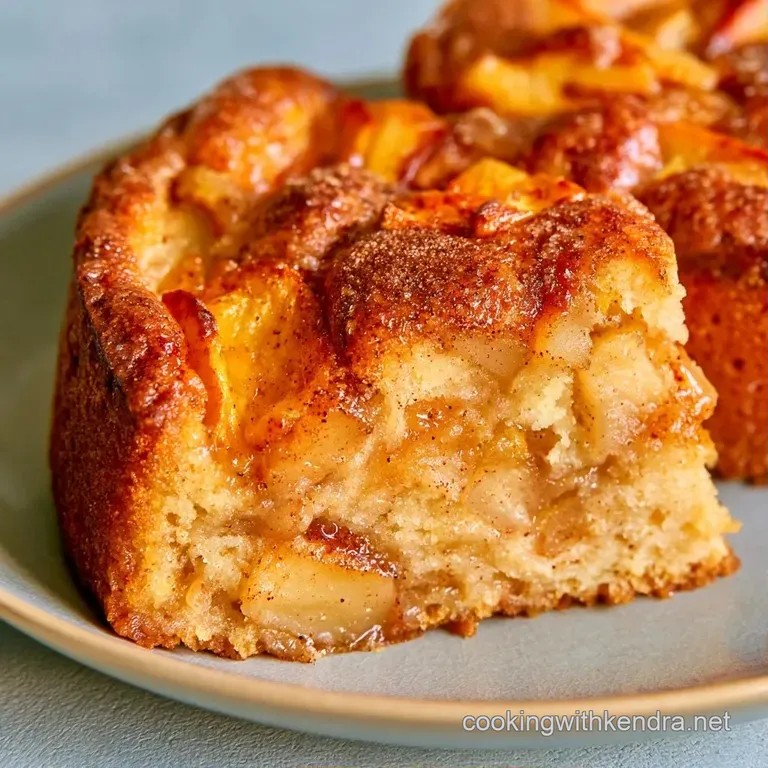
Phase 1: Browning the Butter
Place 1 cup of butter in a saucepan over medium heat. Melt and cook, whisking occasionally. Watch for the foam to subside and the bits at the bottom to turn a deep mahogany color. Remove from heat immediately when it smells nutty. Let it cool for 10 minutes so it doesn't scramble the eggs later.
Phase 2: Mixing the Base
Whisk 2 cups of flour, baking powder, salt, and 1 tsp of cinnamon in a medium bowl. In a large bowl, beat eggs and granulated sugar until the mixture looks pale and fluffy. This takes about 3 minutes. Slowly stream in the cooled brown butter and vanilla, mixing until the batter is smooth.
Phase 3: Folding and Baking
Alternately add the flour mixture and the milk to the bowl. Stir until just combined. Gently fold in the diced apples. Pour the batter into a 9 inch springform pan.
Phase 4: The Topping
Mix 0.5 cup flour, brown sugar, 0.5 tsp cinnamon, and cold cubed butter with your fingers. Rub the butter in until you have coarse crumbs. Sprinkle this over the batter. Bake at 180°C (350°F) for 45 minutes until a toothpick comes out clean.
Avoiding Kitchen Disasters
Avoiding Burnt Butter
Butter continues to cook even after being removed from the heat. I recommend pouring it into a chilled ceramic bowl the moment it reaches that mahogany hue. If it remains in the hot pan, the milk solids will rapidly turn black and bitter.
Fixing Sinking Apples
To prevent your fruit from settling at the bottom, toss the diced apples in a tablespoon of the flour mixture before folding them in. This provides a bit of grip, allowing them to stay suspended in the batter. Research from Serious Eats indicates that controlling fruit moisture is vital for avoiding a gummy bottom.
Stopping a Sinking Center
A sunken middle is often the result of premature oven peeking. Do not open the door for the first 30 minutes. If a dip occurs, a drizzle of caramel or a dollop of whipped cream will cover it up perfectly.
Adjusting the Batch
To make a smaller batch, you can cut the recipe in half. Use a 6 inch pan and shave about 20% off the baking time. Because eggs are hard to divide, whisk one egg in a small container and pour out half.
When doubling the recipe, avoid simply doubling the leavening. Use 2.5 tsp of baking powder instead of 3 to prevent a metallic taste. Reduce the oven heat to 160°C (325°F) and add 10-15 minutes to the timer to make sure the middle is cooked through without scorching the edges.
| Goal | What to change |
|---|---|
| More Crunch | Increase brown sugar in streusel |
| Tangier Taste | Swap milk for sour cream |
| Softer Crumb | Use cake flour instead of AP |
Storage & Reheating
Store this cake under a glass bowl or in a cake dome at room temperature for 2 days. If your kitchen is humid, refrigeration is better, keeping it fresh for 5 days. I prefer the fridge since it gives the cake a denser, more fudge-like consistency.
To freeze, wrap individual slices in parchment paper and foil for up to 2 months. To reheat, microwave a slice for 15 seconds or place it in a 150°C (300°F) oven for 5 minutes to regain that crispy streusel topping.
Turn the apple peels into snacks by tossing them with cinnamon and sugar, then baking at 150°C (300°F) until they become cinnamon chips.
Dietary Adaptations
Making it gluten-free
You can use a 1:1 gluten-free flour blend. The structure of a Brown Butter Apple Cake is fairly sturdy, so it handles the swap well. Note that the crumb will be a bit more fragile, so let the cake cool completely before removing it from the pan.
Reducing the Sugar
If you prefer a less sweet treat, you can cut the granulated sugar by a quarter. Since the brown butter provides such a rich flavor, you don't lose much. Just be aware that sugar helps with moisture, so the cake might feel a bit drier.
For another cozy autumn vibe, you might enjoy my applesauce cake, which uses a different moisture base for a more spiced, old-fashioned feel.
Presentation Tips
This cake looks best when served warm. I like to put a slice on a small plate and add a scoop of vanilla bean ice cream. The cold cream melting into the warm, velvety crumb is a great contrast.
For a more elegant look, dust the edges of the plate with a bit of cinnamon. If you have some leftover caramel sauce, drizzle it in a zig zag pattern over the top. It adds a bit of shine and ties the nutty brown butter flavors together.
Right then, you've got everything you need for a stellar Brown Butter Apple Cake. Just remember to watch that butter closely and don't overwork the batter. Trust me, the patience pays off when you hit that first bite of toasted butter and warm apple. Happy baking!
Recipe FAQs
What does brown butter do to cake?
Brown butter adds a deep, nutty flavor and a richer aroma to the sponge. The toasted milk solids create a complexity that regular melted butter lacks.
How to brown butter for this recipe?
Melt butter in a saucepan over medium heat and whisk occasionally until the solids turn mahogany. Remove it from the heat immediately to prevent burning.
What's the secret to a flavorful apple cake?
Use firm apples and a cinnamon streusel to balance the sweetness. If you enjoyed the fruit-forward balance here, see how we use a similar profile in our German applesauce cake.
Is it true that apple cake must be stored in the fridge to stay fresh?
No, this is a common misconception. You can keep this cake under a glass bowl on the counter for two days.
Brown Butter Apple Cake for 12 Slices