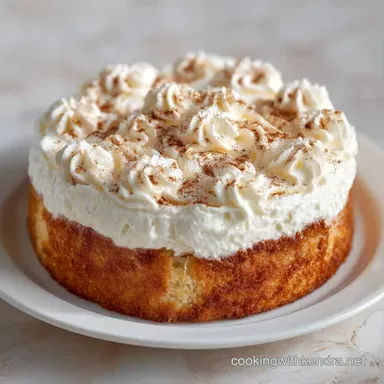
Traditional Horchata Cake: Airy and Cinnamon-Scented
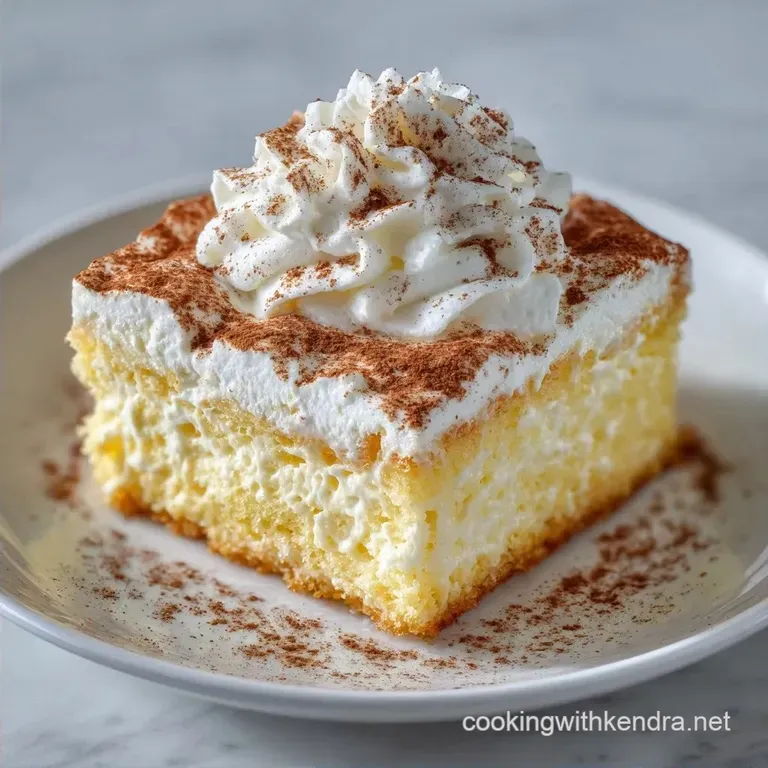
- Time:20 minutes active + 4 hours 25 mins baking and chilling
- Flavor/Texture Hook: Velvety, cinnamon scented cream over a moist, airy crumb
- Perfect for: Family celebrations, summer potlucks, or a special Sunday treat
Traditional Horchata Cake
That first smell is what hits you. It's not just cinnamon, but that specific, nutty, creamy aroma of toasted rice and warm vanilla that fills the kitchen. I remember the first time I tried to make a soak for a cake like this, I just dumped in a mix of milks and hoped for the best. The result?
A soggy mess that tasted like a wet sponge. I realized then that the cake itself has to be the hero, built specifically to hold onto those liquids without falling apart.
This Traditional Horchata Cake isn't just a dessert, it's a mood. It's the kind of treat you make when you want the house to smell like a cozy Mexican bakery. We're using rice milk to bring that authentic horchata soul to the soak, ensuring every bite feels like a sip of the drink.
You can expect a cake that's light and airy on top but incredibly moist and dense with flavor at the bottom. It's a balance of sweetness from the condensed milk and a woody warmth from the cinnamon.
Trust me, once you see how the cinnamon cream sits on top of that saturated sponge, you'll never go back to a plain vanilla cake.
The Secret To The Soak
Air Pocket Creation: Beating the eggs and sugar for a full 5 minutes creates millions of tiny air bubbles. These bubbles act as reservoirs that trap the horchata liquid instead of letting it turn the flour into paste.
Fat Barrier: The melted butter coats the flour particles, which prevents the cake from absorbing too much liquid too quickly. This keeps the structure intact while the center stays velvety.
Rice Milk Hydration: Using rice milk instead of just cow's milk adds a slight starchiness. This helps the soak cling to the crumb rather than just pooling at the bottom of the pan.
Osmosis Balance: The sugar in the condensed milk draws moisture deep into the cake. This ensures the center is just as moist as the edges.
| Method | Prep Time | Texture | Best For |
|---|---|---|---|
| Oven Baked | 20 minutes | Airy & Stable | Slicing and layering |
| Stovetop Steamed | 40 minutes | Dense & Custardy | Individual ramekins |
Component Analysis
| Ingredient | Science Role | Pro Secret |
|---|---|---|
| Eggs (5 large) | Structure & Lift | Room temp eggs whip up 30% more volume |
| Rice Milk | Flavor Profile | Use unsweetened to control the sugar levels |
| Condensed Milk | Sweetness & Viscosity | Stir well before adding to avoid sugar clumps |
| Heavy Cream | Aeration/Fat | Keep it ice cold for the stiffest peaks |
Shopping List Breakdown
For the sponge, grab your standard all purpose flour and granulated sugar. You'll need baking powder for the lift and a pinch of salt to balance the sweetness. Get five large eggs, and make sure you have unsalted butter. You'll also need whole milk for the batter.
For the soak, the heavy hitters are sweetened condensed milk and evaporated milk. The star here is the unsweetened rice milk. To get the most authentic and vibrant flavor in your Traditional Horchata Cake, I highly recommend using Mexican cinnamon (canela), which is softer and more citrusy than the common Cassia cinnamon. Grab some pure vanilla extract too.
Finally,, for the topping, you'll need heavy whipping cream, powdered sugar, and a bit more of that ground cinnamon. If you love the vibe of this cake, you might also enjoy my Homemade Cinnamon Rolls for another cinnamon heavy treat.
Ingredients List:
- 1.5 cups (190g) all purpose flourWhy this? Provides a stable structure for soaking
- 1 cup (200g) granulated sugarWhy this? Stabilizes the egg foam
- 1 tbsp (12g) baking powderWhy this? Ensures a light, airy rise
- 0.5 tsp (3g) saltWhy this? Cuts through the heavy cream sweetness
- 5 large eggsWhy this? The primary leavening agent here
- 0.5 cup (115g) unsalted butter, melted and cooledWhy this? Adds richness and a tender crumb
- 1 cup (240ml) whole milkWhy this? Hydrates the flour
- 1 can (14 oz / 397g) sweetened condensed milkWhy this? Creates the classic creamy texture
- 1 can (12 oz / 354ml) evaporated milkWhy this? Adds concentrated milky flavor
- 1 cup (240ml) unsweetened rice milkWhy this? Gives it the signature horchata taste
- 1 tsp (5g) ground cinnamonWhy this? The core aromatic profile
- 1 tsp (5ml) pure vanilla extractWhy this? Rounds out the spice notes
- 2 cups (480ml) heavy whipping cream, chilledWhy this? Creates a stable, fluffy topping
- 3 tbsp (37g) powdered sugarWhy this? Sweetens the cream without graininess
- 0.5 tsp (2g) ground cinnamonWhy this? For the final decorative dust
| Original Ingredient | Substitute | Why It Works |
|---|---|---|
| All Purpose Flour | Cake Flour | Lighter protein. Note: Results in a softer, more fragile cake |
| Rice Milk | Almond Milk | Similar consistency. Note: Adds a nutty flavor, loses the "rice" soul |
| Heavy Cream | Coconut Cream | High fat content. Note: Tropical flavor; use chilled full fat canned cream |
| Whole Milk | 2% Milk | Close enough fat. Note: Slightly less rich crumb |
Tools For The Job
You'll need a 9x13-inch baking pan. I prefer a metal one because it conducts heat more evenly, but glass works if you're careful about the edges browning. A stand mixer such as KitchenAid is a huge help for the egg beating stage, though a handheld mixer will do if you have the patience.
Gather a whisk and a large mixing bowl for your dry ingredients. A rubber spatula is non negotiable here, as you'll be folding the flour into the eggs and you don't want to deflate all that hard earned air. For the soak, a large pitcher or a measuring jug makes pouring much cleaner.
Finally, have a fork or a skewer ready for poking the cake. To finish it off, use a chilled metal bowl for the whipped cream. If the bowl is warm, the cream won't hold its peaks as well, and you'll end up with a runny topping.
Step by step Method
Phase 1: Baking the Foundation
Preheat your oven to 350°F (175°C). Grease your 9x13-inch baking pan with butter or a non stick spray.
Beat the 5 large eggs and 1 cup of granulated sugar on high speed. Do this for about 5 minutes until the mixture is pale, thick, and has doubled in volume. It should look like a thick custard.
Note: This step is what allows the Traditional Horchata Cake to absorb the liquid without collapsing.
Whisk together the 1.5 cups flour, 1 tbsp baking powder, and 0.5 tsp salt in a separate bowl. Gently fold this dry mix into the eggs using your spatula. Use a "cut and fold" motion to keep the air in.
Stir in the 0.5 cup melted butter and 1 cup whole milk. Mix only until you don't see any more streaks of flour. Stop immediately to avoid overworking the gluten.
Pour the batter into the pan. Bake for 25 minutes until a toothpick inserted into the center comes out clean and the edges just start to pull away from the pan. Let it cool completely on the counter.
Phase 2: The Horchata Infusion
Whisk together the sweetened condensed milk, evaporated milk, 1 cup rice milk, 1 tsp vanilla, and 1 tsp ground cinnamon. Mix in a pitcher until the cinnamon is fully integrated and the liquid is smooth.
Use your fork or skewer to poke holes across the surface of the cooled cake. Space them about 1/2 inch apart. Go all the way to the bottom of the cake.
Slowly pour the horchata mixture over the cake. Start from the center and move outward, ensuring the edges are well saturated. Wait a few minutes for the liquid to sink in before covering.
Cover the pan with plastic wrap and refrigerate for at least 4 hours. Overnight is even better because it gives the flavors time to marry.
Phase 3: The Finishing Touch
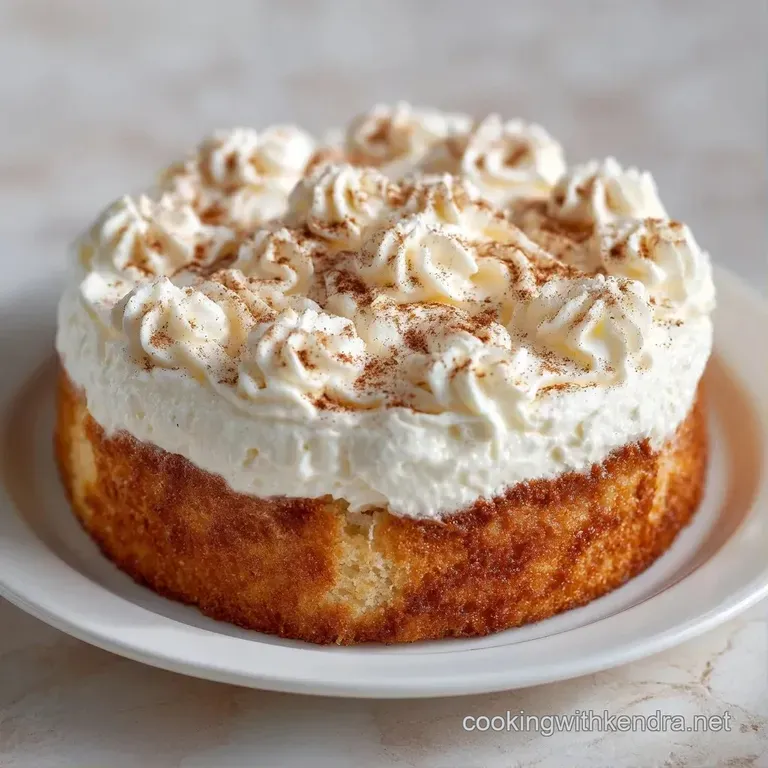
- Place your chilled bowl and beaters in the fridge for 10 minutes. Beat the 2 cups heavy whipping cream, 3 tbsp powdered sugar, and 0.5 tsp cinnamon until stiff peaks form. Spread this velvety cream over the top of the cake and finish with a light dust of cinnamon.
Chef's Note: If you find the cake is absorbing the liquid too quickly, try chilling the soak mixture before pouring. It slows down the absorption and lets the liquid penetrate more evenly.
Common Pitfalls And Fixes
Troubleshooting Common Issues
| Issue | Solution |
|---|---|
| Why Your Cake Is Soggy | If the cake feels like mush rather than a moist sponge, you likely skipped the long egg beating process or didn't let the cake cool before soaking. |
| Why Your Cream Deflated | Whipped cream collapses when the fat molecules can't hold the air. This happens if the cream wasn't ice cold or if you over beat it into butter. |
| Why The Soak Didn't Sink | If you see a pool of liquid on top after 4 hours, your "poking" wasn't deep enough. The holes act as channels. If they're too shallow, the liquid stays on the surface. |
Common Mistakes Checklist:
- ✓ Beating eggs for the full 5 minutes (don't cheat the timer!)
- ✓ Folding flour gently (no aggressive whisking)
- ✓ Cooling the cake completely before adding the soak
- ✓ Poking holes deep enough to reach the bottom
- ✓ Using chilled equipment for the whipped cream
Tasty Twists And Swaps
If you want to make this Traditional Horchata Cake a bit more indulgent, try adding a layer of sliced bananas between the sponge and the soak. The fruit pairs beautifully with the cinnamon and rice milk.
Another trick is to toast your cinnamon in a dry pan for 2 minutes before adding it to the soak; it brings out a deeper, smokier flavor.
For those who like a bit of crunch, sprinkle toasted sliced almonds or crushed pecans on top of the cinnamon cream. It adds a textural contrast to the velvety cake. If you're looking for something different but still creamy, my White Chocolate Homemade Cake uses a similar richness that works well for dessert lovers.
Decision Shortcut:
- If you want a bolder spice: Use cinnamon sticks steeped in the rice milk.
- If you want it less sweet: Replace half the condensed milk with more evaporated milk.
- If you want a "boozy" version: Add 1 tbsp of dark rum to the soak mixture.
Keeping Your Cake Fresh
This Traditional Horchata Cake is a refrigerator cake, meaning it must stay cold. Store it in the original baking pan or transfer it to an airtight container. It stays fresh and velvety in the fridge for up to 4 days. In fact, most people find it tastes better on day two.
You can freeze the cake, but I don't recommend freezing it once it's been soaked. The liquids can separate, leaving you with a strange texture. If you must freeze it, freeze the baked sponge before adding the horchata soak. Wrap the sponge tightly in foil and plastic wrap for up to 2 months.
To reheat a slice, just let it sit at room temperature for 15 minutes. Don't put it in the microwave, as the whipped cream topping will melt instantly. For zero waste, if you have leftover soak liquid, use it as a base for a creamy cinnamon latte or pour it over a bowl of fresh berries.
Plating And Serving Ideas
When serving this Traditional Horchata Cake, use a sharp knife dipped in hot water to get those clean, professional slices. Since the cake is so moist, the hot knife helps slide through the saturated sponge without tearing it.
I love serving a slice with a side of fresh mango or papaya. The acidity of the fruit cuts through the richness of the three milks. For a more authentic experience, serve it alongside a glass of chilled horchata. As Aaron Sanchez points out, the versatility of horchata flavors across different cultures makes it a perfect foundation for desserts.
If you're hosting a party, you can pipe the cinnamon cream into small mounds using a star tip for a more polished look. A final sprinkle of cinnamon and a fresh mint leaf on top makes this Traditional Horchata Cake look like it came from a high end bakery, even though it's just a home cooked labor of love.
Recipe FAQs
How to make the horchata soak?
Whisk together sweetened condensed milk, evaporated milk, rice milk, vanilla extract, and ground cinnamon in a pitcher. Stir until the mixture is completely smooth before pouring it over the cake.
Can I skip beating the eggs for 5 minutes?
No, do not skip this step. Beating the eggs and sugar creates the essential aeration that prevents the cake from becoming dense or mushy.
Why is my cake soggy instead of moist?
You likely skipped the egg beating process or soaked the cake before it cooled. Both errors compromise the sponge's structural integrity, leading to a mushy texture.
How to prevent the whipped cream from deflating?
Keep the heavy whipping cream ice cold. Use a chilled bowl and beat only until stiff peaks form to avoid over-mixing the fat into butter.
Is it true the cake can be served immediately after soaking?
No, this is a common misconception. The cake must refrigerate for at least 4 hours or overnight to allow the soak to set properly.
How to ensure the liquid soak absorbs fully?
Poke deep holes across the cake surface using a fork or skewer, spaced about 1/2 inch apart. These channels allow the liquid to penetrate the center rather than pooling on top.
Can I substitute the whipped cream for a denser frosting?
Yes, a thick frosting works well. If you enjoy the dense, creamy consistency found in our classic fudge, you can use a similar sugar-based frosting for a richer finish.
Traditional Horchata Cake for 16 Slices