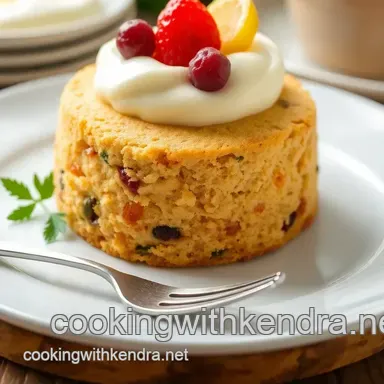
Mini Celebration Cake: Joy in Every Slice!
Have you ever been in the mood for a cake but didn’t want to commit to an enormous size? i mean, sometimes you just want a slice of sweetness without the leftovers and dessert overwhelm.
That’s where learning to bake small cake for sweet celebrations comes in. i remember the first time i attempted a mini cake; it was for my niece’s birthday.
I wanted to make something delightful but manageable. and oh my gosh, it turned out to be a hit! everyone loved the idea, and it felt just right for our little family gathering.
Recipe Overview
Now, let’s talk about this fabulous small cake recipe . mini cakes like this one have been around for ages, giving us a way to celebrate special moments without all the fuss.
Originating from humble home kitchens, these cakes have now crept into trendy bakeries everywhere, making their way into our hearts and on instagram feeds.
They are perfect for birthdays, anniversaries, or even just a cozy friday night treat.
Baking a mini cake is surprisingly quick! with about 15 minutes of prep time and a baking time of 25- 30 minutes , you’ll have a lovely little confection ready within an hour.
Plus, the difficulty level? super easy! even if you’re just starting with your baking skills , you can pull this off without breaking a sweat.
Cost wise, you’ll find this recipe to be a breath of fresh air. most of the ingredients like flour, sugar, and butter are pantry staples.
The yield is approximately 6-8 servings , so it’s perfect for a small crowd or even just a family treat to spread some joy.
Key Benefits
What’s amazing about this mini celebration cake is its health benefits . it’s not loaded with artificial ingredients or heavy extras, making it a lighter choice for those sweet cravings.
Plus, it’s made with simple, wholesome components that you can feel good about. this cake shines at intimate gatherings, just the right touch for a kids' birthday party or a small get-together with friends.
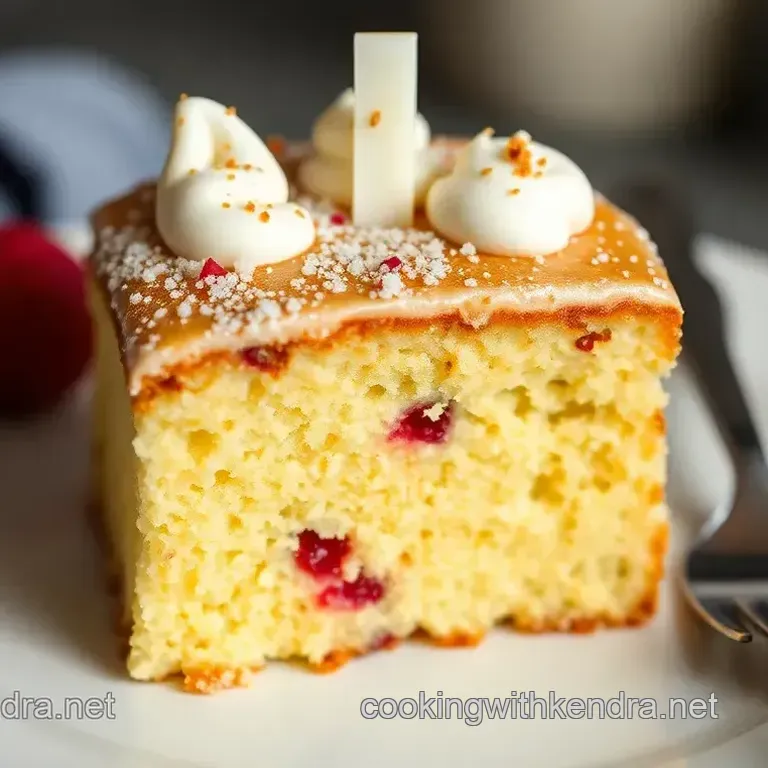
The vanilla flavor is always a crowd pleaser it appeals to both kids and adults. and let’s be real: there’s something charming about a personal sized cake.
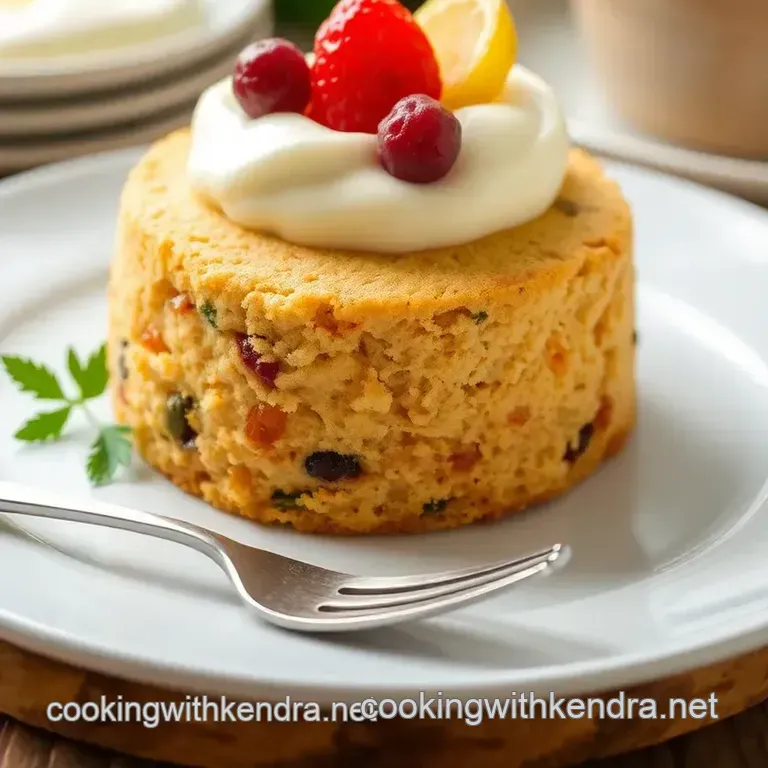
It feels special, doesn’t it? you can dress it up using fun cake decoration ideas or even add a simple fruit topping to brighten it up.
With the beauty of small batch baking , you can customize flavors and toppings. imagine whipping up a zesty lemon version or even a chocolate mini cake variation.
The possibilities are endless! you’re also encouraging those important baking skills with straightforward techniques, which is perfect for families looking to bake with kids a fun activity to create memories and mouth watering treats together.
As we transition into the ingredients section, think about all the possibilities. you’re not just making a cake; you’re crafting a memory packed treat that can be tailored for any occasion.
How exciting is that? let’s dive into what you’ll need to whip up this delightful dessert!
Your Essential Ingredients Guide for Sweet Celebrations
Oh my gosh, you wouldn’t believe the joy that comes from baking a small cake for sweet celebrations! it’s like pulling a little slice of happiness right out of the oven.
Today, i’m diving into the essential ingredients and techniques you’ll need to bake mini cakes, perfect for all those cozy gatherings whether it’s a birthday party or just a friday pick-me-up!
Premium Core Components
When you’re about to whip up that delightful small cake recipe, understanding your premium core components is crucial.
First off, let's chat about measurements . if you’re in the good ol’ us, stick with cups and teaspoons. if you’re feeling metric, go for grams and liters it’s all good!
For instance, a standard small vanilla cake requires 1 cup of all-purpose flour (125 g) and a cute 1/2 cup of unsalted butter (115 g) .
Now, what’s next? let’s talk quality indicators. if your butter is soft yet slightly cool to the touch, you’re golden.
And if you can smell that dreamy vanilla extract as soon as you open the bottle, you know you’ve got a winner.
For storage , stick your butter in the fridge until you're ready to bake. as for your flour, store it in a cool, dark place to keep it fresh.
And don't forget vanilla can last a long time, but if it smells off, toss it!
Signature Seasoning Blend
No cake is complete without that signature seasoning blend . think about essential spices like a hint of cinnamon or even nutmeg for a twist.
Throw in your herbal magic with some vanilla and pastry flour to elevate the flavor.
Honestly, when it comes time to frost that mini masterpiece, i always opted for a typical buttercream frosting . but feel free to mix it up! what about a zesty lemon buttercream or a rich chocolate ganache? world’s your oyster! and hey, if you want to get playful, try mixing different flavors.
Smart Substitutions
We all know that sometimes you gotta roll with the punches! so, let’s talk smart substitutions . need to go gluten-free? replace all-purpose flour with a 1:1 gluten-free blend.
Are eggs a no-go? use unsweetened applesauce instead. works like a charm!
If you find yourself caught in a pinch, like running out of milk, almond milk or heavy cream can save the day.
Seasonal fruits can also make great substitutes; think fresh strawberries or ripe bananas. who doesn’t love a bit of seasonal magic ?
Kitchen Equipment Essentials
Finally, let’s not forget your kitchen equipment essentials . you don’t need a fancy setup to whip up a perfect mini cake for parties.
Just grab some must have tools mixing bowls, a hand mixer, and those cute little 6 inch round cake pans. if you don’t have those, feel free to borrow from your buddy.
When it comes to storage solutions , keeping your cakes in airtight containers is key to preventing that dry, sad crumb.
And trust me, no one wants a fluffy cake that’s turned into a brick.
So, whether it’s an intimate celebration or a small crowd gathering, this guide is your secret weapon. Just imagine pulling that beautifully baked and decorated cake out and hearing everyone say, “Wow, can I have a piece?”
Now, let’s get into how to pull all this together and bake that mini celebration cake! i can’t wait to share the step-by-step instructions with you! happy baking, folks, because nothing beats those joyful dessert ideas that come straight from your oven.
Baking Bliss: Mastering the Professional Cooking Method
Oh my gosh, let’s dive into the world of professional cooking! when it comes to baking, understanding the professional cooking method is like having a secret recipe for success.
Let’s explore how to make your next baking adventure as smooth as buttercream frosting, especially when you want to bake small cake for sweet celebrations .
Essential Preparation Steps
Mise en place: sounds fancy, right? but it simply means having everything ready before you start cooking. measure out your ingredients, like that 1 cup of flour or 2 tsp of vanilla , so you’re not scrambling through the pantry when you should be mixing.
Time management tips: have a timer handy! are you baking a delightfully fluffy little cake? set your timer for 25- 30 minutes .
Use that time to clean up it feels good to have a tidy kitchen!
Organization Strategies: Keep your workspace clean and orderly. I always have my mixing bowl, spatula, and measuring cups within arm’s reach. It makes the chaos of baking so much easier.
Safety considerations: be careful around hot ovens! always use oven mitts and keep your mixing area free from distractions. last thing you want is a burnt finger or a splash of batter on your favorite shirt.
Step-by-step Process
Preheat the Oven: Set it to 350° F ( 175° C) . Trust me, you want that oven nice and hot!
Prepare Pans: Grease and flour your cake pans. You don’t want your mini lovely layers to stick!
Mix Dry Ingredients: Whisk together your flour, baking powder, baking soda, and salt. This ensures an even rise.
Cream Butter and Sugar: Beat your butter and sugar until it’s light and fluffy. This step is crucial, my friend!
Add Eggs and Vanilla: One egg at a time be patient! Mix until everything is united in vanilla goodness.
Combine Wet and Dry Ingredients: Alternate adding flour and milk. Don’t over mix; we want that fluffiness!
Bake Like a Pro: Divide the batter and pour it into the prepared pans. Bake for 25- 30 minutes . You’ll know it’s done when a toothpick comes out clean.
Cooling Time: Let the cakes cool for 10 minutes in the pans before transferring them to a cooling rack.
Prepare Buttercream Frosting: Beat that butter until creamy. Slowly mix in powdered sugar and vanilla. Adjust with heavy cream until you reach that dreamy, spreadable consistency.
Assemble and Decorate: Layer, frost, and get creative with sprinkles or piping a true celebration cake for kids and adults alike!
Expert Techniques
- Professional Methods: Consistency is key! Use a kitchen scale for accuracy, especially with flour.
- Critical Steps Explained: Cooling the cakes is essential to avoid melting that sweet, sweet frosting.
- Quality Checkpoints: Always check doneness with a toothpick and trust your instincts when frosting it has to look as good as it tastes!
- Troubleshooting Tips: If your cake sinks, it might be overmixed or underbaked. Keep an eye on those timing points!
Success Strategies
Common Mistakes to Avoid: Don’t rush! Letting your ingredients come to room temperature is important.
Quality Assurance Tips: Taste is everything. A quick taste of your frosting goes a long way toward making sure sweet celebration success.
Perfect Results Guide: Use room temperature eggs and butter for that smooth batter we love so much.
make-ahead Options: Bake ahead and freeze! Cakes freeze well, so you can whip out a personal sized cake recipe anytime you need a quick cake for gatherings.
In summary, mastering these simple baking techniques takes practice, but once you get the hang of it, you’ll be flaunting those homemade buttercream frosting cakes left and right.
Additional Information…
So, whether you're baking for a mini party or celebrating with close family, this small cake recipe is a fantastic way to share joy and sweetness.
Remember, each slice tells a story, and honestly, who doesn’t love a fluffy cake to celebrate life’s little moments? happy baking friends!
Bake Small Cake for Sweet Celebrations: Additional Recipe Information
When you decide to bake small cake for sweet celebrations , it’s all about making every slice special, right? those easy baking recipes can feel like magic when done right.
So let's dive into some pro tips, fabulous presentation ideas, storage tips, and creative variations. you'll be ready to whip up your mini cake for parties like a pro!
Pro Tips & Secrets
Let's chat a bit about those chef secrets that can make your baking game go from "meh" to "wow!"
Use room temperature ingredients: trust me, it makes a huge difference! let that butter, eggs, and milk chill out on the counter for about 30 minutes before you start mixing.
It’ll help create a smoother batter and that fluffy texture we all love!
Don’t overmix: seriously, it’s a classic rookie move. gently fold your dry ingredients into your wet ones until they just come together.
Overmixing can lead to a dense cake, and no one wants that!
Cooling is key: here’s a little tidbit let those cakes cool completely before you slap on that frosting. if you frost warm cake, your homemade buttercream frosting will just melt.
And we want that pretty look, ya know?
Perfect Presentation
I love a good cake, but how you present it is everything!
Plating Techniques: Don’t underestimate the power of a good serving platter! A simple white plate makes your cake pop and look fancy.
Garnish ideas: fresh berries, a sprinkle of powdered sugar, or even a few edible flowers can elevate your cake from basic to beautiful.
Trust me, a pop of color goes a long way!
Color Combinations: Think about using colored buttercream or fun sprinkles that match the theme of your celebration. A colorful cake is just begging for a spot on the Instagram feed!
Storage & make-ahead
We’ve all been there wanting to enjoy that delicious cake later but not knowing how to store it .
Storage Guidelines: Wrap your cake tightly with plastic wrap or store it in an airtight container to keep that moisture locked in. It’s all about keeping it fresh!
Preservation methods: you can even freeze your layers before frosting! just wrap them well in foil and pop them in the freezer for up to a month.
When you're ready, just let them thaw and frost!
Reheating Instructions: If you end up with some leftovers, don’t freeze them again. Just pop a slice in the microwave for about 10-15 seconds to enjoy that gooey goodness!
Creative Variations
I’m all about fun twists when it comes to baking. Here are some ways to jazz up your mini celebration cake :
Flavor Adaptations: Feeling adventurous? Try adding different extract flavors, like almond or lemon, to shake things up.
Dietary Modifications: If you need a gluten-free option, swap in a 1:1 gluten-free baking mix for that all-purpose flour. Easy peasy!
Seasonal Twists: For winter, spice it up with some cinnamon or nutmeg. For summer, a simple lemon zest addition can freshen things up perfectly.
Complete Nutrition Guide
Now, let’s talk numbers! Knowing what’s in your cake can help you make better choices.
Detailed Breakdown: For each slice of our small cake recipe , you're looking at about 280 calories . Not too shabby for a delightful treat!
Health Benefits: While this cake is definitely a treat, you can feel good knowing it’s made with real ingredients no weird additives, just good old butter and sugar.
Dietary Considerations: Just keep in mind that cakes are a fun indulgence. Moderation is key, and maybe pair it with fresh fruit for a splash of nutrients!
Conclusion
So there you have it everything you need to know about creating delightful treats with your layer cake recipe . from making it easier with time saving techniques to dazzling your guests with beautiful presentations and exciting variations, you’re ready to bake small cake for sweet celebrations like a champ!
Trust me, there’s nothing quite like seeing everyone’s faces light up when they dig into your creation.
Happy baking, friends!
Frequently Asked Questions
What occasions are perfect for me to bake a small cake for sweet celebrations?
This Mini Celebration Cake is ideal for a variety of occasions, including birthdays, anniversaries, or even as a surprise treat for a loved one. Its charming size makes it perfect for small gatherings or intimate celebrations where you want to share a sweet moment without overwhelming guests with dessert.
Can I make the Mini Celebration Cake in advance?
Yes, you can certainly bake the cake in advance! Once cooled, wrap the cake layers tightly in plastic wrap and store them in the refrigerator for up to 3 days or freeze for up to 2 months. Just ensure to frost the cake on the day of serving for the best texture and appearance.
What are some variations I can try when I bake small cake for sweet celebrations?
You can easily switch things up by creating a chocolate version by adding cocoa powder or a lemon variant by including lemon zest. Additionally, consider adding spices like cinnamon for a warm flavor or incorporating fruits like berries into the batter for a fresh twist!
How can I store leftover Mini Celebration Cake?
Store any leftover cake by covering it with plastic wrap or placing it in an airtight container. It can be kept at room temperature for 1-2 days or refrigerated for up to a week. For longer freshness, you can freeze slices in individual portions as well.
What are some tips for frosting my Mini Celebration Cake perfectly?
Ensure your cake layers are completely cool before applying frosting to avoid melting. For a smooth finish, use an offset spatula and start with a crumb coat (a thin layer of frosting to seal in crumbs) before applying a thicker layer. Decorate with sprinkles or fruit for a festive touch!
How can I make this cake healthier while still enjoying it for celebrations?
To make the Mini Celebration Cake a bit healthier, consider reducing the sugar by one-third or using natural sweeteners like honey or maple syrup. You can also use whole grain flour instead of all-purpose flour or substitute applesauce for some of the butter in the batter or frosting.
Bake Small Cake For Sweet Celebrations